
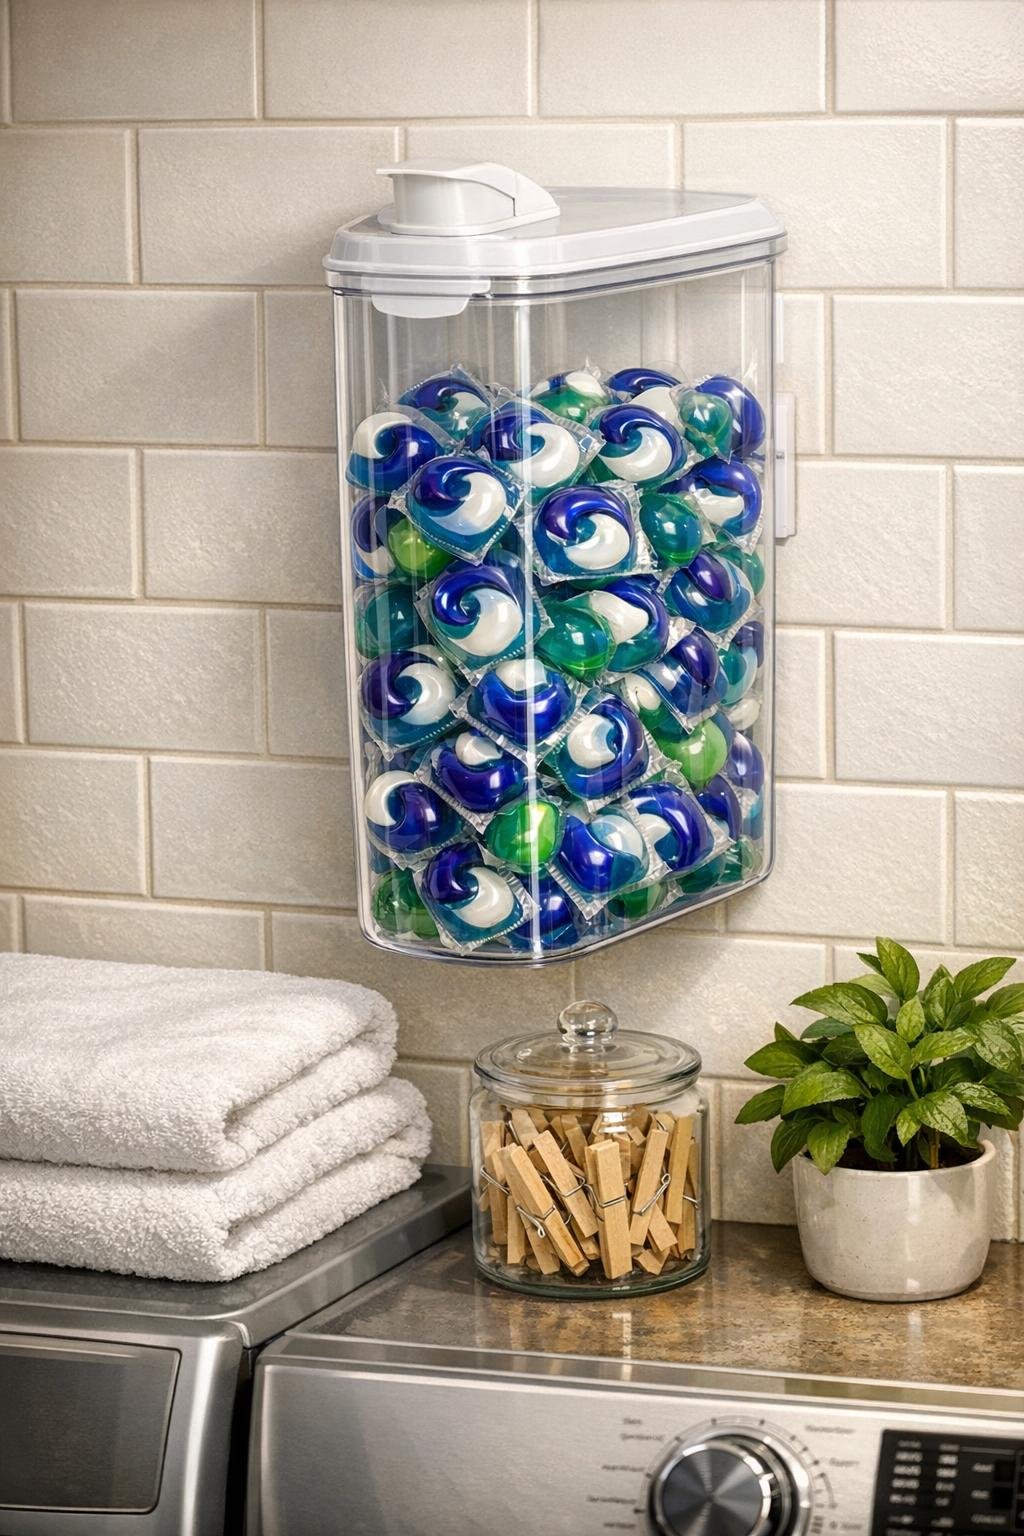
There are a few little chores in life that go smoother when everything has a proper place, and laundry is certainly one of them. This wall-mounted pod dispenser is one of those simple fixes that feels downright satisfying every time you reach for it. By attaching a clear plastic cereal container with a pour spout onto the wall with Command strips, you get an easy-grab spot for laundry pods that keeps the shelf less cluttered and the supplies right where you need them.
I’ve always had a soft spot for practical household ideas like this—nothing fussy, just clever and useful. If your laundry room is short on counter space, or if you’re tired of a half-open tub of pods getting shoved behind the detergent, this is a tidy little project that comes together quickly and looks surprisingly neat when it’s done.
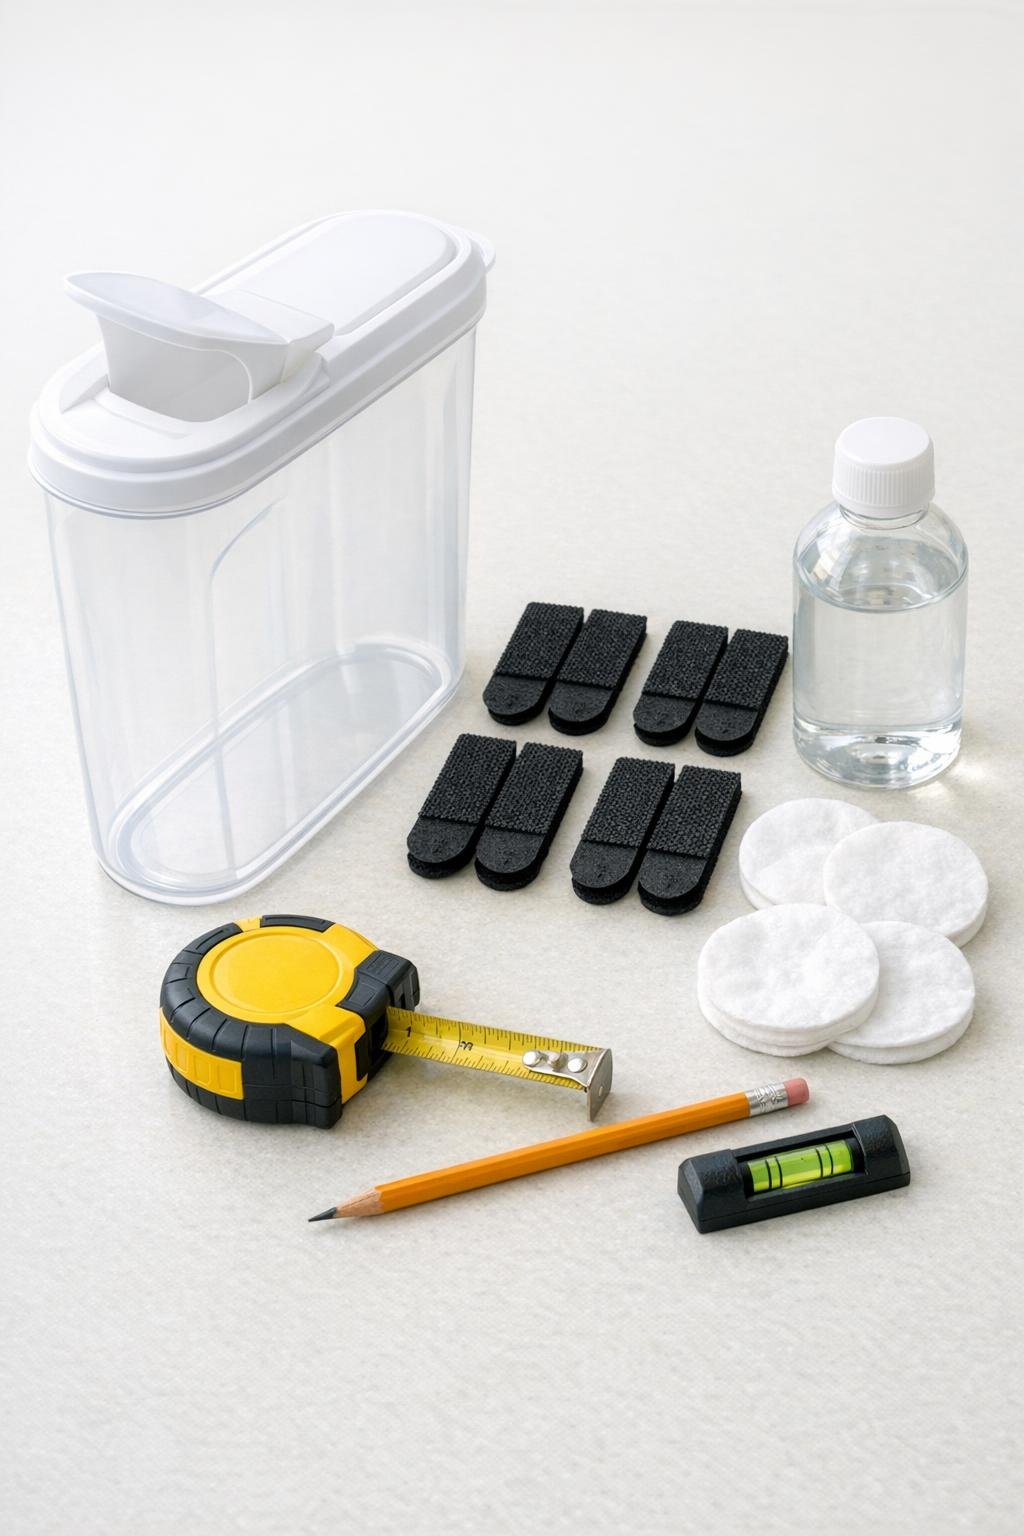
Materials
Instructions
1. Wash and dry the clear cereal container thoroughly, including the lid and pour spout, so no dust or factory residue is left on it.
2. Decide where you want the dispenser to hang on the laundry room wall, keeping it within easy reach but high enough to stay away from small children and pets.
3. Hold the container upright against the wall with the pour spout facing outward and downward enough to be easy to open, then use the level and pencil to lightly mark the top and side placement.
4. Wipe the marked wall area with rubbing alcohol and wipe the back of the container where the strips will stick; let both surfaces dry completely.
5. Attach 3 sets of large heavy-duty Command strips vertically to the back of the container, spacing them evenly from top to bottom so the weight is spread out well.
6. Press the container firmly onto the marked spot on the wall, applying steady pressure over each strip area for about 30 seconds.
7. If your brand of strips recommends separating and setting the adhesive first, follow that timing exactly before loading the container; this little bit of patience makes the hold much more reliable.
8. Once the container is secured, open the lid and fill it with laundry pods, stopping at about three-quarters full so the pods dispense easily and the weight stays manageable.
9. Test the dispenser by opening the pour spout and removing one pod at a time, adjusting the fill level if the pods crowd the opening.
10. Wipe off any pencil marks, close the lid, and give the container a final polish so the finished dispenser looks clean, clear, and intentional on the wall.
Variations & Tips
Use the right container: A tall, flat-sided cereal container works best because it gives the adhesive strips a broad, even surface to grip. Round or heavily textured containers are more likely to twist or loosen.
Mind the weight: I wouldn’t fill this all the way to the top. Keeping it around three-quarters full makes it easier on the strips and easier on your hand when you’re reaching in for a pod.
Pick a smart location: Mount it beside the washer or just above a folding counter, not directly over a sink or where it will get bumped by doors or baskets.
Make it match your space: If you want it to look a little more polished, use an all-clear container with a clean white lid, and keep nearby supplies in simple matching jars or bins for that orderly laundry-room look.
Check strip directions: Different Command products have slightly different holding power and wait times, so I always read the package before sticking anything to the wall. That small step saves a lot of aggravation later.
Safety first: Laundry pods should always be stored high and out of reach of children and pets. This project is handy, but safe placement matters just as much as convenience.