
There’s something mighty satisfying about taking the plainest little household thing and turning it into something that looks like it belongs on a cozy autumn entry table. I’ve always loved projects like that—the kind our mothers and grandmothers would have appreciated because they’re affordable, clever, and pretty enough to make a room feel dressed for the season.
This one is especially nice for anyone who wants fall decor with a soft, handmade look but doesn’t want to fuss with real flowers that fade after a week. If you can dip, dry, and glue, you can make this, and by the time you’re done, those humble cotton swabs will have become something truly charming.
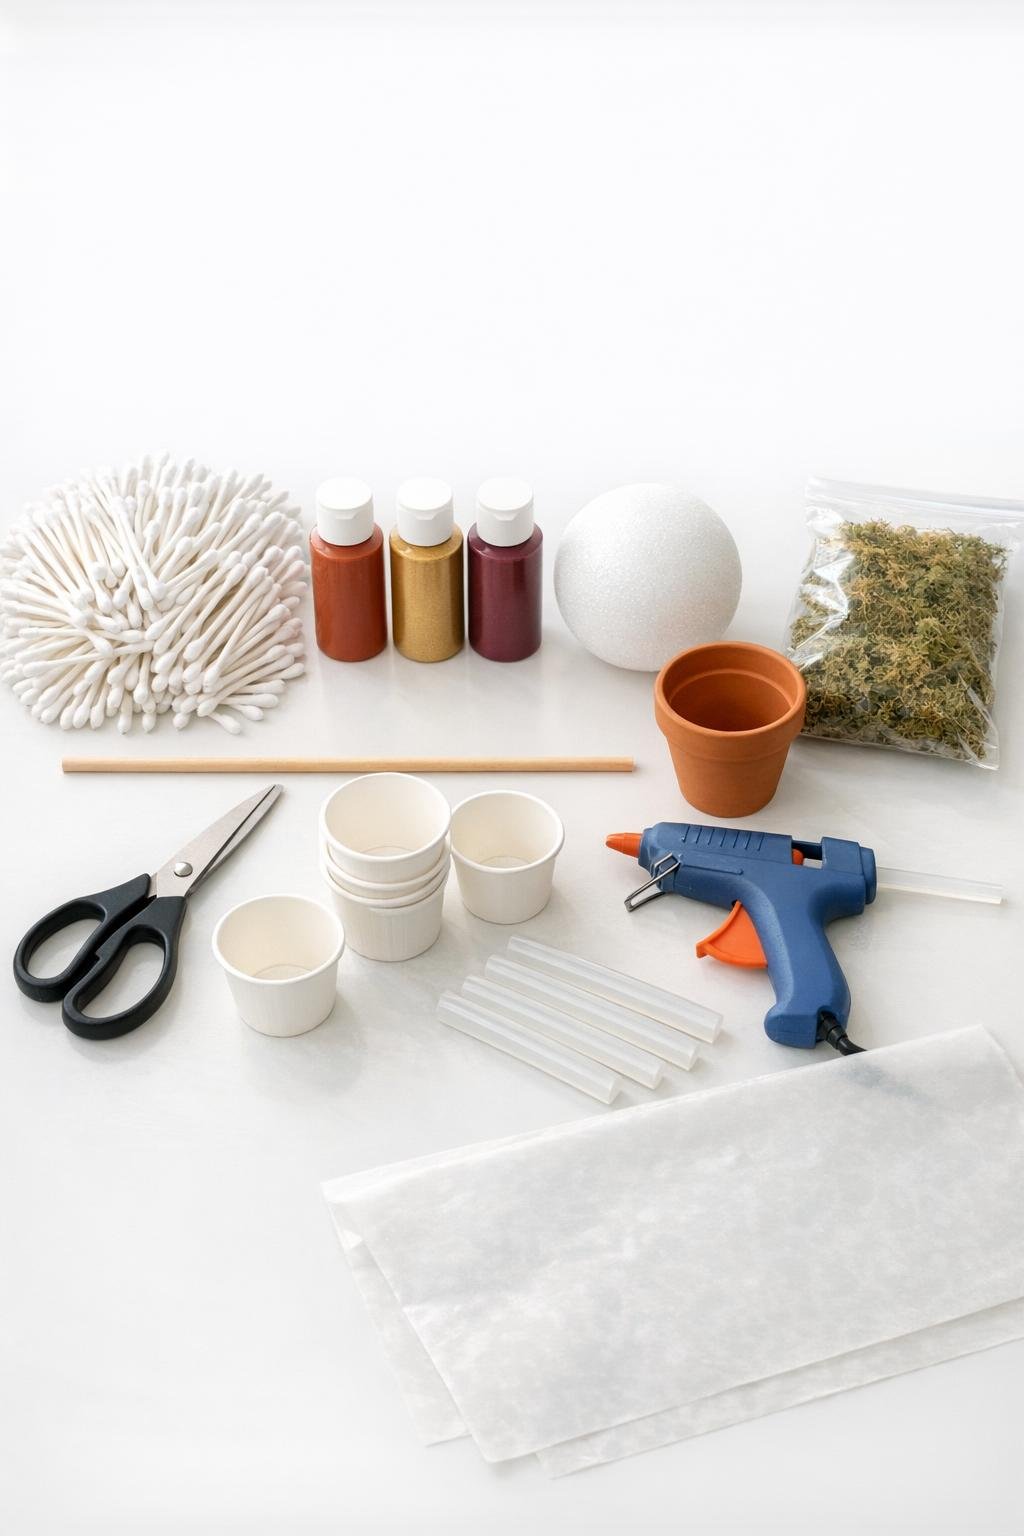
Materials
300 cotton swabs, standard size, double-tipped
1 small bottle rust acrylic craft paint, about 2 ounces
1 small bottle gold acrylic craft paint, about 2 ounces
1 small bottle burgundy acrylic craft paint, about 2 ounces
1 foam ball, 6 inches in diameter
1 terra cotta or dollar store pot, 4 to 5 inches wide
1 wooden dowel, 12 inches long and about 1/4 inch thick
1 small bag floral moss, about 4 ounces
3 paper cups, one for each paint color
1 sheet wax paper, about 12 x 18 inches
1 hot glue gun
6 to 8 hot glue sticks, standard size
1 pair scissors
Instructions
1. Pour a small amount of rust, gold, and burgundy paint into separate paper cups, then lay the wax paper flat as your drying surface. Keep the paint about 1 inch deep so the cotton tips can be dipped quickly without coating the paper stem.
2. Cut all 300 cotton swabs in half so you have 600 single-tipped pieces. I like to snip a handful at a time and pile them by the wax paper so assembly goes faster later.
3. Dip the cotton ends into the paint, making about one-third rust, one-third gold, and one-third burgundy, then lay them on the wax paper to dry. Let a little white show near the stem if needed, but make sure each cotton tip itself is fully coated for rich color.
4. Let the painted swabs dry completely, about 30 to 45 minutes, and give them a second quick dip if you want deeper fall color. The fuller and richer the tip color, the more flower-like the finished piece will look.
5. Push the wooden dowel into the center of the foam ball about 3 inches deep to make the trunk. Add a dot of hot glue at the entry point first if the foam feels loose, then let it set for a minute.
6. Begin inserting the painted swab stems into the foam ball one at a time, starting at the top center and working outward in tight rows. Place them close together, about 1/4 inch apart or less, so the surface becomes dense and cushiony instead of spotty.
7. Alternate the colors as you go so they blend naturally, tucking burgundy deeper in some spots and scattering gold across the surface for highlights. Turn the ball often and keep filling until no foam shows anywhere.
8. Add extra swabs anywhere the shape looks thin, especially around the lower sides near the dowel. A generous second pass makes all the difference and gives that lush, rounded bloom look.
9. Fill the pot with hot glue around the inside bottom center and set the dowel upright in place. Hold it steady until firm, then add a little extra glue around the base of the dowel for strength.
10. Cover the top of the pot completely with floral moss, gluing it down in small pieces so no glue shows. Tuck the moss right up to the dowel and let it mound slightly for a finished, garden-like look.
11. Fluff the cotton tips gently with your fingers, nudging any crowded pieces outward so the round shape looks even and full. If you spot gaps, glue in a few leftover painted tips to finish the coverage.
12. Let everything cool and set completely before moving it to your mantel, side table, or entry shelf. Once it’s upright and styled, the whole thing has that sweet old-fashioned fall charm that makes a house feel loved.
Variations & Tips
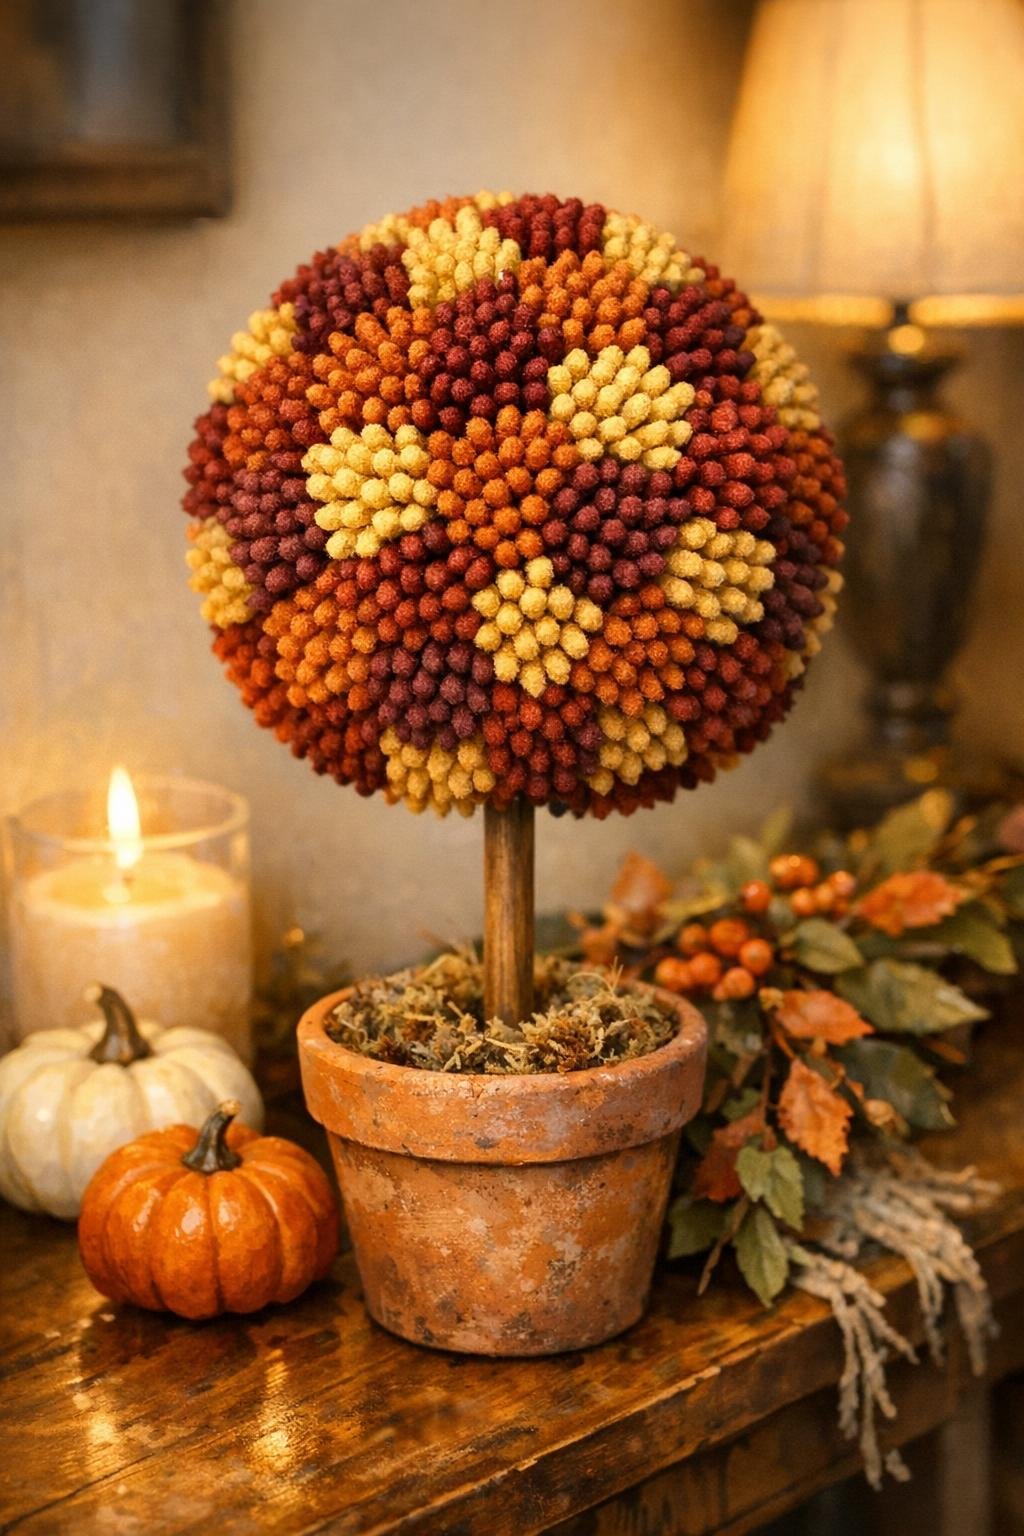
Color balance: If you want a more farmhouse look, use mostly rust and cream-toned gold with just a touch of burgundy. For a richer harvest feel, lean heavier on the burgundy and keep the gold as an accent.
Pot finish: A plain terra cotta pot is lovely, but you can also dry-brush it with cream or antique gold paint for a softer, dressed-up finish. That little extra touch makes it feel more special without much work.
Making it sturdier: If the dowel feels wobbly, fill the pot partway with pebbles before gluing, then glue over the top and cover with moss. I’ve done that on windy porch decor, and it helps quite a bit.
Coverage tip: Don’t be shy about packing in the swabs tightly. Sparse placement makes the foam show and the project reads more crafty than floral, while dense placement gives you that plush mum look.
Drying shortcut: If you’re in a hurry, set the wax paper tray near a fan to speed the paint drying. Just keep the airflow gentle so those light little swab stems don’t skitter across the table.
Seasonal twist: This same method works beautifully in other colorways too—cream and blush for spring, red and white for winter, or sunny yellow and orange for late summer. It’s one of those humble tricks that can carry you through the whole year.