
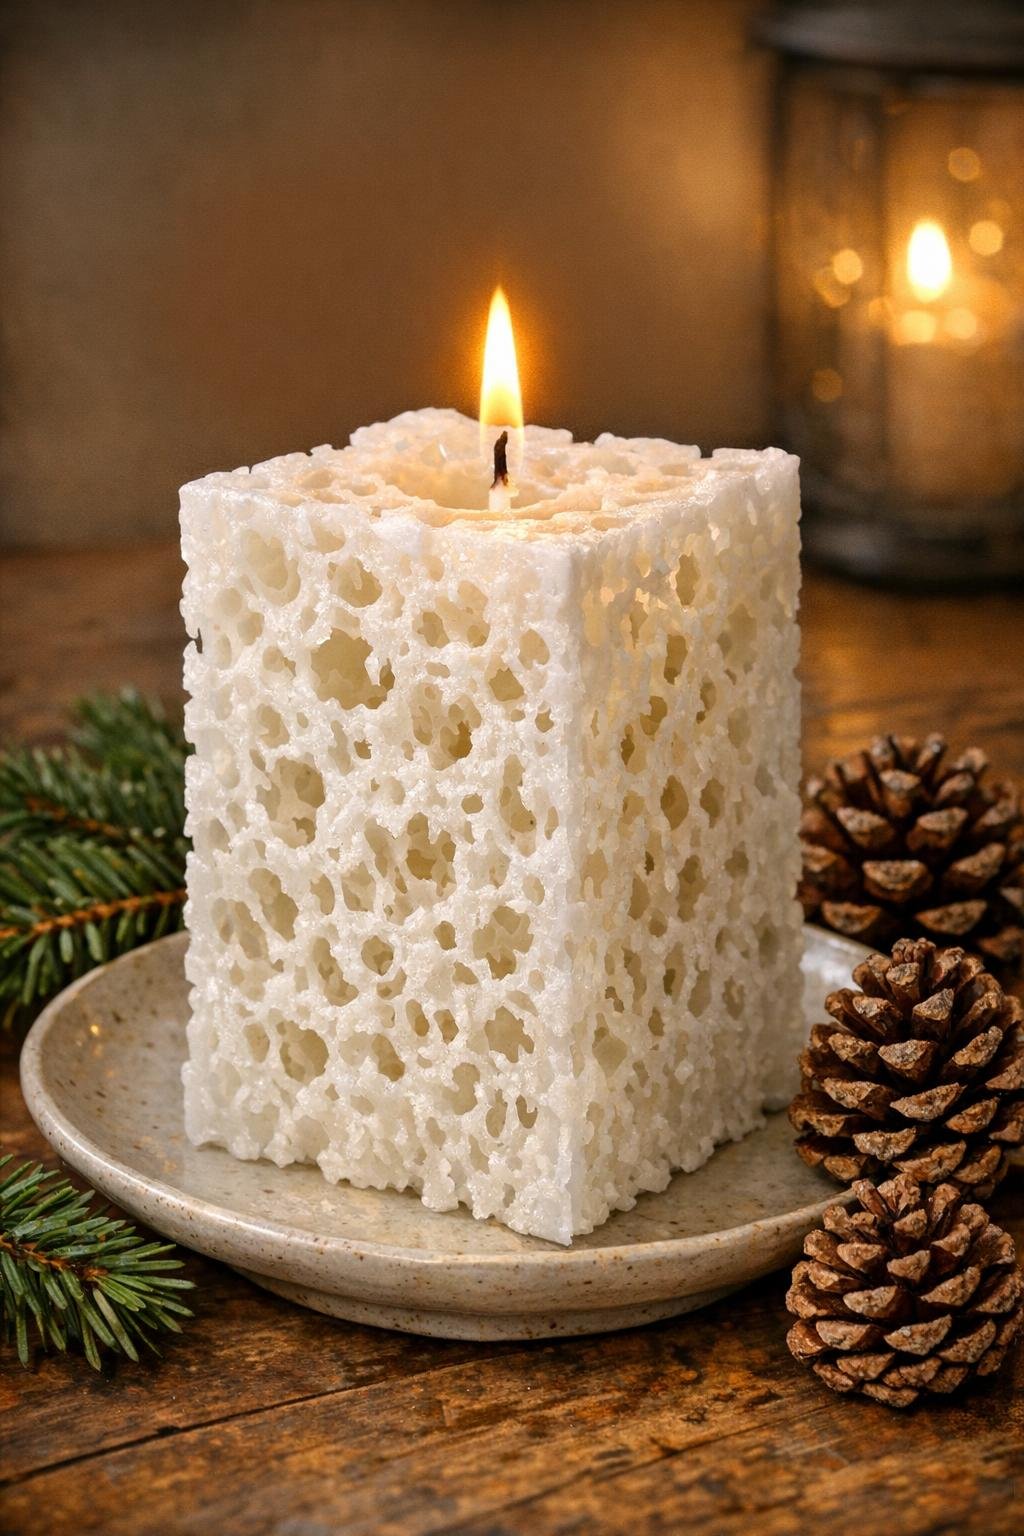
There is something so satisfying about a project that looks almost a little bit like kitchen magic, and this one absolutely does. You start with a simple paper milk carton, a pile of ice cubes, and melted wax, and somewhere in the middle of that very ordinary process, the whole thing turns into a gorgeous textured candle with delicate little openings all through the sides.
I love this project for anyone who wants a cozy handmade result without needing fancy candle molds or special equipment. If you can work carefully and follow a few simple steps, you can make a beautiful candle that feels extra special on a table, mantel, or winter centerpiece.
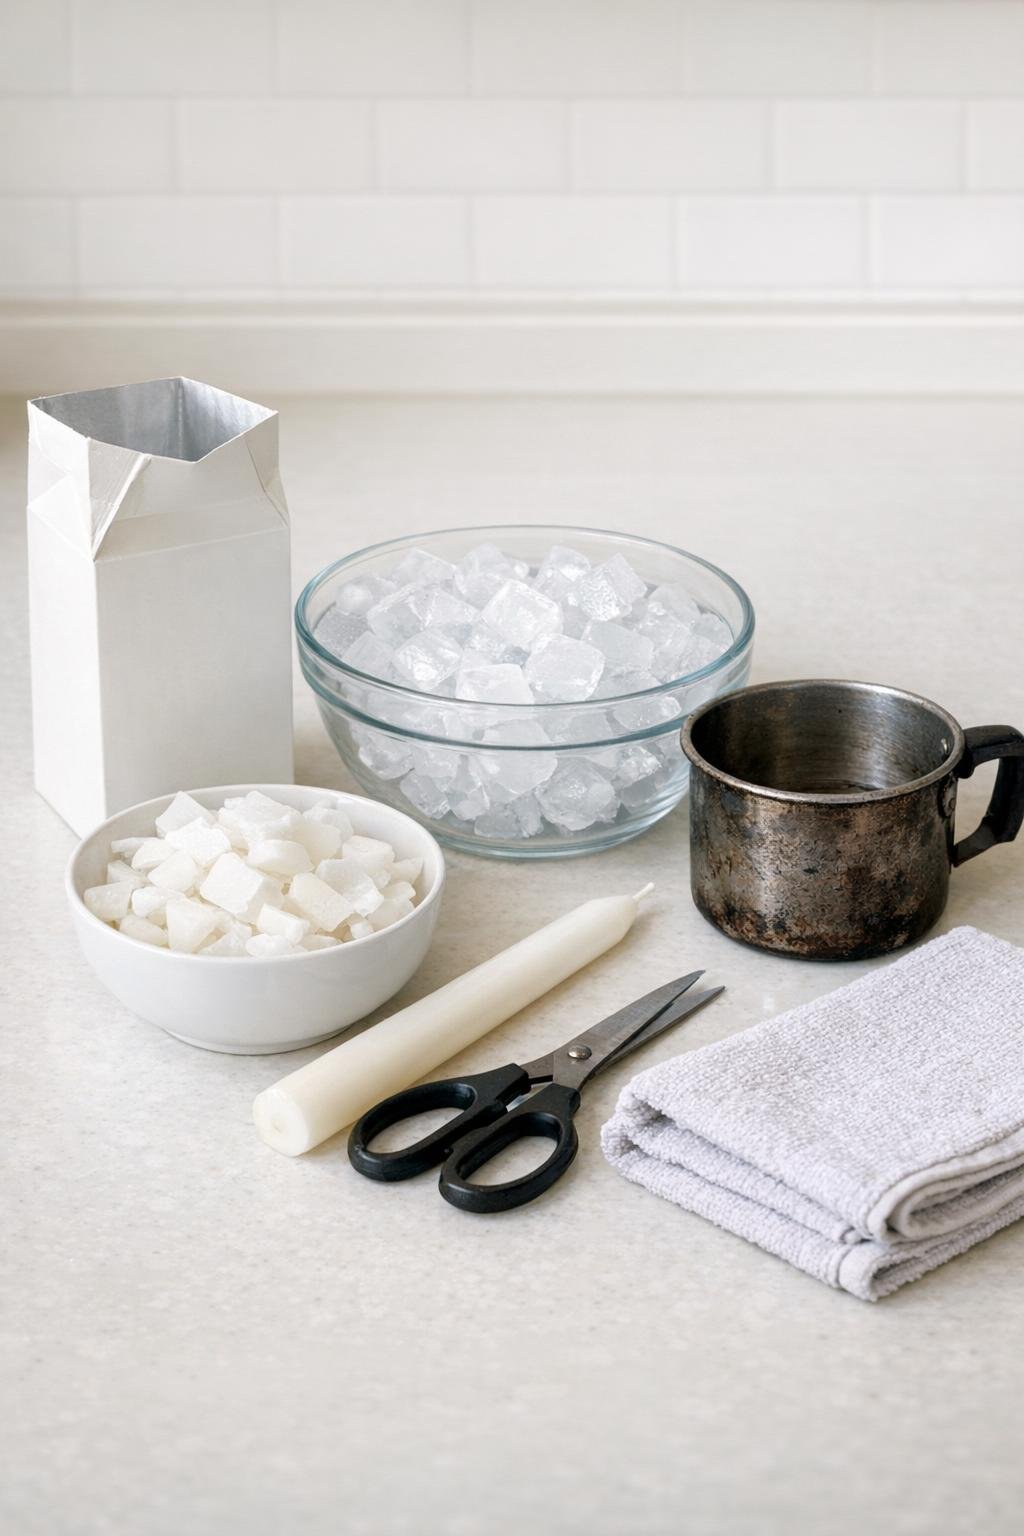
Materials
1 paper milk carton, 1 quart size, clean and dry
Instructions
1. Cut the top fully off the milk carton so you have an open square container about 5 to 6 inches tall, then set it on the folded towel to keep it steady.
2. Trim the taper candle if needed so the top sticks up 1 to 2 inches above the carton, then stand it upright in the center.
3. Pack ice cubes all around the taper candle until the carton is filled nearly to the top, keeping the candle as centered and straight as you can.
4. Melt the wax slowly in the old pot or tin can over low heat until fully liquid, and do not let it boil or smoke.
5. Pour the melted wax in a thin steady stream over the ice, filling the spaces between the cubes until the wax reaches about 1/2 inch below the top edge.
6. Let the carton sit undisturbed for 1 to 2 hours, until the outside feels firm and cool and the wax has set enough to hold its shape.
7. Tear or cut away the milk carton carefully, then gently tip the candle and drain out any melted ice water through the natural holes in the wax.
8. Set the candle upright and allow it to dry completely for several more hours, then trim the taper wick at the top to about 1/4 inch before displaying it.
Variations & Tips
For a fuller look: Use larger ice cubes packed tightly all the way to the corners of the carton so the finished candle has lots of open texture instead of just a few small holes.
For picky style preferences: White wax gives the cleanest snowy look, but ivory or pale pastel wax also works beautifully if you want something softer for spring tables or baby showers.
For safer burning: Always place this candle on a heatproof plate or tray because the open lace pattern can drip more than a solid pillar as it burns.
For easier unmolding: If the carton clings to the wax, let the candle sit another 30 minutes and peel the paper away in strips instead of trying to remove it all at once.
For a cleaner finish: Once the candle is dry, use scissors to snip away any very thin wax edges around the holes so the outside looks crisp and polished.
For gifting: Set the candle on a small saucer and tie a simple ribbon around the base before wrapping; it makes a sweet handmade winter hostess gift.