
Turning a pantry-style treat into something decorative is exactly the kind of clever project I love: inexpensive, fast, and just unexpected enough to make people smile. In this one, those plain sugar cones get a dramatic little makeover with paint, paper brims, and ribbon details, and the finished result looks far more polished than the supply list would suggest.
This is a wonderful craft for anyone who wants a seasonal project that feels festive without being fussy. If you can trace a circle, paint a simple coat, and use a glue gun, you can make this easily in an afternoon, and the batch approach means all 12 pieces come together quickly.
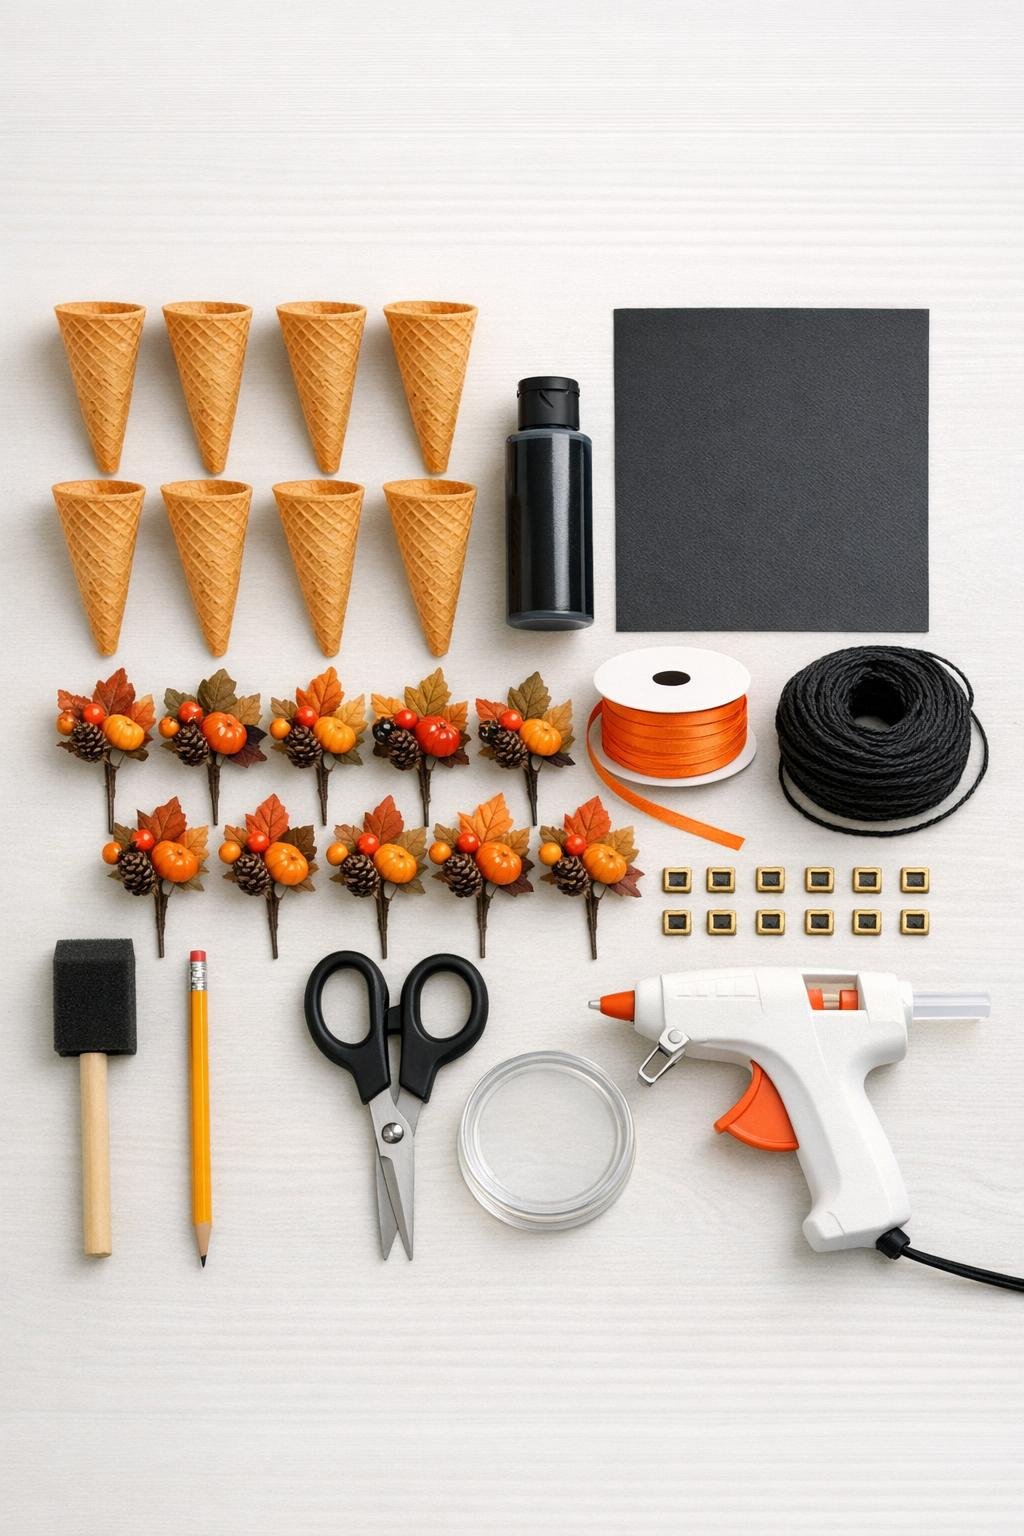
Materials
12 plain sugar cones
Instructions
1. Line a tray or your work surface with parchment, then turn all 12 sugar cones upside down so the wide openings sit flat and the pointed ends face up.
2. Paint the outside of each cone with black acrylic paint, using the foam brush to work color into the waffle texture and around the rim; let them dry completely, then add a second coat for a deep, even finish.
3. While the cones dry, trace 12 circles onto the black cardstock using a 3-inch cup or lid, then cut them out neatly with scissors.
4. Snip a small X or round hole in the center of each cardstock circle, just large enough for the pointed end of a cone to pass through snugly.
5. Slide one cardstock brim onto each painted cone from the pointed end down toward the base, then glue the brim in place where it meets the cone so it sits flat and clean.
6. Cut 12 ribbon lengths at 8 inches each, wrap one around the base of each cone just above the brim, and hot glue the ends down to make a narrow hatband.
7. If you want extra detail, glue a tiny buckle or a small trimmed fall pick onto the ribbon band on each hat; keep the embellishments small so the hats still hang nicely.
8. Cut the black twine to 6 feet, then lay out the hats in order with about 4 to 5 inches between them so the garland feels full and balanced.
9. Add a small line of hot glue to the back upper side of each hat and press the twine into it, or glue a short loop to the inside top of each cone and thread the twine through for a looser drape.
10. Let all the glue cool fully, then lift the garland by the twine and adjust the spacing so the hats hang evenly with their points upright and brims facing forward.
Variations & Tips
Ribbon color: Orange gives you that classic pumpkin-and-black contrast, but purple adds a slightly moodier look that I think works beautifully if your Halloween decor leans a bit whimsical.
Paint coverage: Sugar cones are surprisingly absorbent, so two thin coats usually look better than one heavy coat. I like to dab the brush rather than drag it too hard so the texture stays crisp instead of getting gummy.
Brim fit: If a brim droops, the center hole is probably a little too large. A snug opening helps the brim sit flatter and makes the finished hats look more tailored.
Hanging method: For a straighter garland, glue the hats directly onto the twine. For a softer drape with more movement, make small loops on the hats and thread the twine through after the glue sets.
Decorative accents: Tiny buckles make the hats look storybook-cute, while little clipped fall picks add color and texture. Use one consistent accent on all 12 hats for the most cohesive finish.
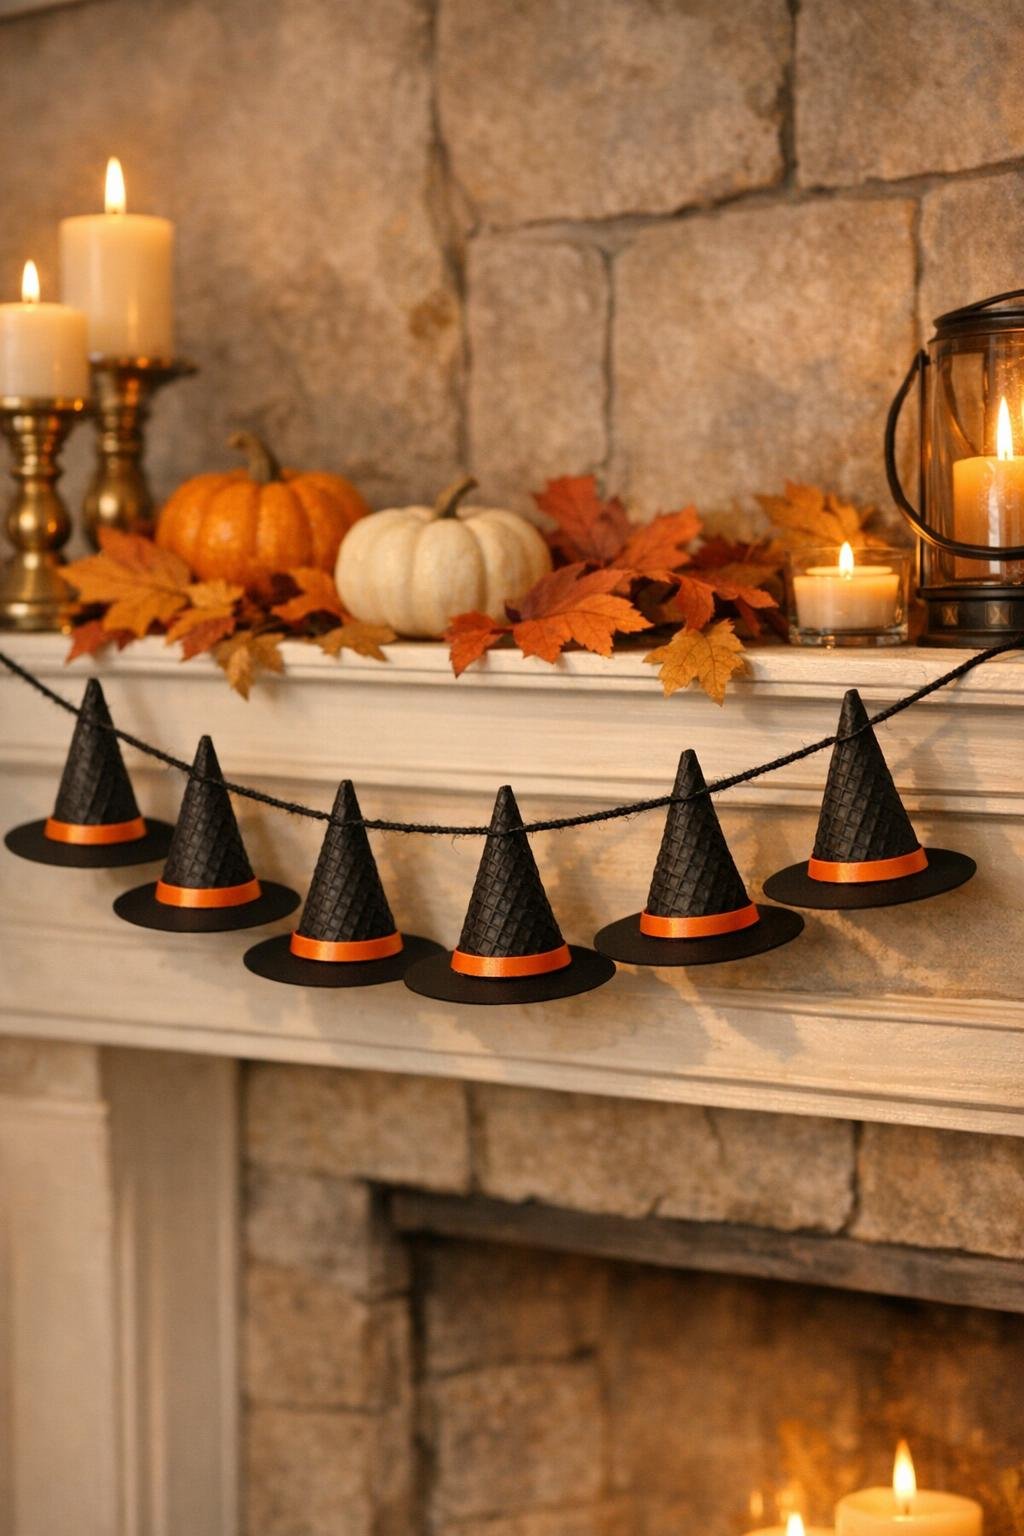
Display idea: This looks especially charming on a mantel, across a mirror, or along a buffet table. If you hang it on a wall, a few removable clear hooks will keep the twine from sagging in the middle.
Storage: Because the hats are lightweight, store the garland in a shallow box with tissue between layers so the cardstock brims stay smooth for next season.