
Broken crayons are one of those little household leftovers I hate throwing away, especially around the holidays when I’m already in the mood to turn simple odds and ends into something cheerful. This project takes those colorful bits and transforms them with just a little heat and movement, and the result looks far more polished than the effort would suggest.
I especially love this one for families, classroom craft tables, and anyone who wants a festive handmade decoration without pulling out a mountain of supplies. If you can sort colors, fill an ornament, and use a hair dryer, you can make these—and they’re wonderfully forgiving, which is my favorite kind of holiday crafting.
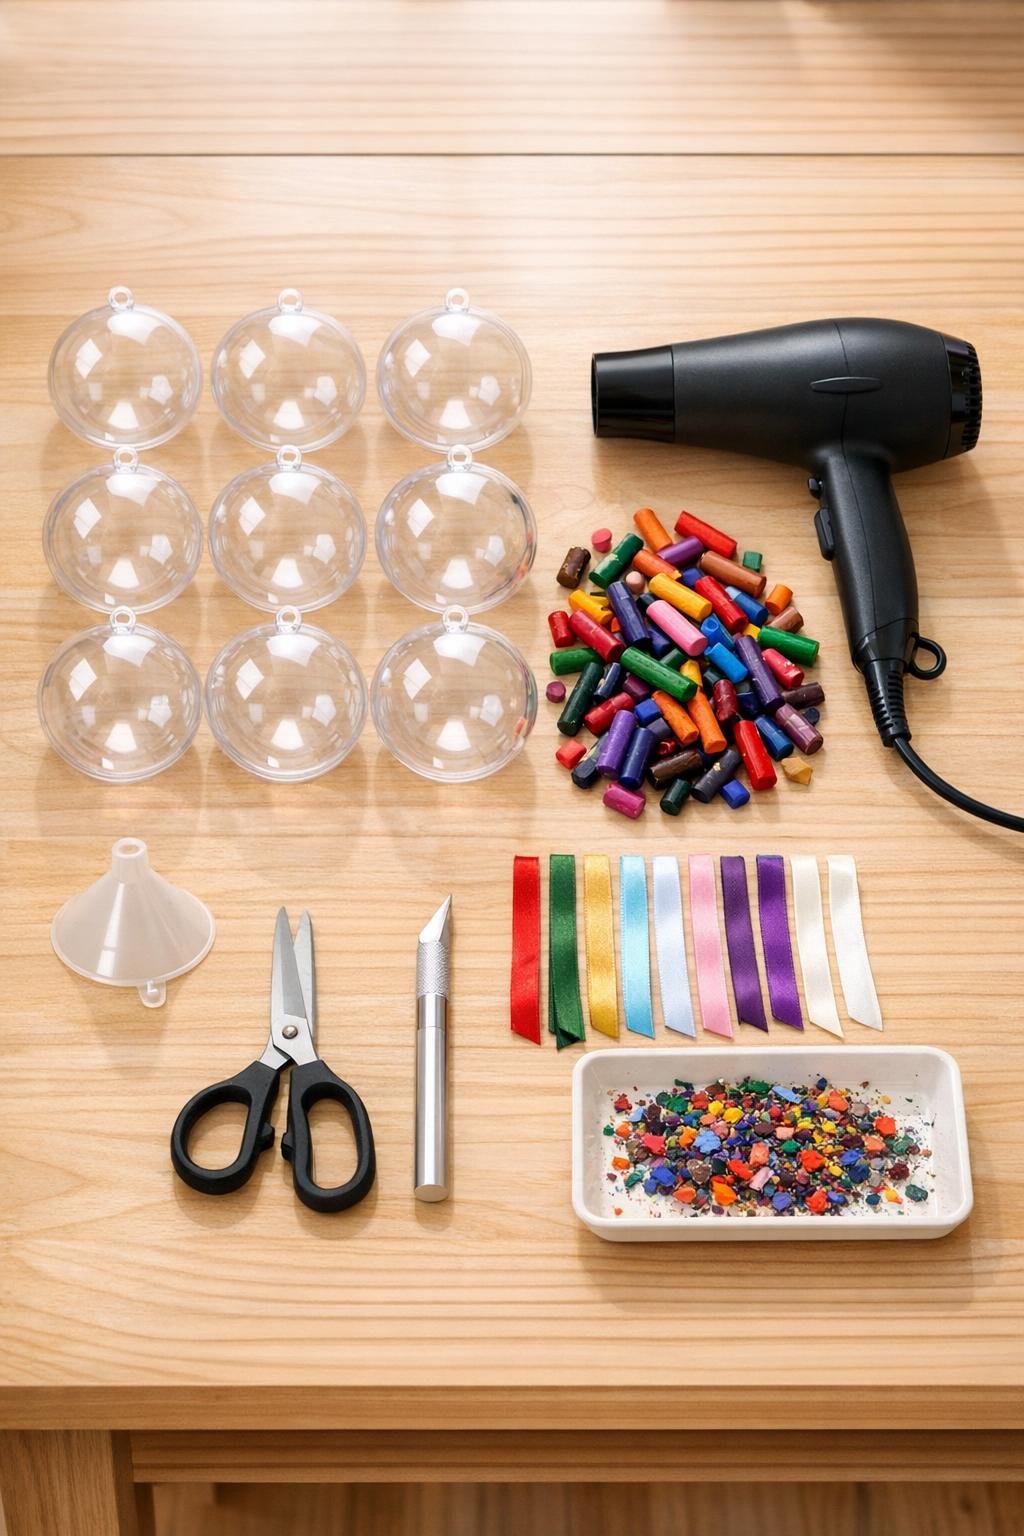
Materials
8 clear plastic fillable ornaments, 3 inches wide
Instructions
1. Remove every bit of paper from the broken crayons, then snap or cut the crayons into small pieces about 1/4 to 1/2 inch long so they slide easily into the ornaments.
2. Sort the crayon pieces into pleasing color combinations; I like to group 3 to 5 colors per ornament so the swirls stay vivid instead of turning muddy.
3. Open each clear plastic ornament and make sure the inside is clean and dry, because even a little moisture can interfere with the melted color sticking smoothly.
4. Set one ornament half or one fillable ornament over a tray, place the funnel in the opening, and add about 1 1/2 tablespoons of broken crayon pieces total. Use enough to create bold color inside, but not so much that the pieces jam together in a heavy clump.
5. If your ornament comes in two halves, snap it closed securely before heating; if it has a removable top, put the top back on so the shape stays firm while you work.
6. Turn the hair dryer to high heat and medium airflow, hold it 3 to 5 inches from the ornament, and begin warming one section while slowly rotating the ornament with your other hand. Keep the dryer moving so the plastic doesn’t overheat in one spot.
7. As the crayon begins to soften, tilt and turn the ornament so the melted wax glides across the interior in ribbons and curves. Work in short bursts of heat, then rotate, so you build swirls rather than one pooled blob.
8. Continue heating and rotating until the inside has generous, even coverage with visible marbled movement and some translucent areas for sparkle. Add a few more crayon pieces through the opening if you want denser color, then repeat the heating and swirling.
9. Set the ornament aside for 5 minutes to cool completely before touching the surface too much, then check for any bare patches and reheat briefly if needed to carry color into those spots.
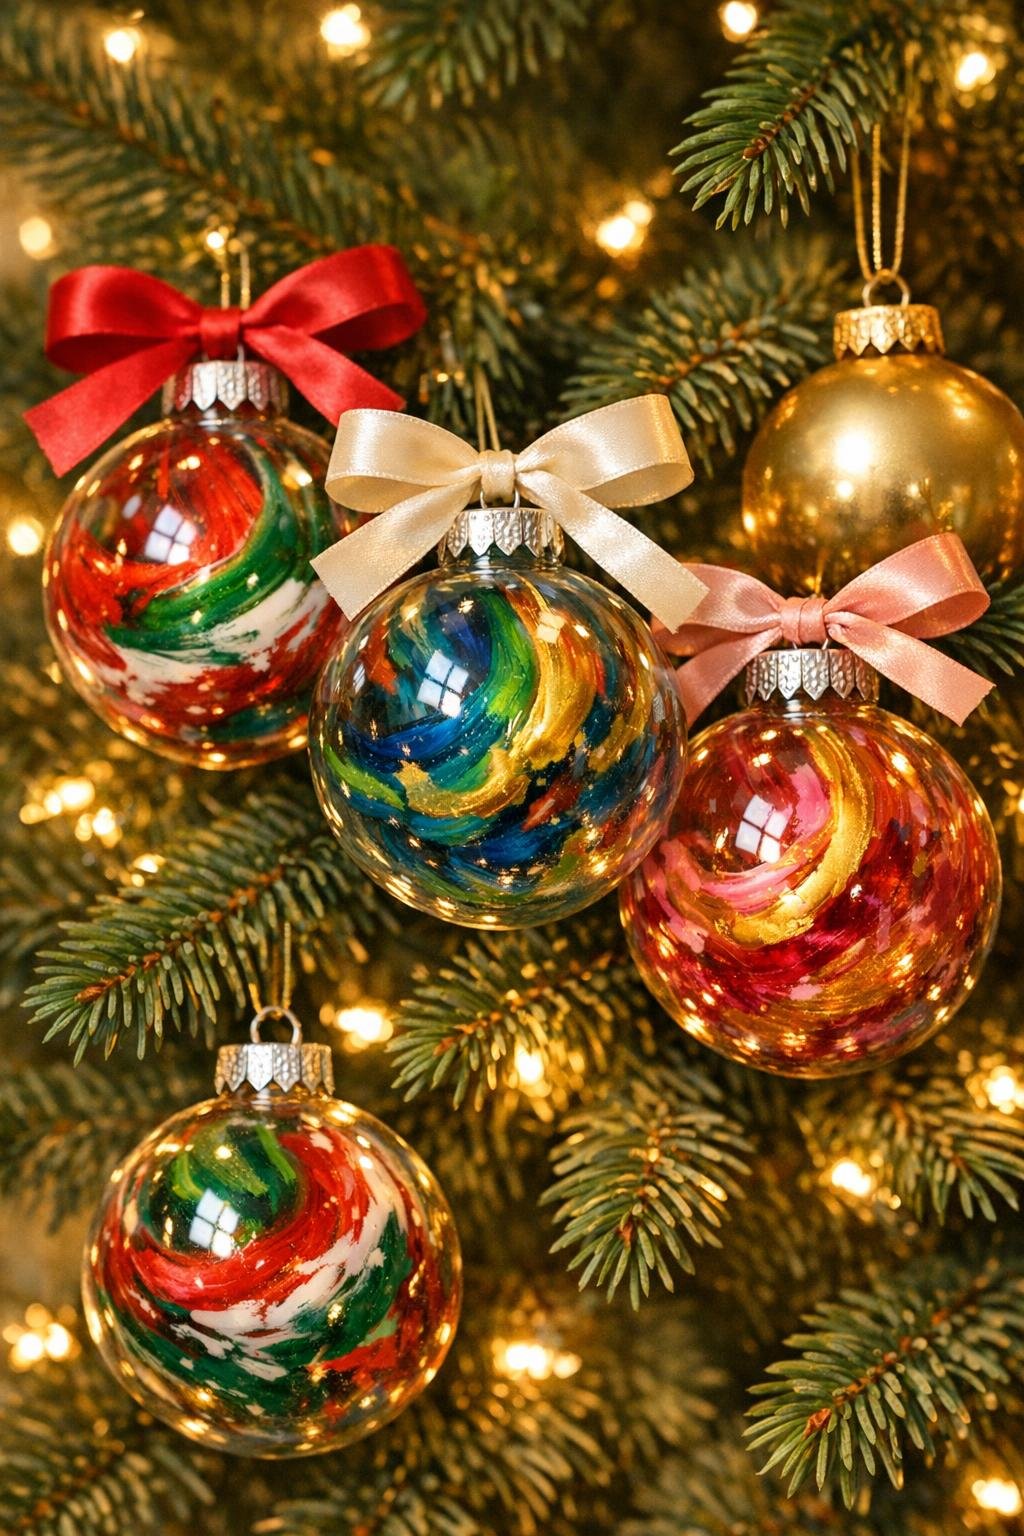
10. Repeat with the remaining ornaments, varying the color palettes for a fuller tree display; classic red and green, icy blue and silver-toned shades, and rainbow mixes all work beautifully.
11. Tie a 12-inch ribbon through each ornament loop in a neat bow or hanging knot, trimming the ends at an angle for a cleaner finish.
Variations & Tips
Classic Holiday Palette: Use red, green, white, and a tiny touch of yellow for a traditional Christmas look that stands out beautifully against deep green tree branches.
Cool Winter Mix: Try blue, purple, and silver-gray crayons for ornaments that feel a little frosty and elegant without needing any extra embellishment.
How Much Crayon to Use: Too little crayon gives you faint streaks, while too much can create thick puddles. For a 3-inch ornament, about 1 1/2 tablespoons of crayon bits is the sweet spot.
Keep Colors Clean: Avoid mixing too many opposite colors, such as purple, yellow, green, orange, and brown all together, or the finished swirl can turn dull.
Plastic Ornament Caution: A hair dryer is safer here than a heat gun because it gives you slower, gentler heat. If the ornament starts to look too soft, pull the heat away immediately and let it cool before continuing.
Make It Gift-Ready: Pair two or three ornaments in coordinating colors and tie them together with ribbon for an easy handmade teacher gift or stocking stuffer.
Cleanup Tip: Work over a tray from the start. Tiny crayon chips have a way of bouncing everywhere, rather like cumin seeds in my kitchen when I’m toasting spices.
Best Storage: Store these in a cool spot out of direct heat or sunlight so the wax design stays crisp and doesn’t soften during the off-season.