
When I need front-door decor that looks festive fast without turning into a whole weekend project, I always come back to cardboard and lights. It’s affordable, easy to find, and surprisingly charming once you give it a clean shape and a polished finish. This idea is especially good if you want something oversized and cheerful that shows up beautifully at night.
I like projects like this because they fit into real life. You can make it after work, spread the steps over two evenings, and still end up with something that looks custom instead of last-minute. If you’re comfortable tracing, cutting, painting, and poking holes, you can absolutely pull this off.
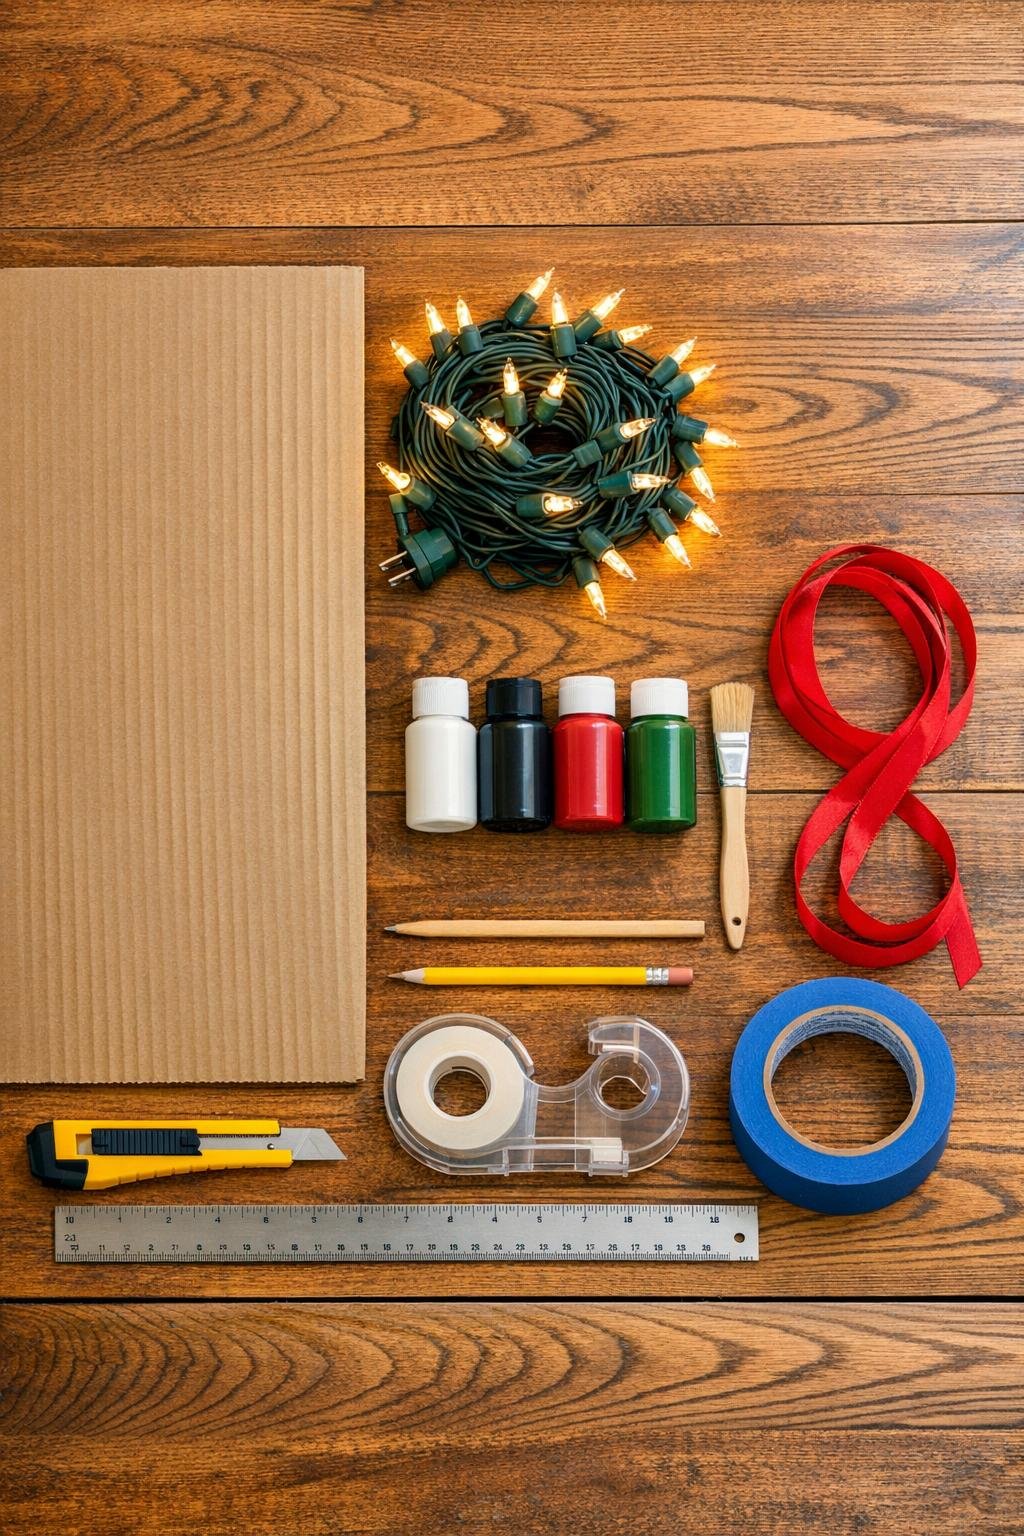
1. Flatten the cardboard if needed, then draw a large five-point star that fills most of the 30 x 30 inch area; I like making mine about 26 inches across so it looks substantial on the door without being awkward to hang.
2. Cut out the star with a box cutter, using a ruler on the long outer edges to keep the lines crisp and clean.
3. Lightly sketch a border 1 1/2 inches in from the edge of the star, then mark dots for the bulbs all the way around and across the center, spacing them about 2 inches apart for full, even coverage.
4. Punch each marked spot with a skewer or sharp pencil first, then widen the holes just enough for a mini bulb to push through snugly; test one bulb early so you don’t make the openings too loose.
5. Paint the front and edges of the star, keeping the coat even and working paint into the cut edges so the cardboard looks finished from the street; let it dry completely and add a second coat if the color looks streaky.
6. If you want extra durability, mist the painted star with a clear sealer once the paint is dry, then let it cure according to the can directions.
7. Start at one point of the star and push each mini bulb through from the back to the front, following your marked layout until the shape is fully lit and evenly filled.
8. Flip the star over and adjust any bulbs that sit crooked, then tape the wire runs on the back with small pieces of painter’s tape so the lights stay flat and the front keeps its tidy pattern.
9. Tape or glue the battery pack or plug lead neatly along the back edge, leaving the cord or switch accessible from the bottom or side that will be closest to your outlet or easiest to reach.
10. Make two small slits near the top point, thread ribbon or hanging cord through them, knot securely on the back, and check that the star hangs straight before moving it to the door.
11. Hang it on a protected front door or covered porch area, then plug in or switch on the lights and do one last bulb adjustment so the whole shape glows evenly.
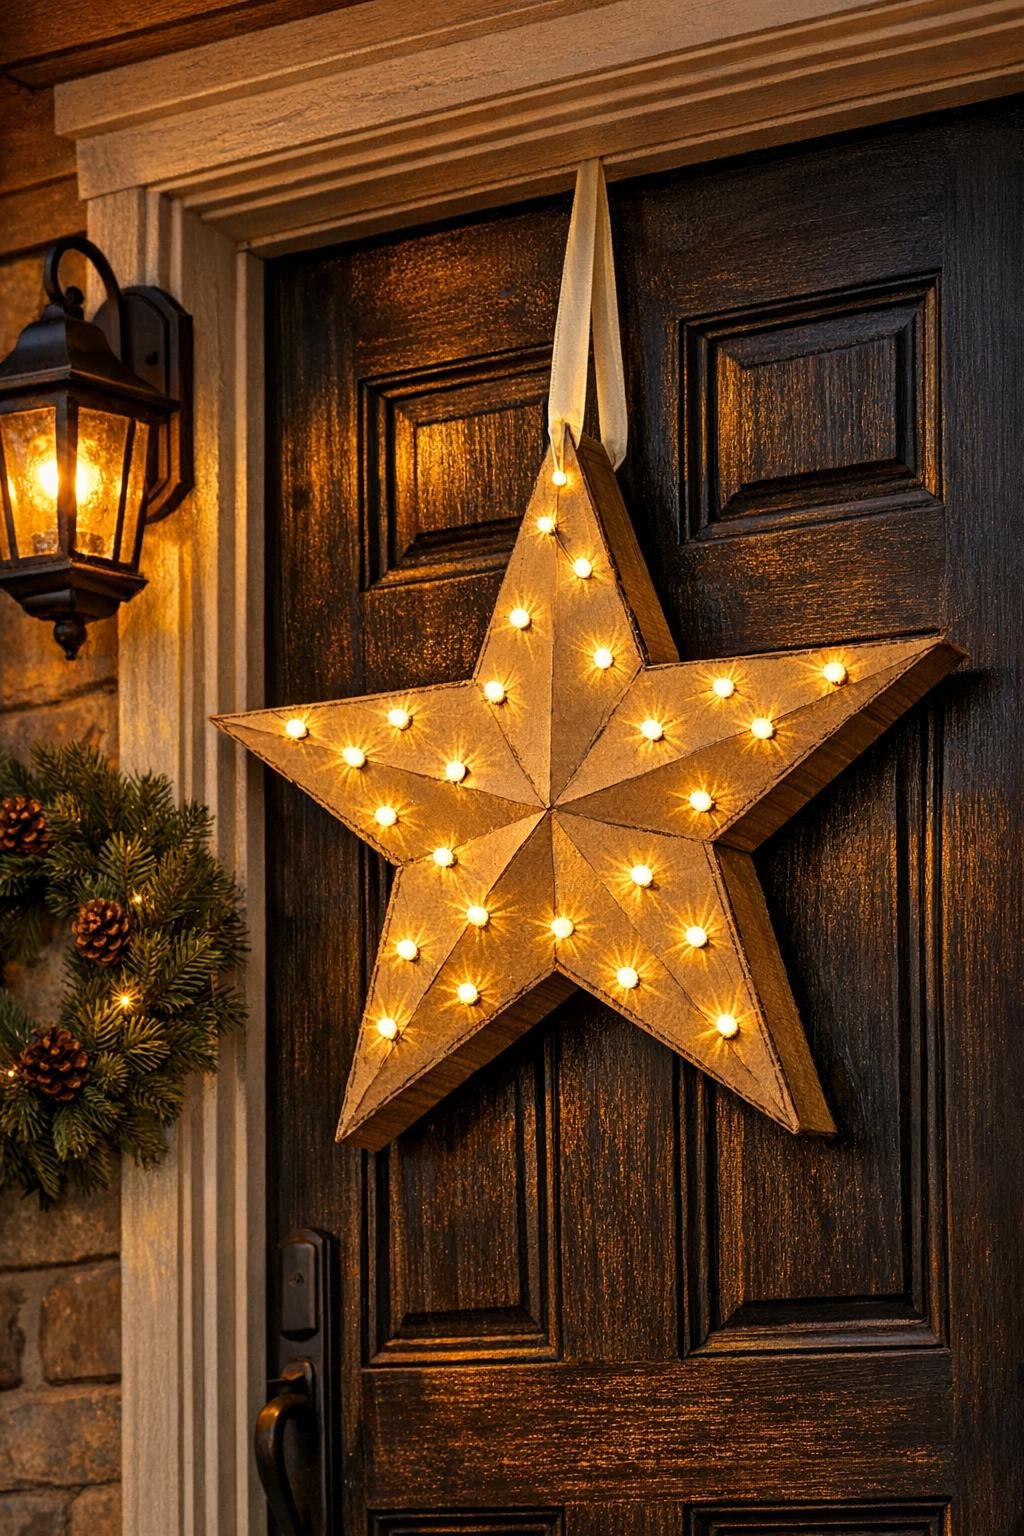
Color choice: White paint gives this a crisp snowy look, black feels modern and dramatic, and metallic gold looks especially pretty with warm white bulbs. I usually pick the color based on the door so the glow stands out.
Make it fuller: If you want a more marquee-style look, reduce bulb spacing to about 1 1/2 inches and use nearly the full 100-light strand. The denser layout makes a big difference at night.
For a cleaner cut: Change the blade as soon as it starts dragging. Cardboard fuzz on the edges is what makes simple projects look messy the fastest.
Weather note: Cardboard and moisture are not best friends, so I’d keep this on a covered porch or storm door rather than a fully exposed entry. A clear sealer helps, but shelter matters more.
Easy hanging option: If you don’t want visible ribbon, use removable outdoor hooks on the door and hang the cord from the back side of the top point.
Battery lights option: If your outlet placement is awkward, swap in a battery-operated mini light strand with a timer. That’s the version I’d choose for the least daily hassle during a busy week.
Storage tip: After the season, wrap the lighted star loosely in tissue or an old pillowcase and store it flat. Keeping the bulbs already inserted saves so much setup time next year.