
Cold-weather entryways collect wet gloves fast, and I’m always looking for little household tricks that feel almost too simple to work. This glove dryer is exactly that kind of project: you turn small ceramic bud vases upside down inside a shallow terra cotta saucer, and suddenly you have raised forms that let damp gloves air out neatly instead of slumping in a soggy pile by the door.
What I like most is that it takes just a few basic pieces and still looks intentional enough to leave out all season. The saucer catches drips, the upside-down vases create airflow inside the gloves, and the whole setup is tidy, sturdy, and easy to wipe clean. If you want an entryway fix that is practical but still attractive, this is a satisfying little make.
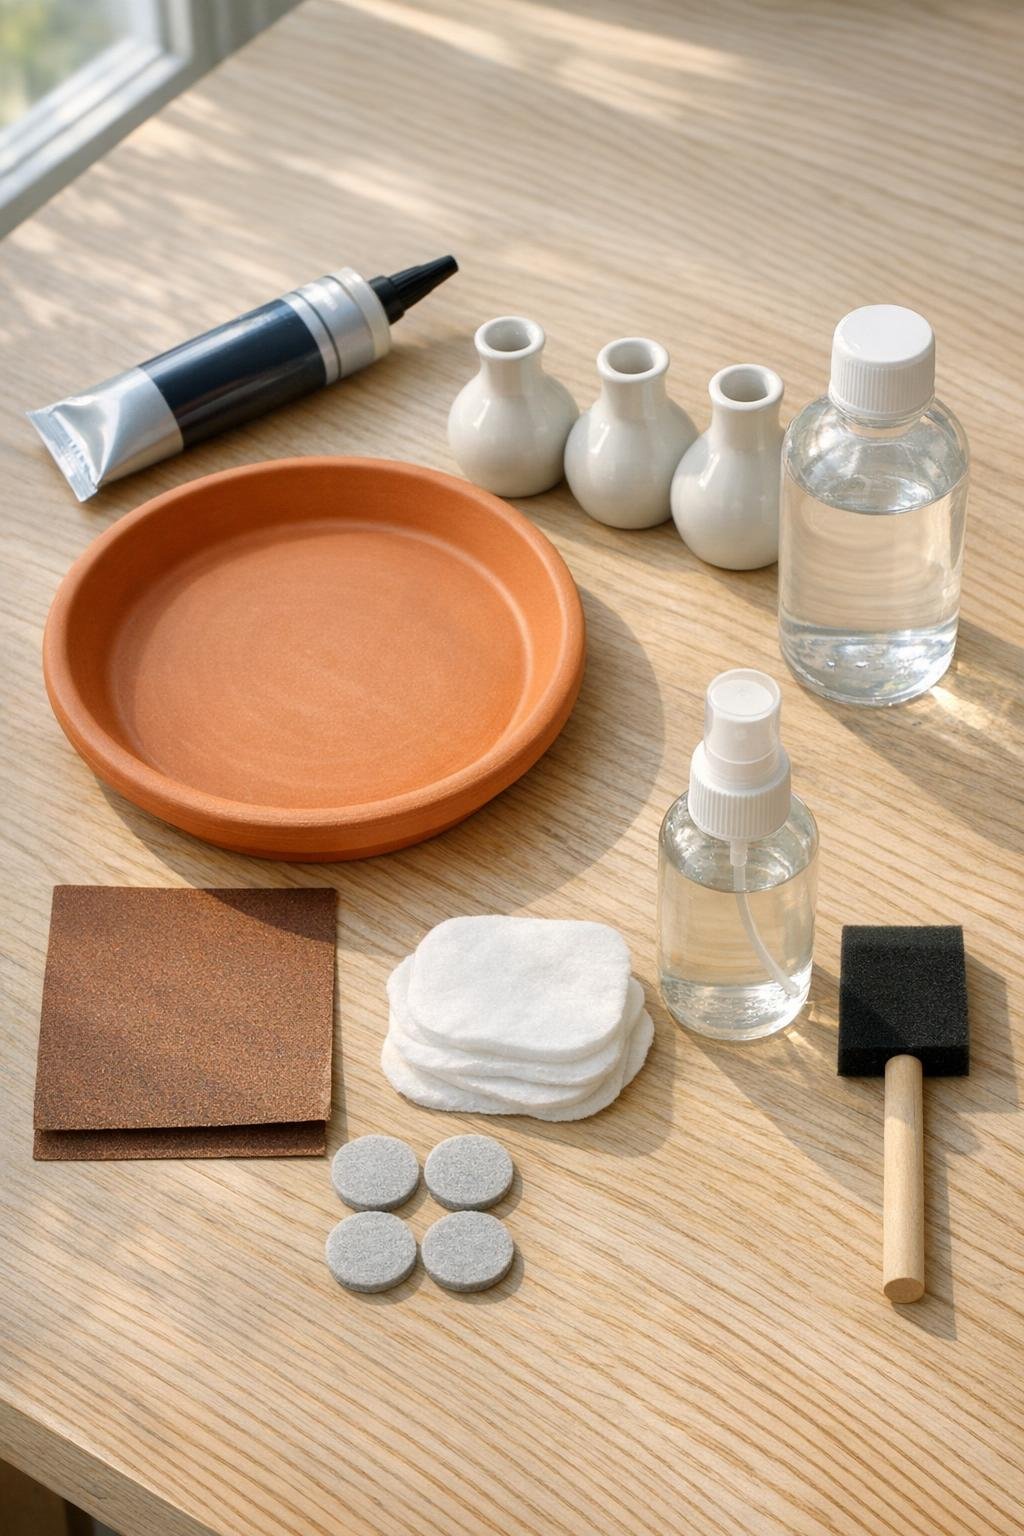
Materials
1 large shallow terra cotta saucer, 12 inches wide
Instructions
1. Wash the terra cotta saucer and the bud vases with warm water, then let them dry completely so the adhesive bonds well.
2. Lightly sand the inside center of the saucer and the rims of the bud vases that will touch the saucer, then wipe away dust with rubbing alcohol.
3. Brush a thin coat of clear matte sealer over the saucer, inside and out, and let it dry fully; this keeps dampness from soaking into the terra cotta and helps prevent staining.
4. Turn the three bud vases upside down and test the layout inside the saucer, spacing them evenly in a triangle so adult-size gloves can drape over them without crowding.
5. Apply a generous bead of waterproof adhesive around the rim of each upside-down vase, then press each one into place inside the saucer following your tested layout.
6. Hold each vase steady for a few seconds, then check from all sides to make sure they are standing straight and evenly spaced before the adhesive starts to set.
7. Let the piece cure undisturbed for the full time recommended on the adhesive package, preferably overnight, so it can support the weight of damp gloves without shifting.
8. Add four felt pads to the underside of the saucer to protect your entryway table, bench, or shelf and to keep the dryer from sliding around.
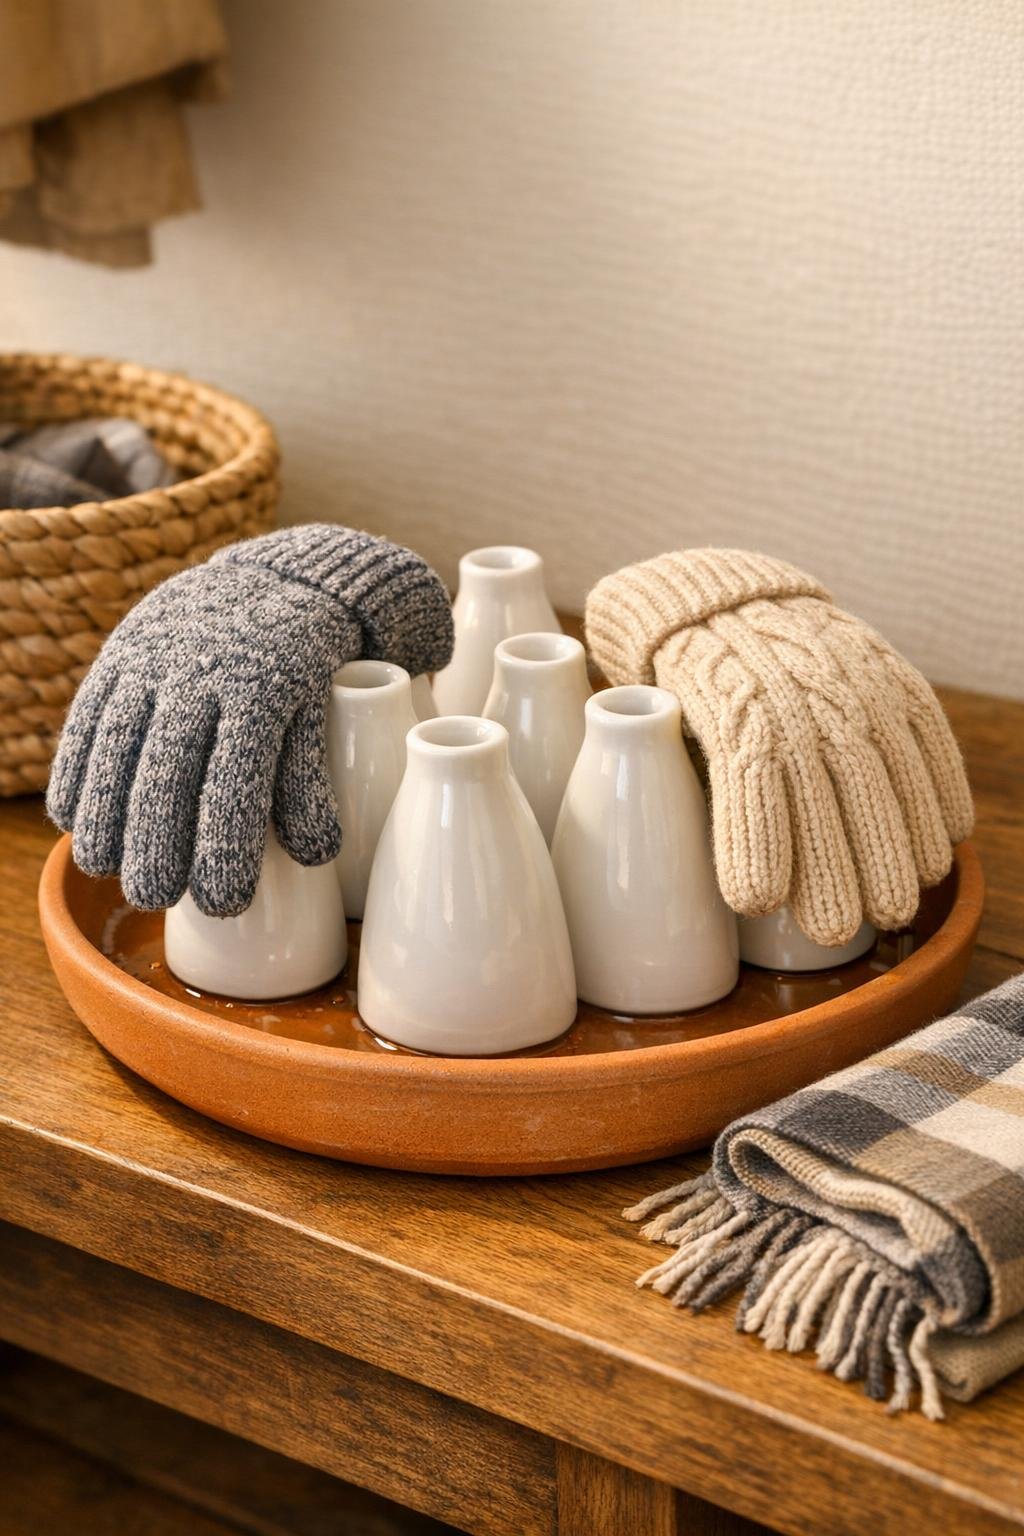
9. Set the finished glove dryer in the entryway and drape one glove over each vase opening so air can circulate up into the fingers while the saucer catches any melting snow or drips.
Variations & Tips
Use more drying posts: If you have a wider saucer, use 4 small bud vases instead of 3 so you can dry extra gloves, kids’ mittens, or even a knit hat at the same time.
Choose the right vase shape: Bud vases with a slightly wider body and a flat rim are the easiest to glue securely and give gloves a fuller shape while drying.
Add a waterproof finish: If your entryway gets a lot of slush, apply a second coat of matte sealer to the saucer for better moisture resistance and easier cleanup.
Keep airflow strong: Don’t pack gloves tightly against one another; a little space between each pair helps them dry much faster and keeps musty smells down.
Make it match your decor: You can leave the terra cotta natural for a warm, earthy look, or paint the outside of the saucer in black, cream, or sage green after sealing if you want it to blend into your entryway.
Try it for more than gloves: I also like this setup for drying kids’ mittens, lightweight socks, or reusable dish gloves after washing, which makes it one of those small household builds that earns its keep.