
I love a project that starts with something headed for the recycling bin and ends up looking like real holiday decor. This one is especially satisfying because it uses a few basic supplies, comes together in an evening, and still has that cheerful, handmade charm that makes people ask where you bought it. If you’ve got three empty cans and a little paint, you can turn them into something surprisingly giftable.
As someone who is usually squeezing crafty fun in between work, dinner, and the usual weeknight shuffle, I’m always looking for projects that feel high payoff without needing a whole weekend. This is perfect for beginners, great for kids to help with the decorating parts, and easy to customize with whatever fabric scraps or old socks you already have at home.
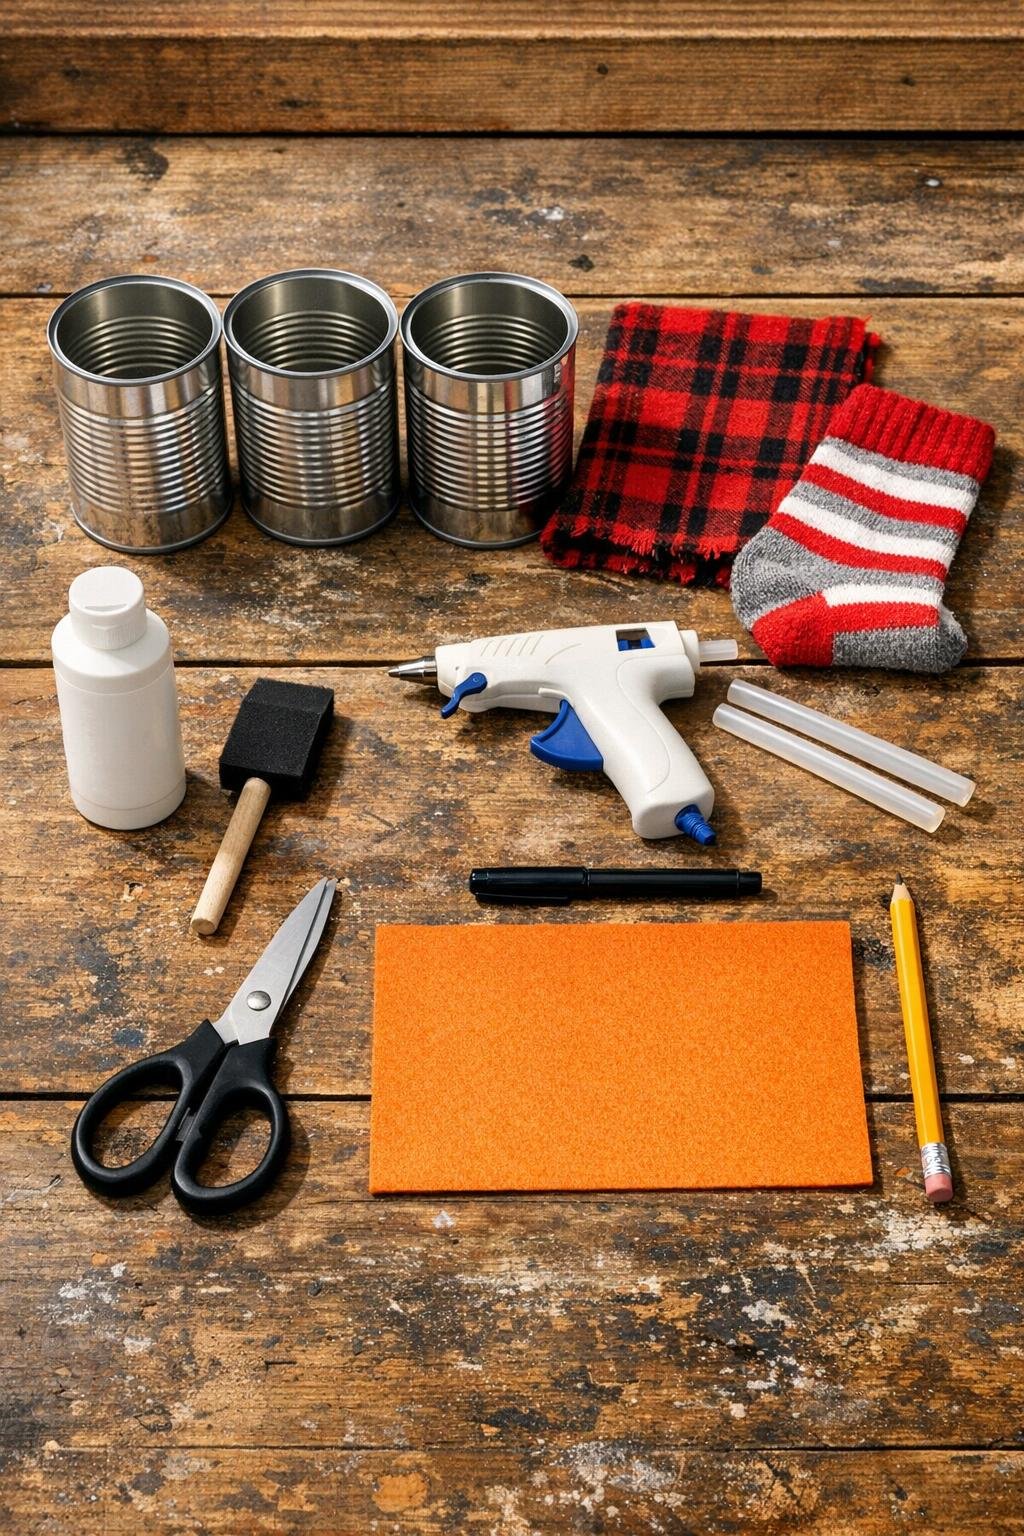
Materials
3 empty tin soup cans, cleaned and labels removed
Instructions
1. Wash and dry the three cans thoroughly, then remove any paper and glue residue so the paint will stick smoothly.
2. Paint the outside of each can with white craft paint using the foam brush, covering the sides and bottom rim with an even coat.
3. Let the first coat dry, then add a second coat so the cans look solid white and crisp instead of streaky.
4. Stack the cans vertically from largest-looking end alignment to smallest-looking visual balance, then hot glue the touching rims together one at a time, holding each can in place for 20 to 30 seconds.
5. Use the black marker to draw two eyes, a dotted smile, and three buttons on the front, spacing the face on the top can and the buttons down the center of the middle and bottom cans.
6. Draw a small carrot shape on the orange felt, cut it out, and glue it in the center of the face as the nose, angled slightly sideways for a classic snowman look.
7. Cut a strip of scrap fabric about 2 x 16 inches and wrap it around the neck area between the top and middle cans, then glue it at the back and fringe the ends if you want a scarf look.
8. Make a hat by cutting the foot off a sock and rolling the cut edge up into a cuff, or by wrapping a rectangle of fabric into a simple cap shape, then glue it onto the top can.
9. Check the whole piece for any thin paint spots, glue strings, or uneven edges, touch up the paint if needed, and let all glued areas cool completely before displaying.
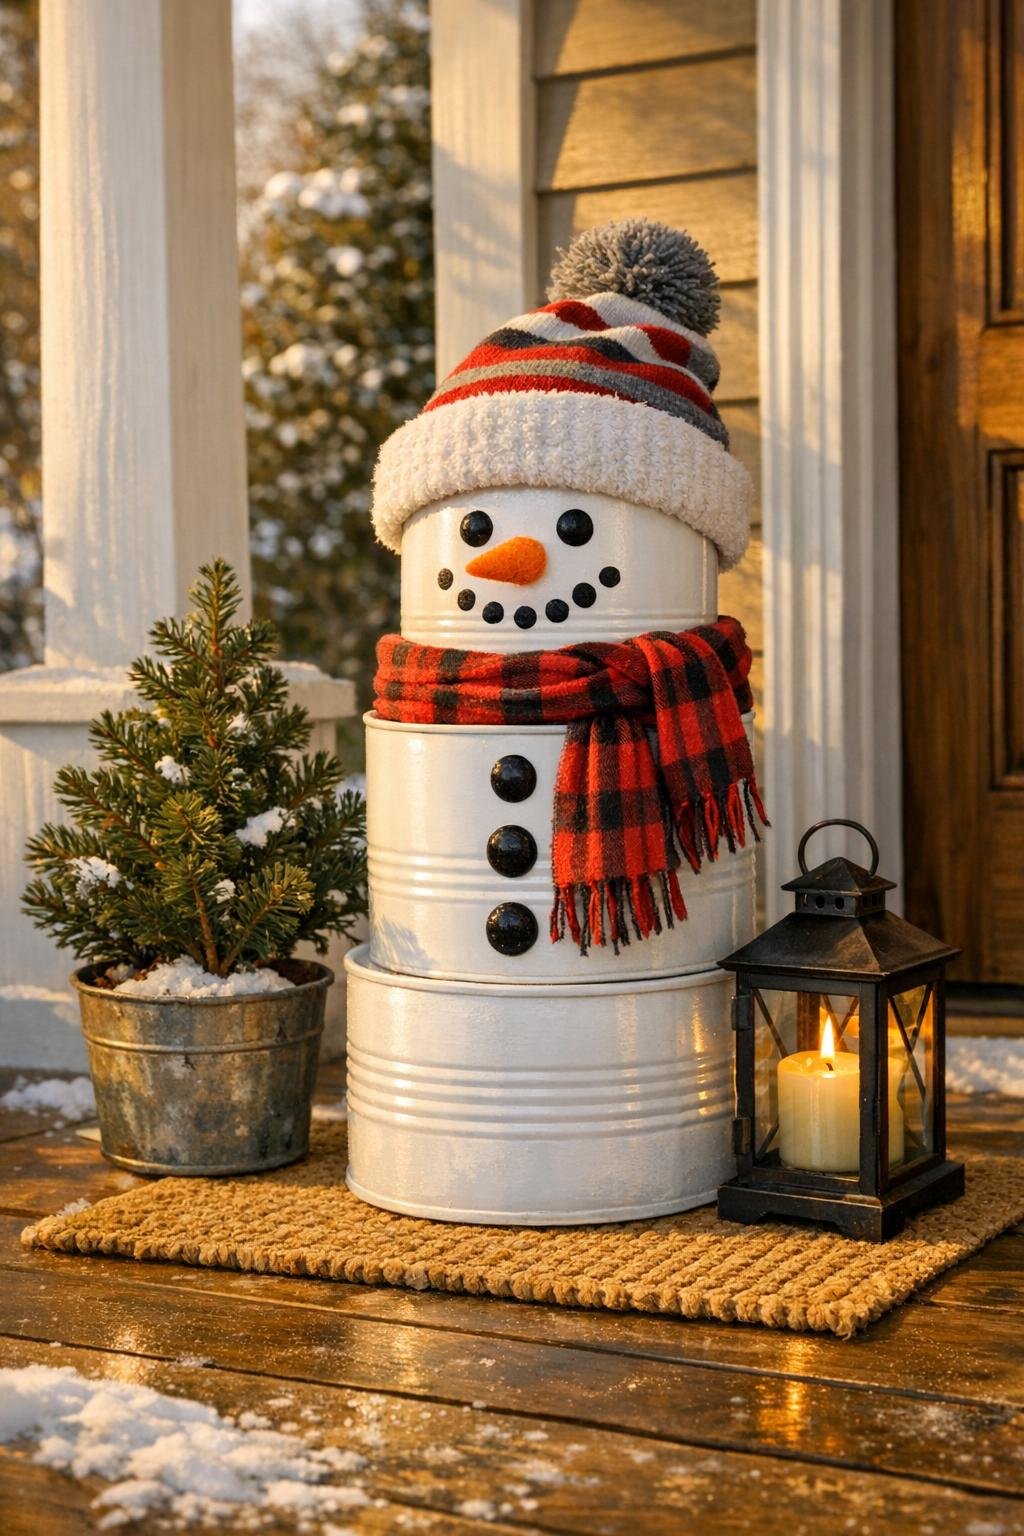
Variations & Tips
Use what you have: If your fabric scrap is small, use it just for the scarf and make the hat from a sock. I’ve done that with one lonely mismatched sock from the laundry basket, and honestly it worked perfectly.
Make it sturdier: If you want to display it on a porch, add a generous ring of hot glue around each seam and let it cool fully before moving the stack.
Add more personality: Small felt circles on the cheeks, mini twig arms, or a ribbon around the hat can make it feel even more finished without adding much work.
Keep the paint smooth: Thin coats always look better than one heavy coat. If I rush that part, I always regret it because the drips are way more annoying to fix later.
Display tip: This looks cutest tucked near a planter, by the front door, or on a holiday entry table where the stacked shape can really stand out.
Kid-friendly option: Let kids draw the face with the marker after the paint is dry. It’s the easiest part to hand off and gives each one a slightly different expression.