
There’s something deeply satisfying about turning the most ordinary household castoffs into decorations that get a genuine double take. Toilet paper rolls are one of those materials I save almost by reflex, because with a little folding and paint they become surprisingly sculptural, and this project is proof. It’s quick, inexpensive, and easy enough for older kids to help with, but the finished result still has that clever handmade charm adults appreciate.
I especially like projects like this around fall, when a simple shape and a strong color do so much of the work for you. If you want a low-mess craft that uses very few supplies and gives you a dramatic display at the end, this one checks every box. The best part is that you can make just a few or enough to create a whole clustered scene on a wall, wreath, branch arrangement, or mantel.
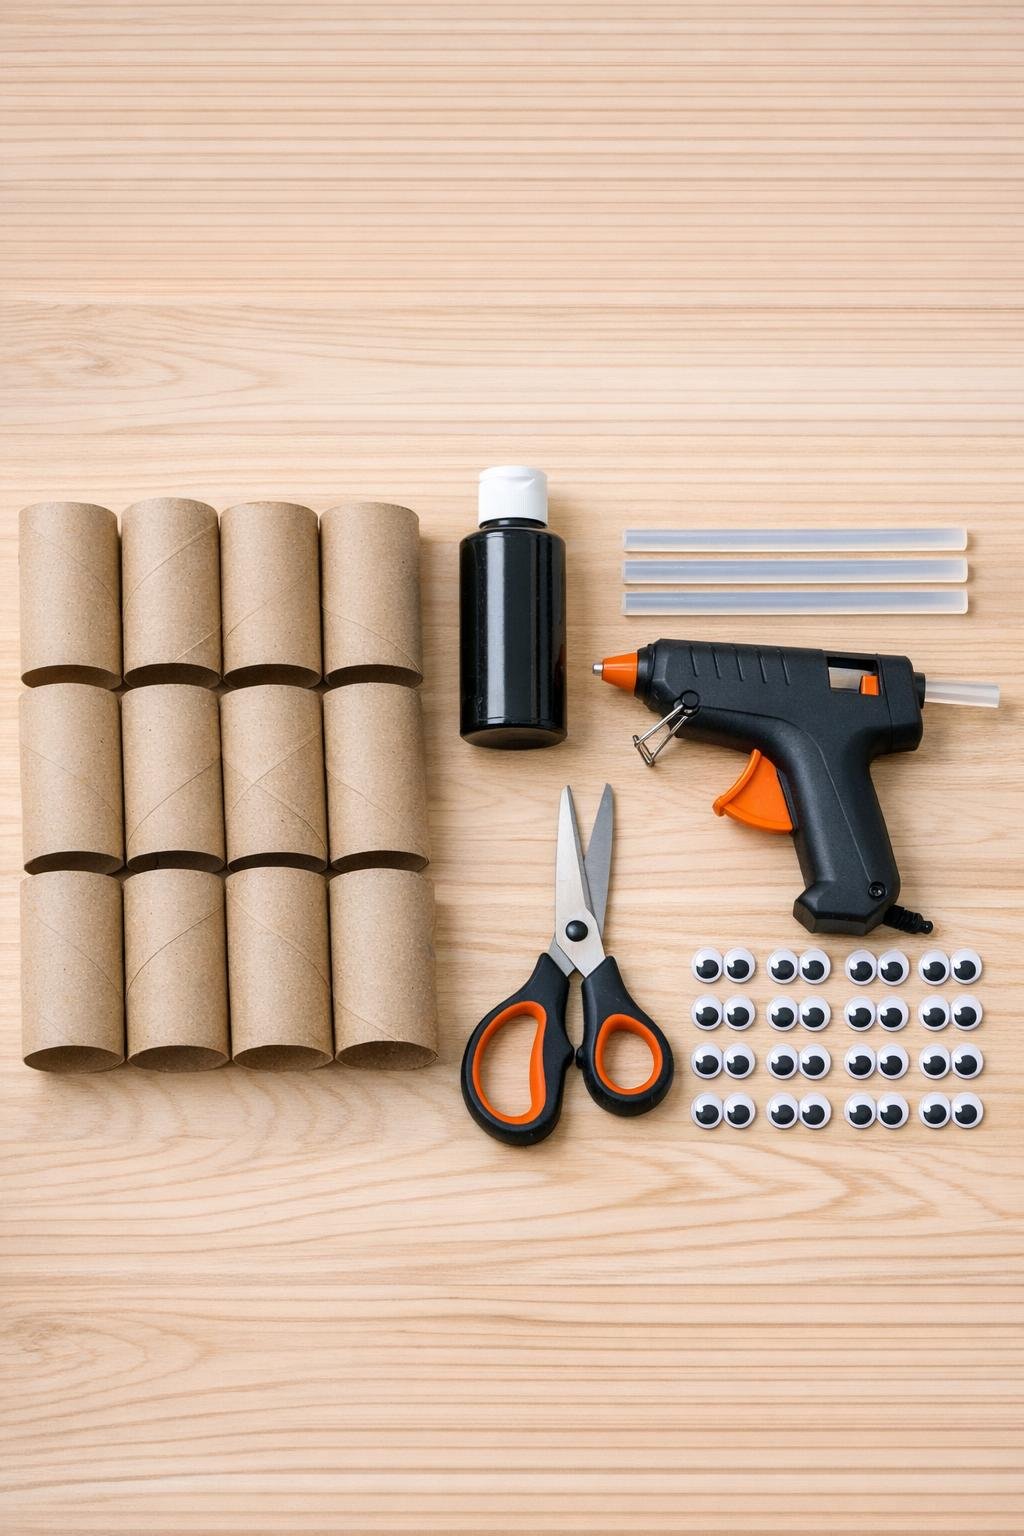
Materials
12 empty toilet paper rolls, clean and dry
Instructions
1. Flatten each toilet paper roll gently with your hands, then press one opening so the two sides curve inward and meet in soft points; repeat on the opposite opening so each roll has the classic bat-ear silhouette at the top.
2. On the front of each roll, cut a shallow curved wing shape into both sides, starting about 1 inch below the top and leaving the bottom half intact so the body stays sturdy.
3. Open the side cuts slightly with your fingers so the wings angle outward just a bit; this small bend gives the bats more dimension once they’re painted.
4. Set the rolls on the scrap cardboard and paint the outside of each one black, including the folded ear points and the exposed wing edges.
5. Let the paint dry completely, then add a second coat anywhere the brown cardboard still shows through; a solid black finish makes the colony look polished and dramatic.
6. Glue two googly eyes near the top front of each bat, spacing them about 1/2 inch apart and pressing for a few seconds so they hold well on the curved surface.
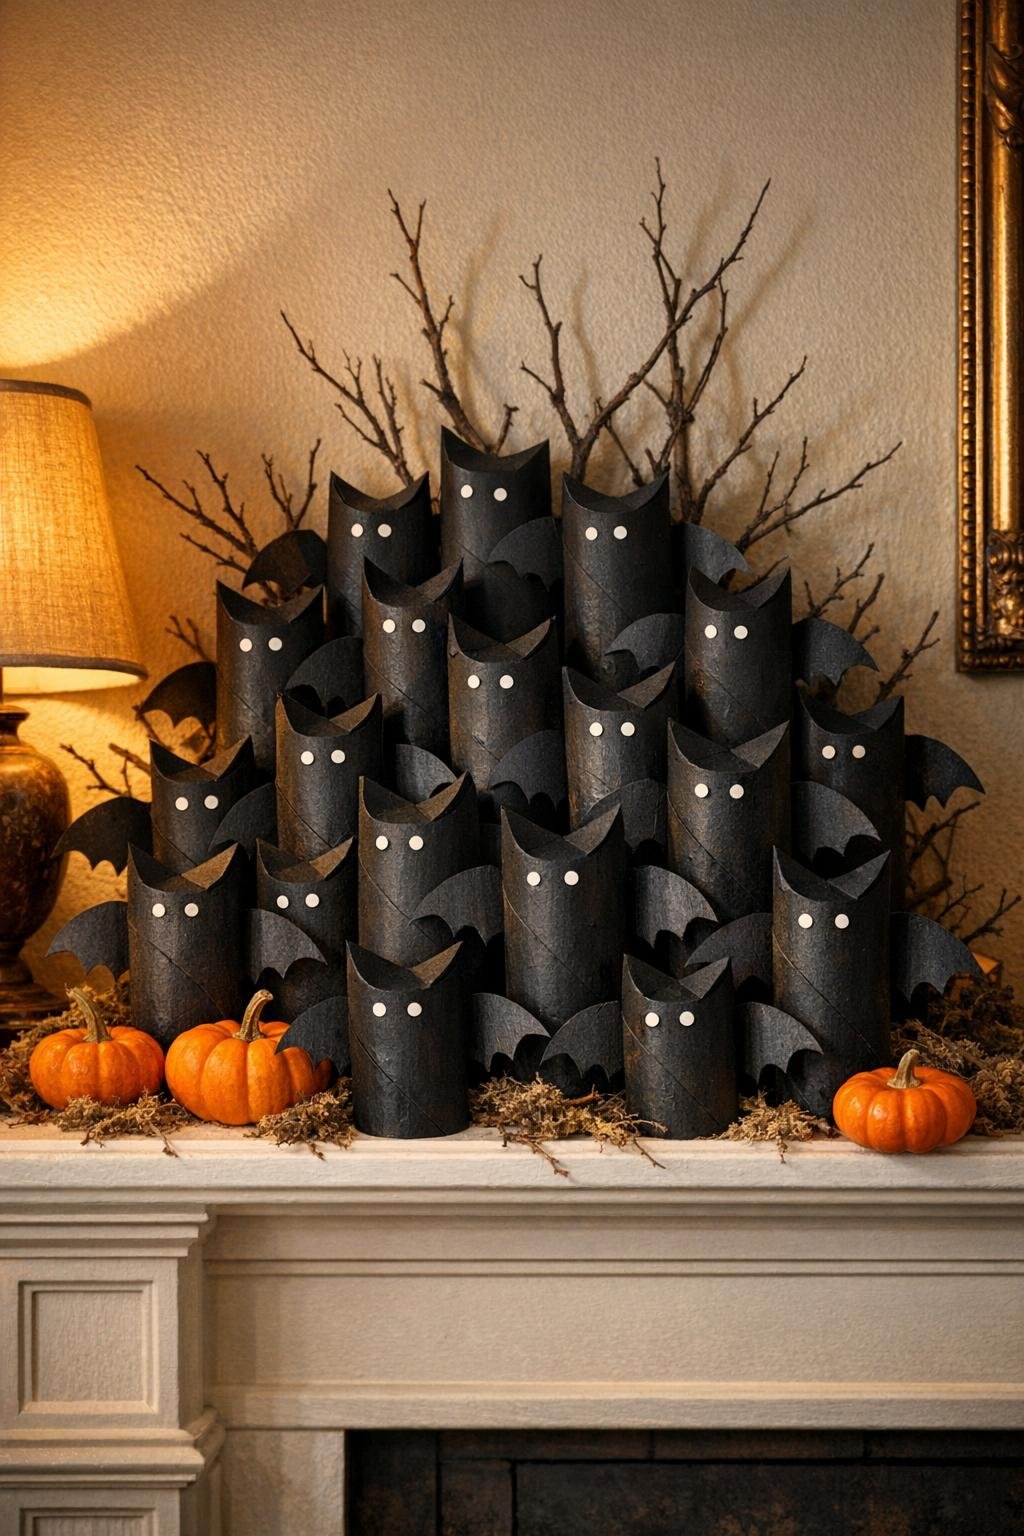
7. Arrange the bats in a clustered group of 12, mixing heights and directions so they look like a little colony rather than a straight row; stand them on a shelf, tuck them into branches, or glue them onto a backing if you want a permanent display.
Variations & Tips
Make it bigger: If you want more impact, save 18 to 24 rolls and build a larger colony with tighter grouping; this project looks best when it feels abundant rather than scattered.
Use the wings well: Don’t cut too deeply into the sides or the bat bodies will collapse. I keep the lower half of each roll intact so they still stand and hold their shape.
Try different eyes: Small googly eyes give a playful look, while tiny white paper dots or painted white eyes make the bats a little spookier and more graphic.
Get a cleaner paint finish: Two thin coats always look better than one heavy coat. In cooking terms, it’s a bit like building flavor in layers instead of trying to force everything into one pass.
Display idea: These are especially effective gathered on a mantel, perched along a bookshelf, or clustered in a shallow bowl with branches for a simple seasonal centerpiece.
Kid-friendly option: If you’re crafting with children, shape the rolls and cut the wings first, then let them handle the painting and eye placement while an adult uses the hot glue.