
There’s something about bringing a little fall magic indoors that makes an ordinary weeknight feel special, especially once the weather starts nudging us back inside. I love projects like this because they use the prettiest free supply imaginable—fallen leaves—and turn them into something that looks a lot more polished than the effort involved would suggest.
If you’ve got a hot glue gun, a little patience, and about an hour, this is a very doable craft even on a busy evening. I’m always looking for seasonal projects I can start after dinner and actually finish before bedtime, and this one absolutely fits that sweet spot while still giving you a dramatic, glowy result.
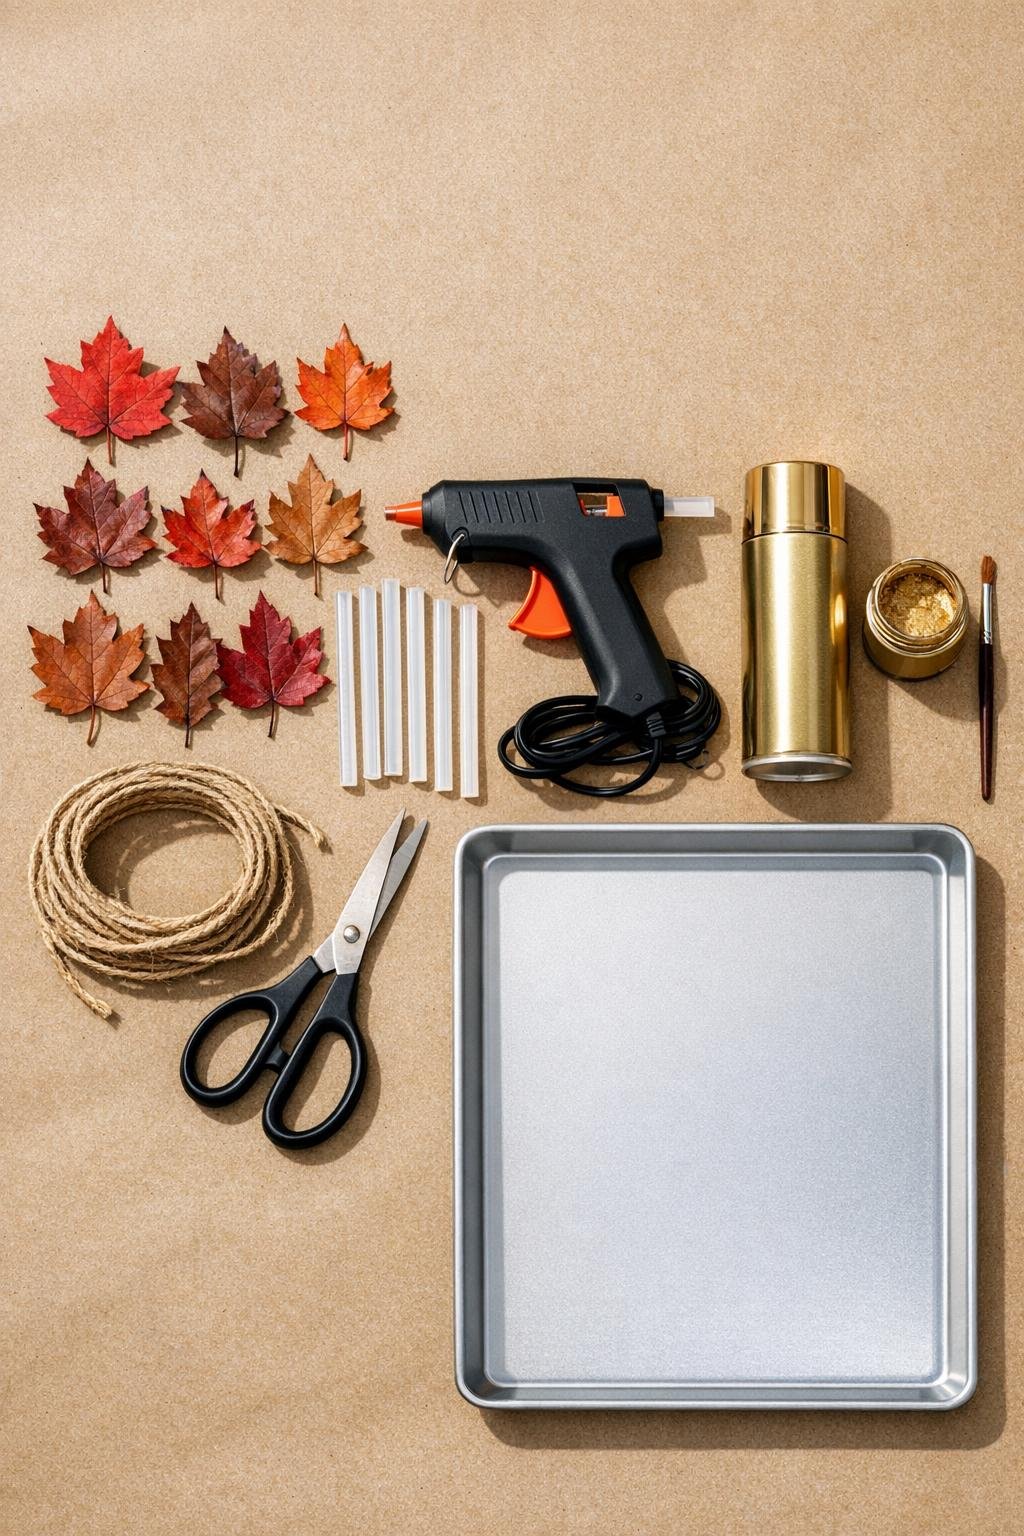
Materials
10 fallen leaves, maple or oak, fully flat and dry, about 4 to 6 inches wide each
Instructions
1. Wipe the baking sheet clean and set one dry leaf flat on top with the veined side facing up so the shape stays crisp while you work.
2. Heat the glue gun fully, then run a thin bead of hot glue around the outer edge of the leaf and along the main center vein to create a sturdy frame.
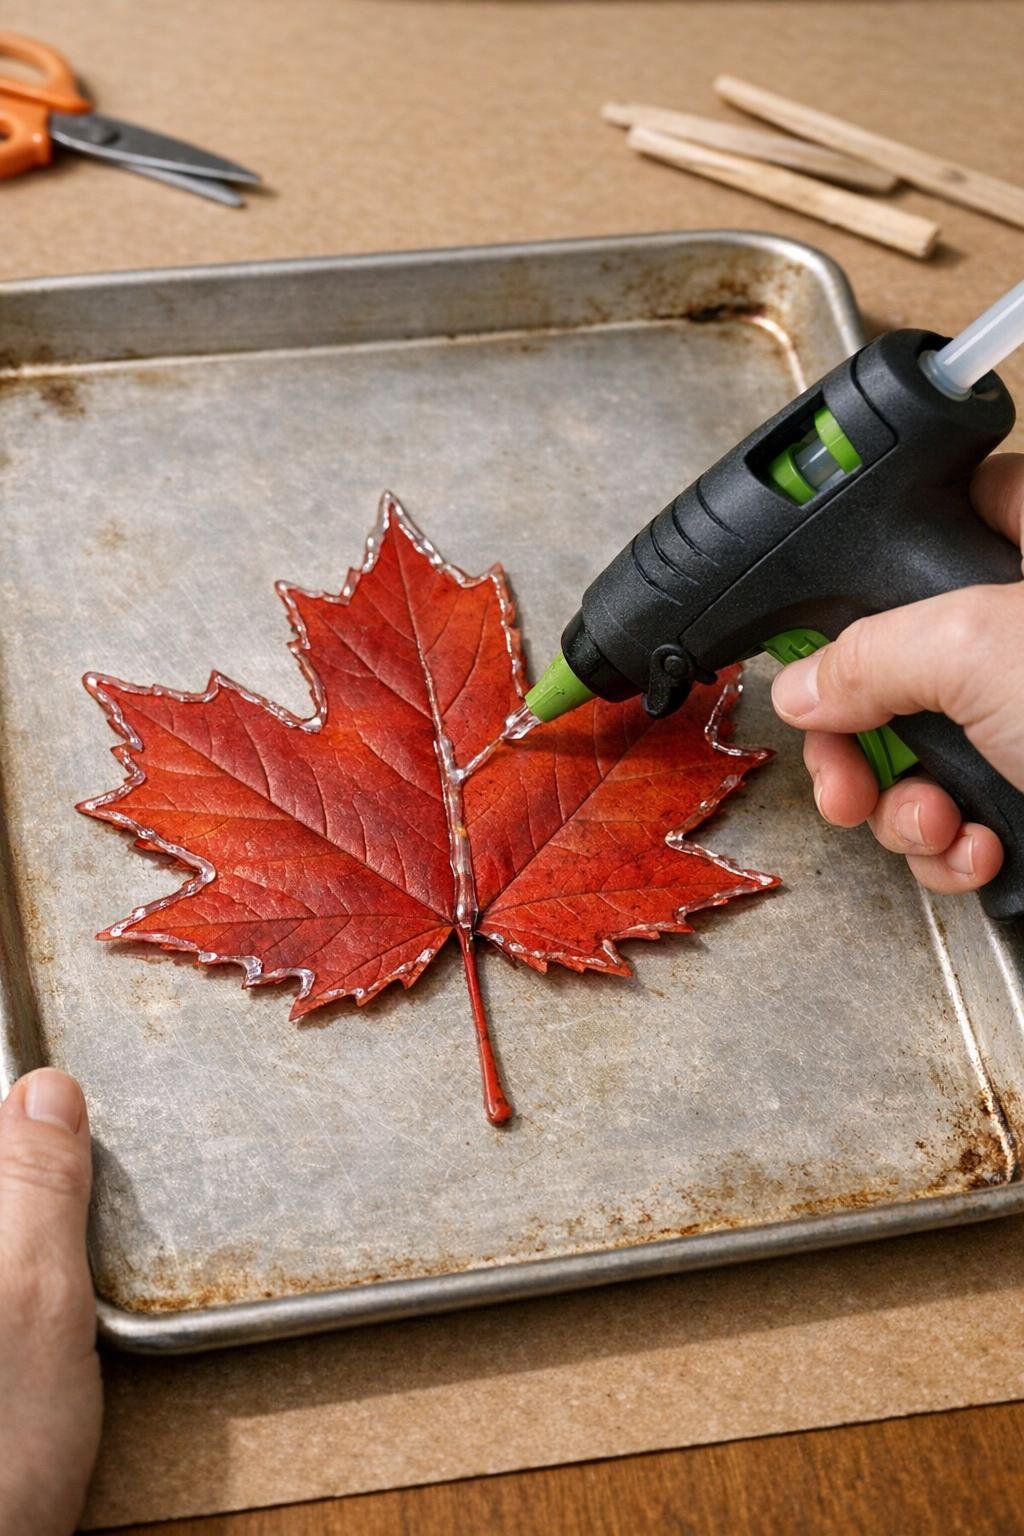
3. Fill the inside of the leaf with loose looping scribbles of glue, connecting them back to the edge and center vein every inch or so to make an open filigree pattern that won’t fall apart.
4. Let the glue cool completely for 2 to 3 minutes, then gently peel the glue design off the leaf; if a tiny section sticks, bend the leaf away instead of tugging the glue.
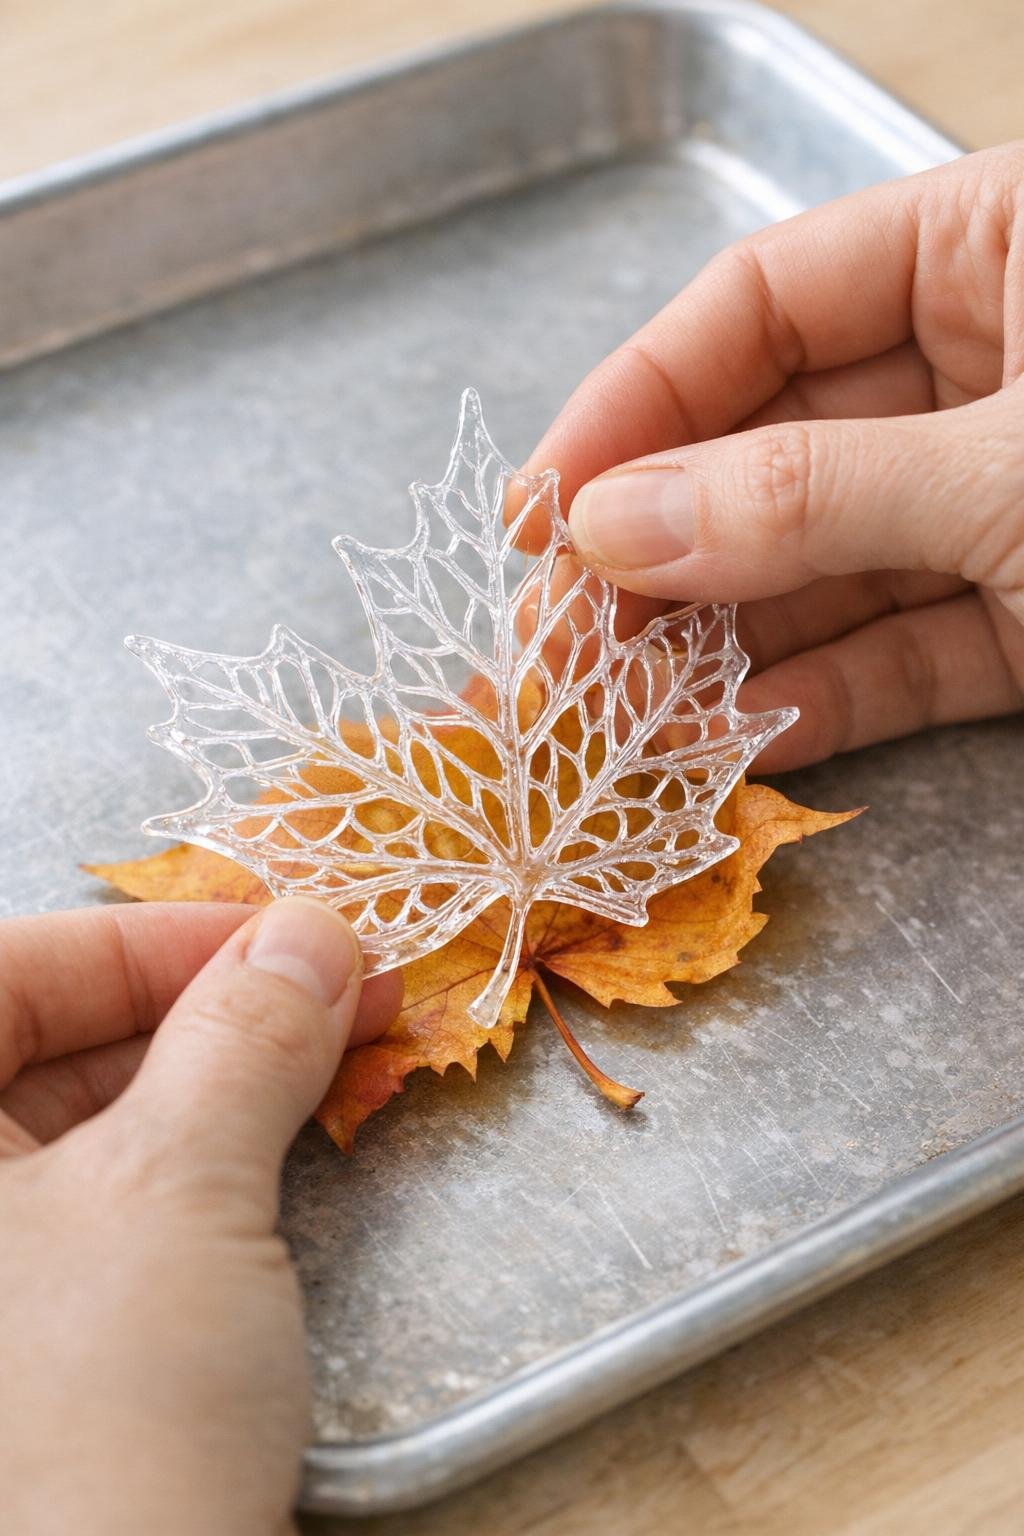
5. Repeat the same process with the remaining 9 leaves, varying the scribble pattern slightly so each one feels natural but keeping all of them generously filled for a fuller finished look.
6. Trim away any thin glue strings or rough drips with scissors once all the leaf shapes are cooled and released from their real leaves.
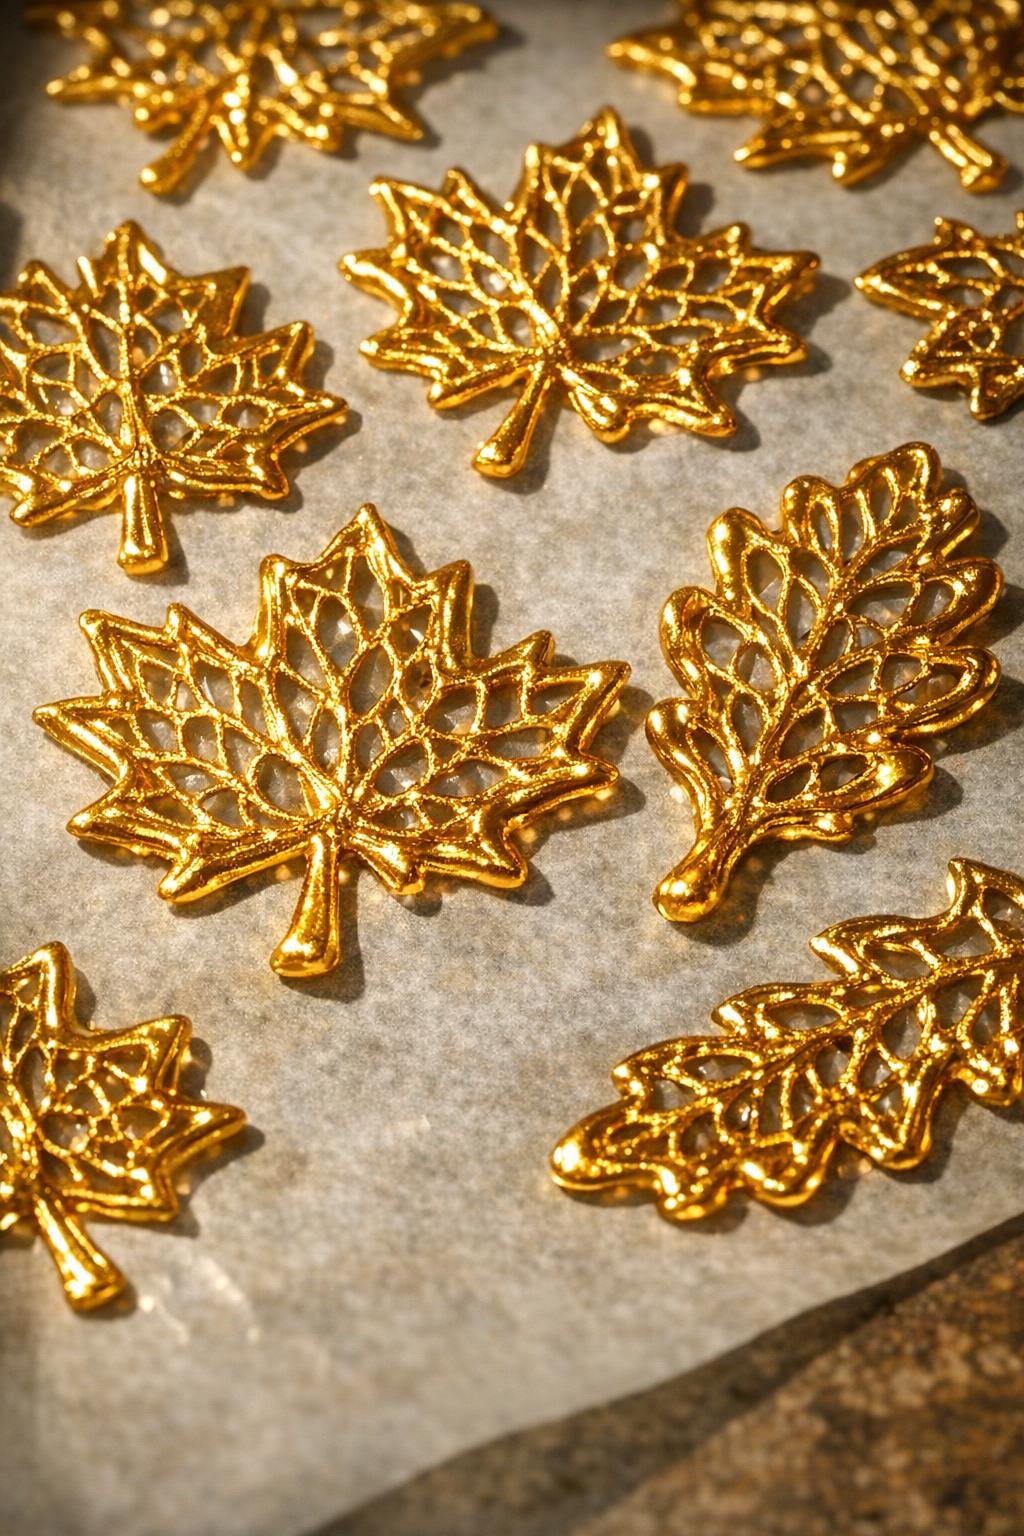
7. Paint all of the glue leaves metallic gold, coating both sides lightly; use spray paint outdoors in thin passes, or brush on two smooth coats of gold acrylic paint and let them dry fully between coats.
8. Cut the jute twine to 6 feet if needed and tie a small loop at each end so the garland is ready to hang when finished.
9. Arrange the gold leaves along the twine before attaching them, spacing them about 5 to 6 inches apart and alternating larger and smaller leaves for a balanced drape.
10. Add a small dot of hot glue to the back top area of each leaf and press it onto the twine, then add a second tiny dot over the twine if needed to lock it in place.
11. Let the glued connections set for a minute, then lift the garland gently and check that every leaf hangs forward; reinforce any loose spot with one more small bead of glue.
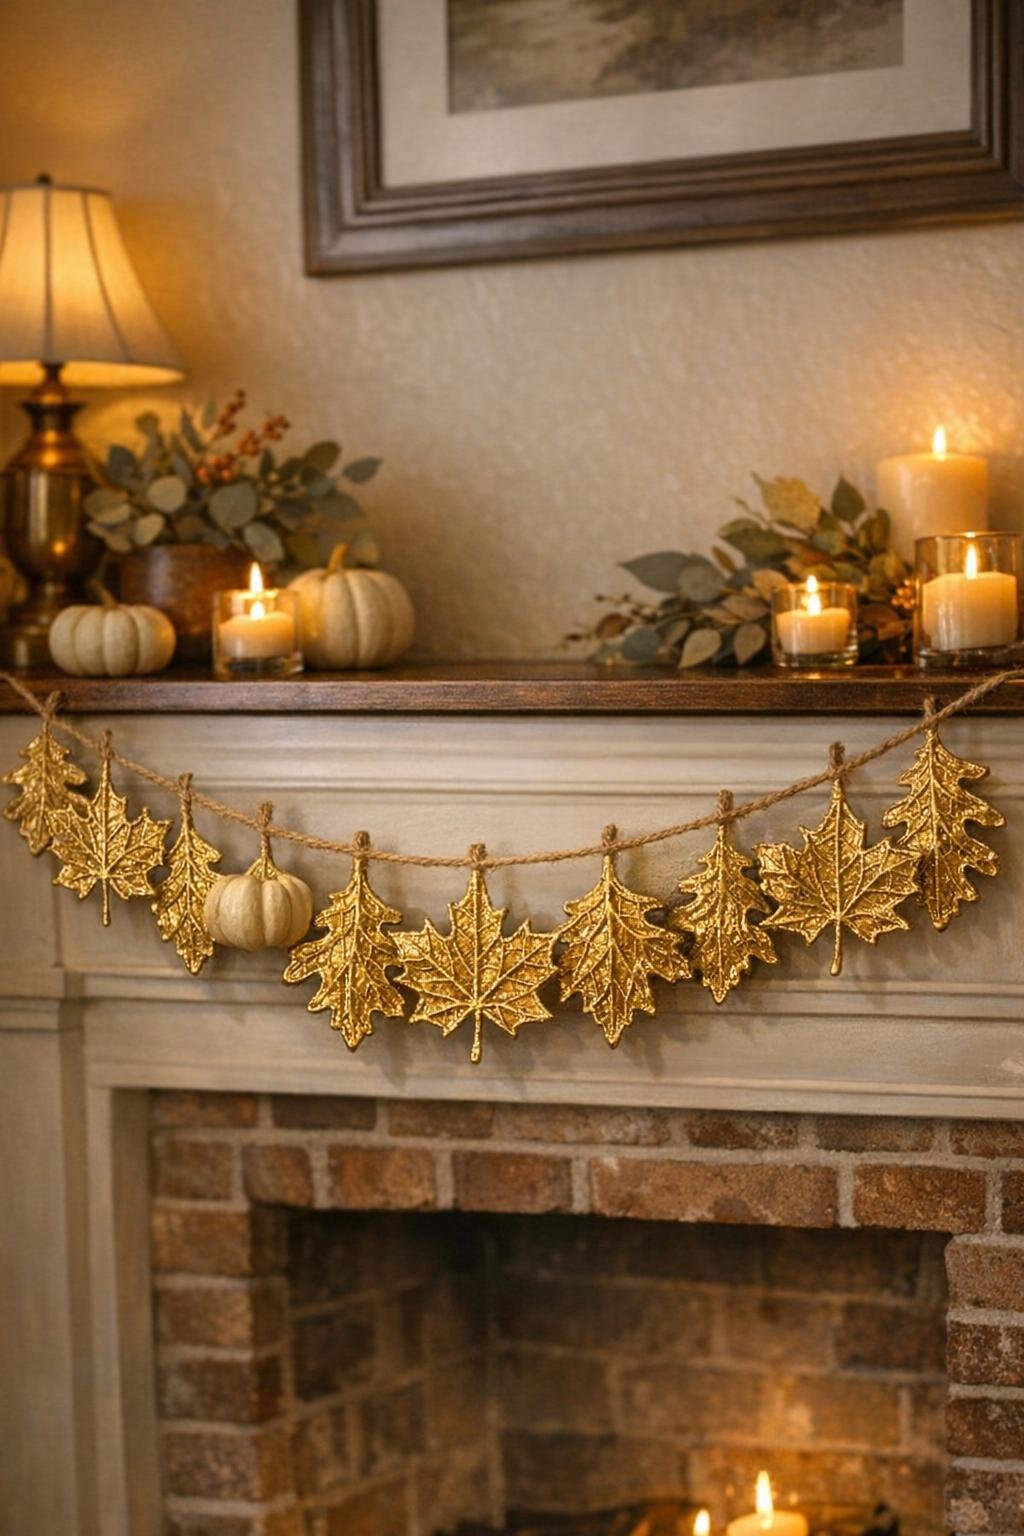
12. Trim any visible glue strings, fluff the curve of the twine with your hands, and hang the finished strand where the gold catches the light best.
Variations & Tips
Leaf choice: Maple leaves give you those dramatic points, while oak leaves add lovely rounded contrast. I like mixing both because the garland looks fuller and more collected, like an actual walk through the yard.
If leaves won’t lie flat: Press them inside a heavy book for a day before crafting. I’ve tried rushing this part, and flatter leaves really do make the glue shapes cleaner and easier to peel.
Paint option: Spray paint gives the fastest, most even metallic finish, but brushed gold acrylic works well if you’re crafting indoors or want more control. If you brush, two thin coats always look better than one thick one.
For extra sparkle: While the paint is still tacky, dust on a little fine gold glitter. Keep it light so the filigree detail stays crisp instead of looking clumped.
Hanging spots: This looks especially pretty across a mantel, in a window, over a buffet, or along a doorway. Anywhere that catches lamplight or late afternoon sun will make the metallic finish glow.
Make it sturdier: If you want to save it for next year, add slightly thicker glue lines around the perimeter and center vein of each leaf. That little bit of structure helps the pieces store better without changing the delicate look.
Color variation: Copper, champagne, or antique bronze paint all work beautifully if gold doesn’t fit your fall decor. The same technique still gives you that lacy, magical effect.