
This is one of those simple little craft tricks that feels almost too easy while you’re doing it, and then somehow turns into something that looks far more special than the supplies would suggest. You start with a basic cone form, add loose lines of hot glue right over wax paper, and after a coat of paint the whole piece takes on that airy, twinkly look that works beautifully in winter decorating.
I especially love a project like this during the busy holiday season because it gives you a big visual payoff without needing fancy tools or a whole afternoon of concentration. If you like easy seasonal crafts that still feel polished on a mantel, entry table, or holiday centerpiece, this one is absolutely worth making.
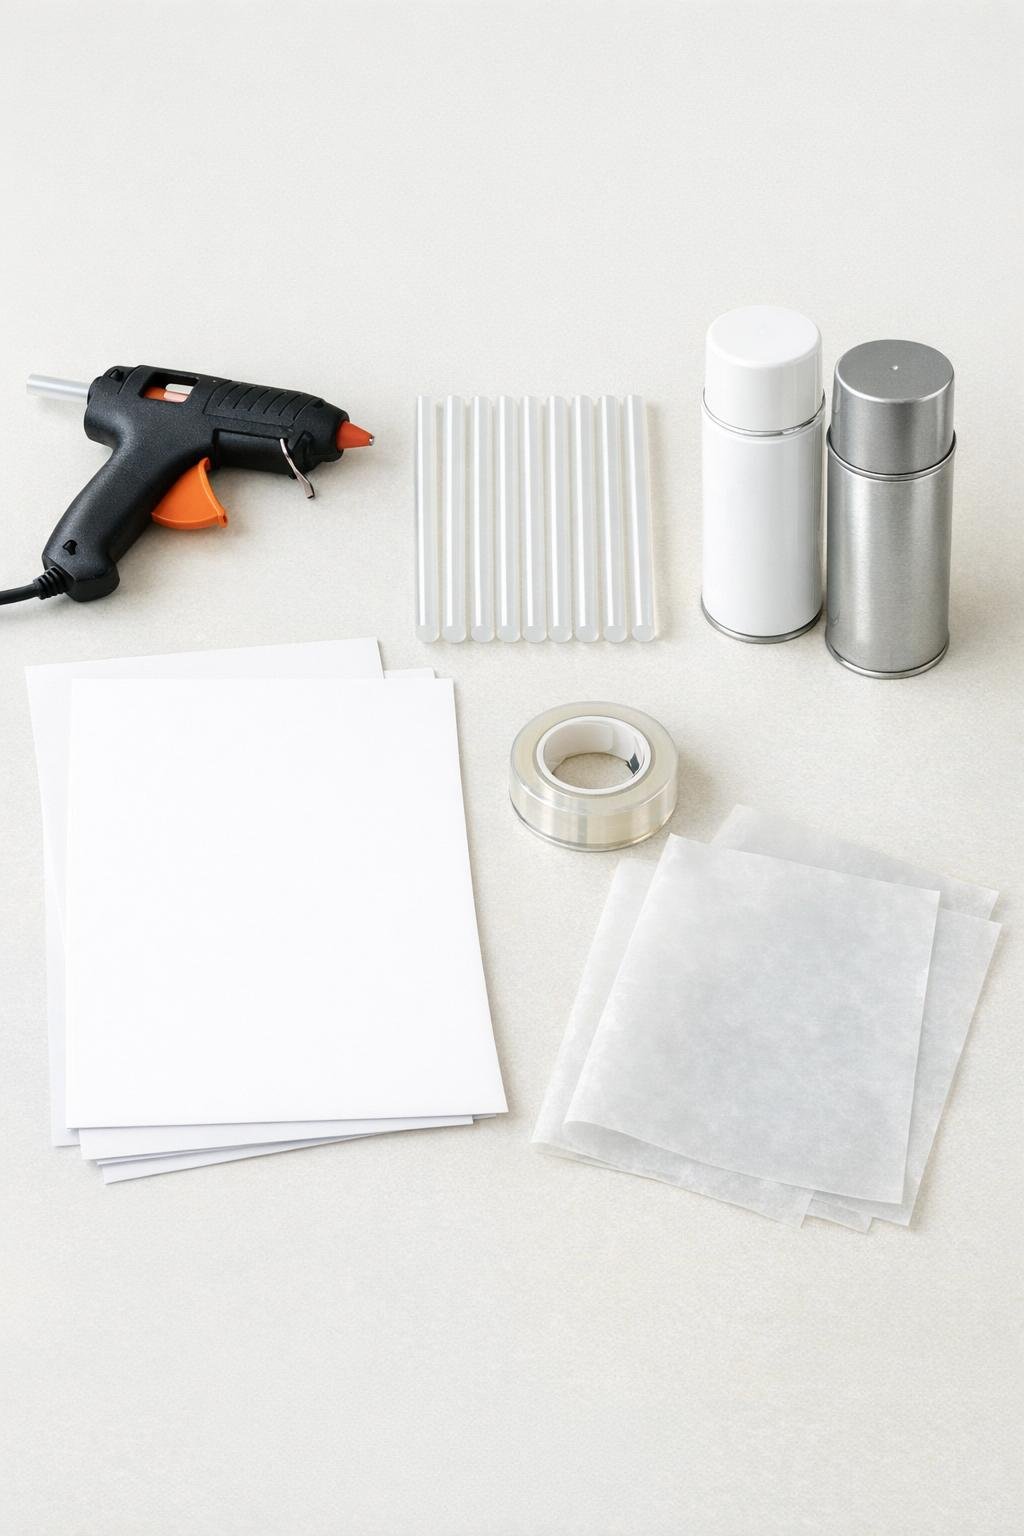
Materials
1 hot glue gun, high-temp or dual-temp
Instructions
1. Cut a large half-circle from poster board, then roll it into a cone about 12 inches tall with a 4 1/2-inch base and tape the seam securely from top to bottom.
2. Make a second cone about 9 inches tall with a 3 1/2-inch base, and tape it well so both cones hold their shape firmly while you work.
3. Wrap each cone smoothly in wax paper, keeping the shiny side out, and tape the overlap lightly so the wax paper stays snug without adding bulky ridges.
4. Set the wrapped cone upright on a protected work surface and fully heat the glue gun so the glue flows in thin, continuous lines instead of thick blobs.
5. Start at the tip of the cone and scribble a loose spiral of hot glue downward, letting the line wander and cross itself naturally as you go.
6. Keep adding glue lines all the way to the bottom, turning the cone as needed and crossing the lines often enough to create a strong open lattice with no gaps wider than about 1 inch.
7. Add a second pass of glue anywhere the design looks weak, especially around the bottom edge and at a few crossing points, so the tree will lift off in one sturdy piece.
8. Let the glue cool completely for 5 to 7 minutes, then gently slide the lattice off the cone and peel away every bit of wax paper from the inside.
9. Repeat the same glue pattern on the second cone so you have a coordinated pair, making the lines similarly dense for a fuller finished look.
10. Take the glue trees outdoors or to a well-ventilated area and spray one light coat of paint from about 10 inches away, using white for a snowy look or silver for a frosty shimmer.
11. Let the first coat dry for 10 minutes, then add a second light coat from another angle so the lattice looks evenly covered without filling in the open spaces.
12. Once dry, stand the trees upright and trim away any thin glue strings or rough drips with scissors so the edges look clean and polished.
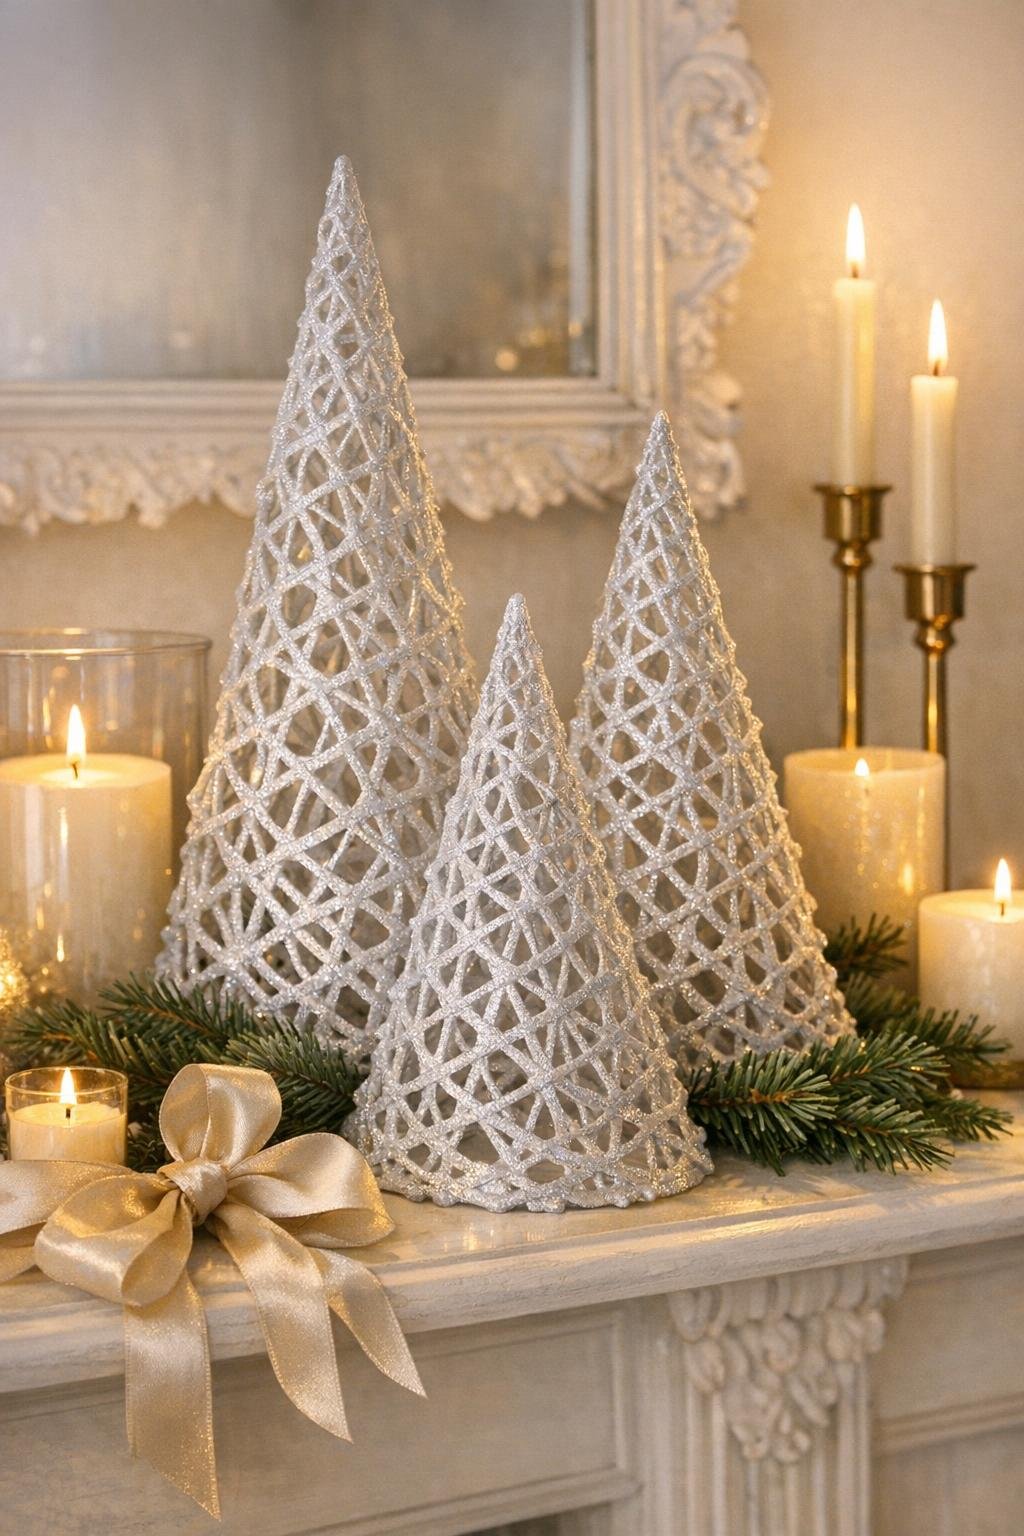
13. Display the finished trees as a grouped set on a mantel, dining table, or entry console where the open lattice can catch the light and show off all that delicate texture.
Variations & Tips
Make a trio: If you want a fuller display, make a third cone around 6 inches tall. I love using three together because it makes the arrangement feel intentional and a little more festive without adding much extra work.
White vs. silver: White gives a snowy, cottage-style look, while silver feels icier and dressier. If your family likes a little sparkle at Christmas, silver is a fun choice that still keeps the project simple.
For stronger trees: Don’t be shy about crossing the glue lines often. If the scribble pattern is too sparse, the cone can crack when you remove it, so I always make the lattice a little denser than I think I need.
For a softer finish: Spray a coat of white first and then mist just the tips and edges with silver. That layered finish gives the trees more depth and helps all the scribbled texture stand out beautifully.
For picky decorators: In my house, everyone has opinions about holiday colors, so I’d split the set if needed. Make one pair white for a classic winter look and another pair silver for anyone who wants a little more shine.
Display idea: These look best gathered rather than standing alone. Tuck them near greenery, candles, or a string of warm fairy lights so the open pattern catches shadows and glows a bit in the evening.
Clean removal tip: Let the glue cool fully before lifting it off the cone. If you rush that part, the shape can soften and warp, and waiting just a few more minutes makes the whole project go much more smoothly.