
When the maples start turning and the wind begins to skitter leaves across the yard, I always find myself thinking a step ahead to the garden beds. Around here in the Midwest, a pretty blanket of fall leaves can turn into a soggy mat in no time, and that’s the sort of thing that smothers small plants, crowds fresh mulch, and makes spring cleanup more of a chore than it ought to be. This little garden-bed barrier is one of those simple shed-shelf fixes that looks almost too easy to matter, but it truly earns its keep.
What I like most is that it uses a sliced foam pool noodle as a soft edge bumper, paired with two other common garden-shed items to create a low, flexible leaf stop right where you need it. It’s especially handy for raised beds, curved flower borders, and tender fall plantings like mums, kale, pansies, or newly divided perennials. My dad would’ve called this “good sense made visible,” and I think that suits it just fine.
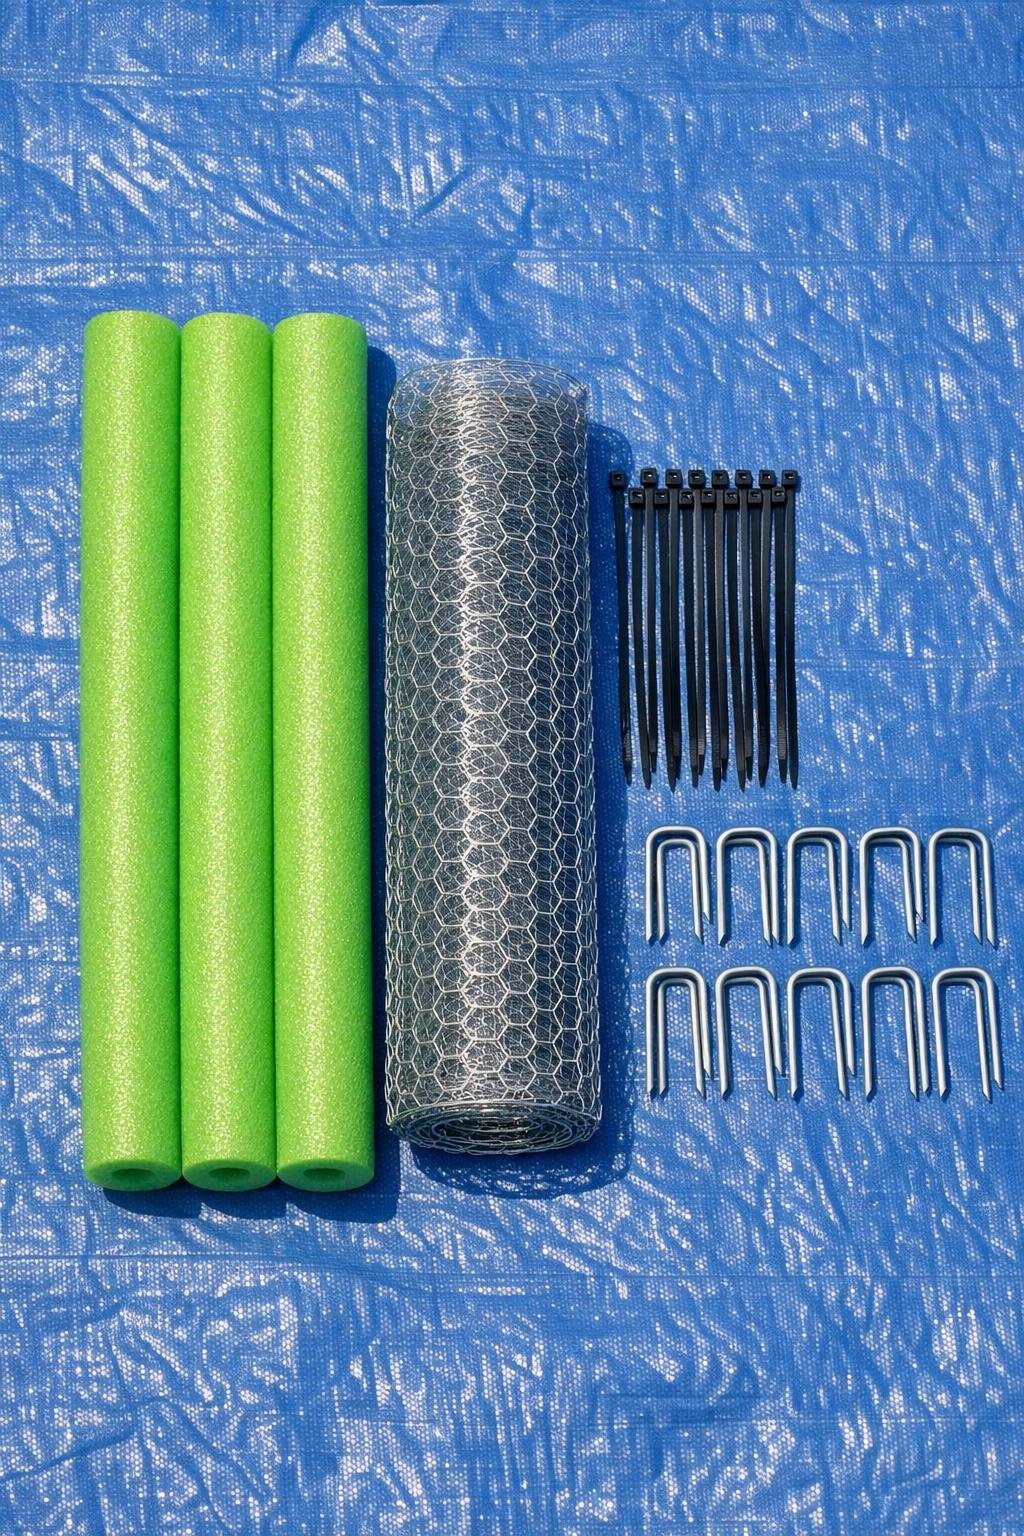
Materials
Instructions
1. Unroll the chicken wire and cut or separate a length about 8 feet long, which is enough to protect one generous garden-bed edge or a couple of shorter sections. Lay it flat on a tarp and press out any curl with gloved hands.
2. Slice each pool noodle lengthwise from end to end with a utility knife, creating a clean slit so each noodle can clamp over an edge. If the slit wanders a bit, don’t fret; foam is forgiving, and this project still works beautifully.
3. Press one sliced pool noodle over the top long edge of the chicken wire so the wire sits snugly inside the slit. Add the other noodles along adjoining sections until the entire top edge has a soft, rounded cap.
4. Fasten the noodle to the wire with zip ties every 12 to 16 inches, threading each tie through the chicken wire and around the noodle so it stays put in wind and rain. Pull the ties tight, then trim the tails neatly.
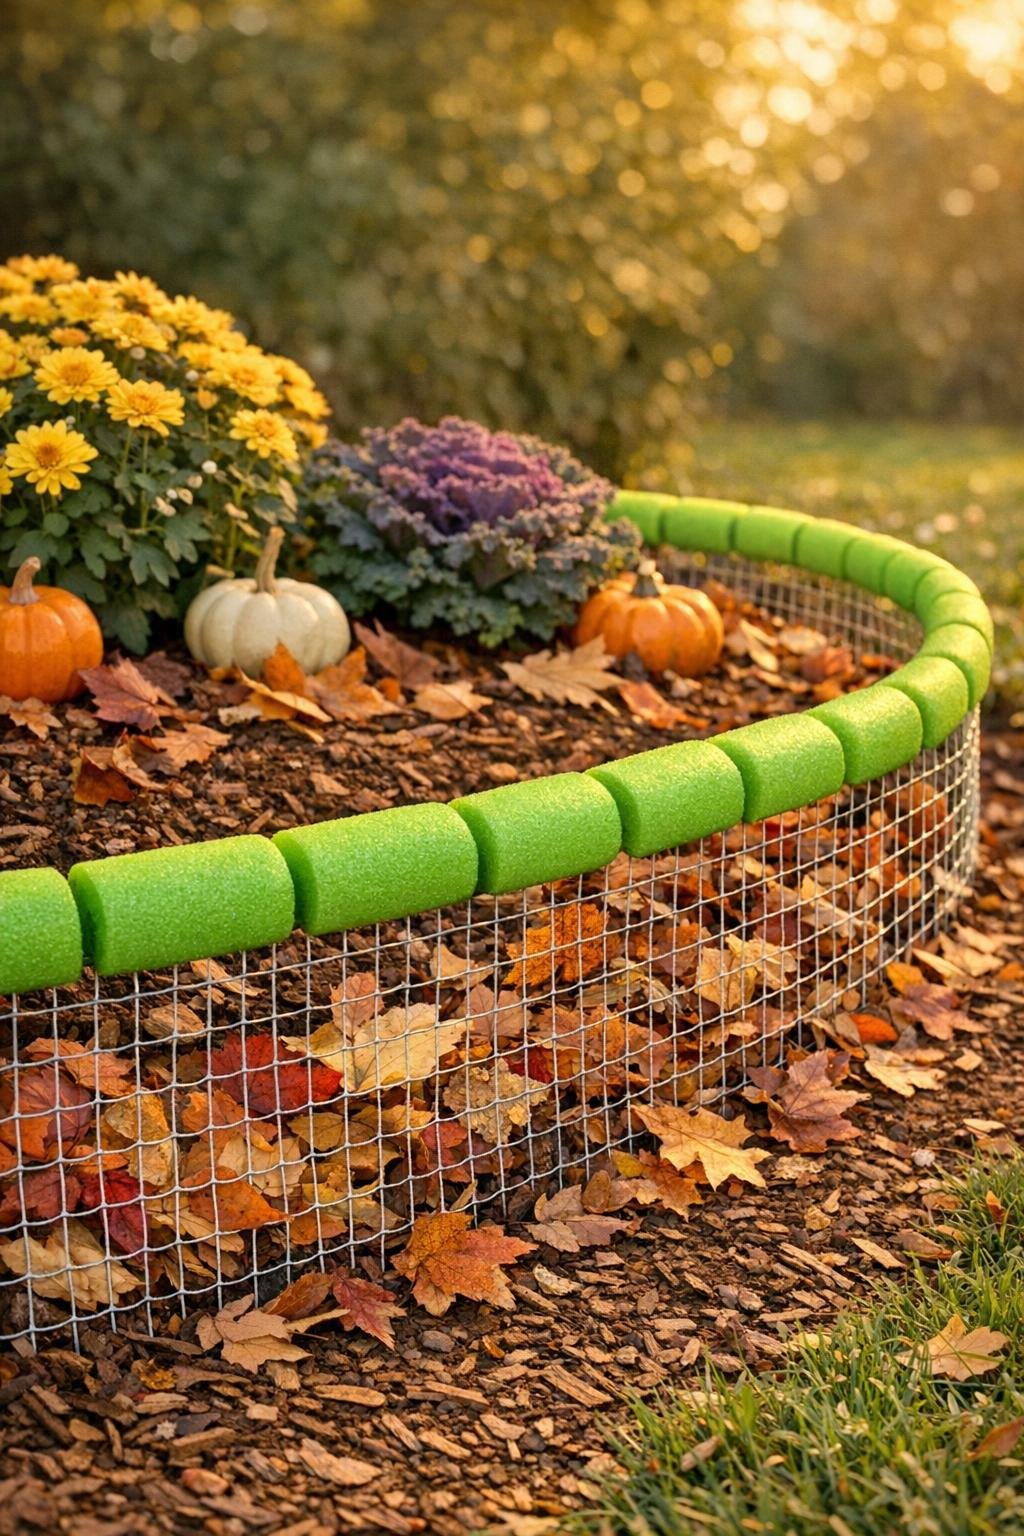
5. Set the barrier along the outer edge of your garden bed with the noodle at the top and the wire standing upright like a short fence. Gently curve it to follow the bed line, keeping the bottom edge tucked close to the soil.
6. Anchor the chicken wire to the ground with landscape staples every 18 to 24 inches, pushing them over the lower edge and into the soil until the barrier feels steady. Add an extra staple at each end and at any bend where the curve wants to spring back.
7. Backfill a little mulch or soil along the inside bottom edge if you want an even tighter leaf stop. This small step helps block drifting leaves from sneaking under the mesh in windy corners.
8. Check the height and spacing, then overlap any extra piece of chicken wire by 4 to 6 inches if you need a longer run around another section of bed. Once everything is secure, brush away loose leaves and admire how the barrier catches debris before it buries your plants.
Variations & Tips
For raised beds: Make shorter sections sized to each side of the bed rather than one long run. They’re easier to remove, stack in the shed, and reposition from season to season.
For a less noticeable look: Use brown or black pool noodles if you can find them, or lightly wrap the top with brown outdoor floral tape. I still like the bright green because it’s easy to spot before mowing or raking.
For extra windy spots: Add more landscape staples and place zip ties closer together, about every 8 to 10 inches. In open country, a little overbuilding saves you from chasing things across the yard.
To protect delicate stems: Keep the noodle-topped side facing outward where leaves and ankles are most likely to bump it. That soft foam edge is much kinder around low plantings than bare wire alone.
For storing over winter: Shake off leaves, let the barrier dry, and lean it flat against a garage or shed wall. Because the noodle stays attached to the wire, setup is quick when the next leaf season rolls around.
Best use: This works especially well where leaves blow across the yard in one steady direction. I place mine on the windward side first, and that usually does the lion’s share of the work.