
There are a lot of Halloween crafts that look cute in the supply pile and then somehow end up a little underwhelming by the time you’re done. This is not one of those projects. With a handful of empty glass jars, torn tissue paper, and a very forgiving glue layer, you can turn the kind of jars I usually rinse out after pasta night into something warm, glowy, and honestly much prettier than it has any right to be.
I love projects like this because they fit into real life. You can do a couple jars after dinner, let them dry while you tackle dishes or answer emails, and by the end you’ve got a whole set ready for a mantel, entry table, porch steps, or even the center of a Halloween snack spread. It’s an easy craft for beginners, but when you make a full set and add the simple finishing touches, it looks surprisingly polished.
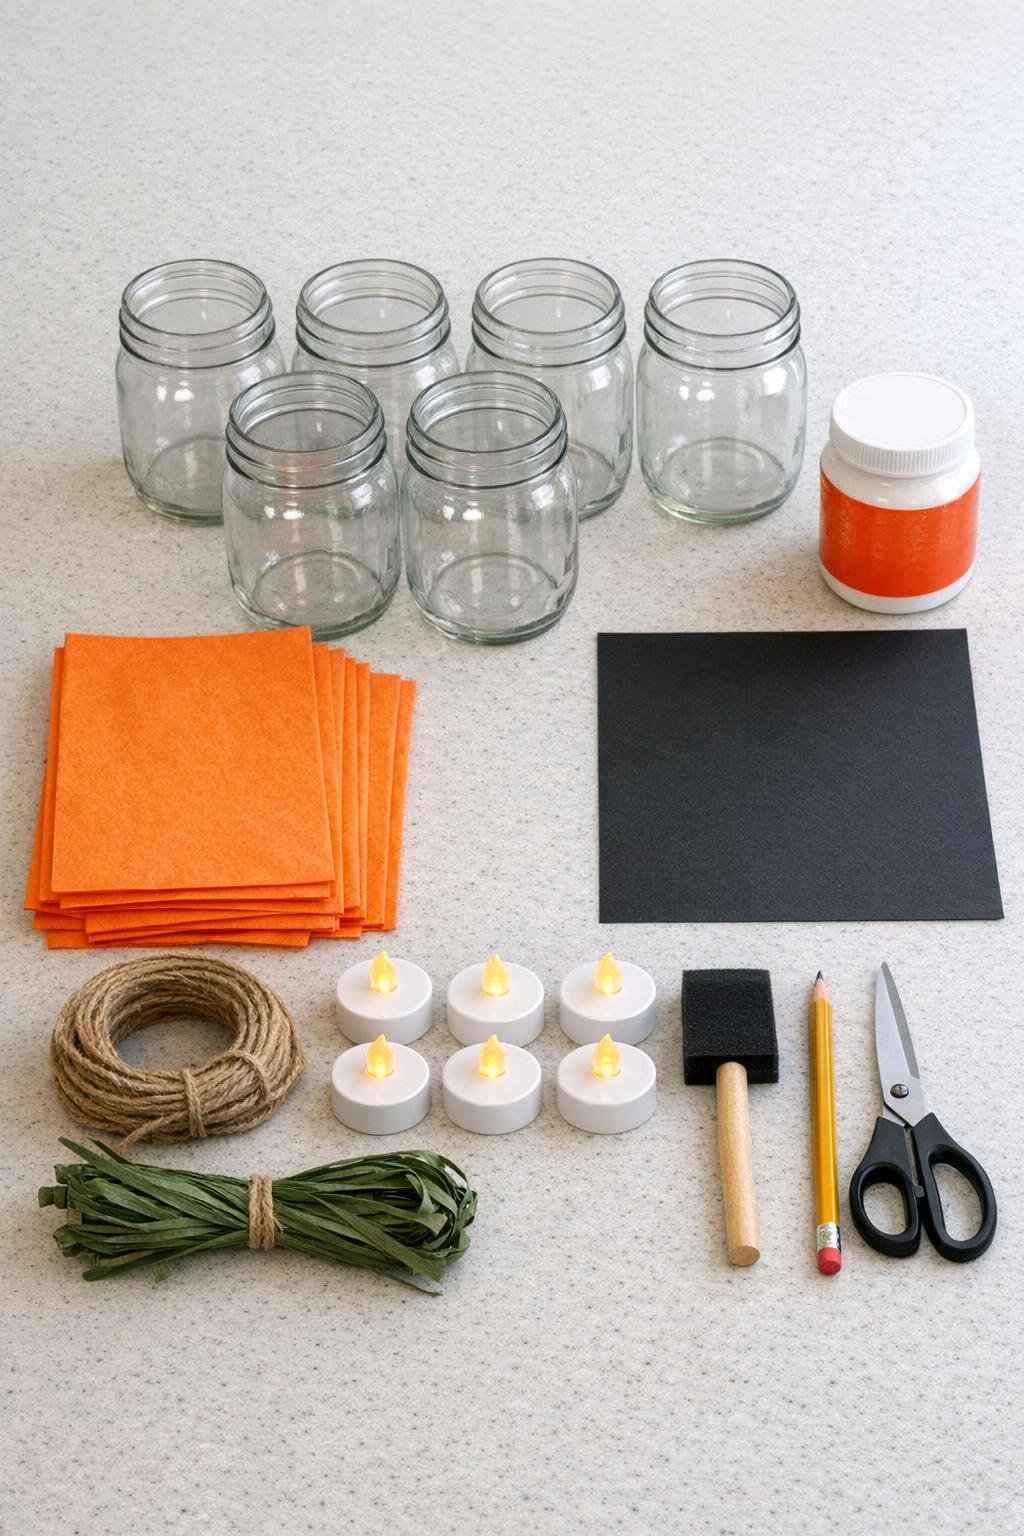
1. Wash and dry the 6 glass jars well, then remove any labels and sticky residue so the tissue paper can lie flat without bumps.
2. Tear each orange tissue sheet into irregular pieces about 2 to 4 inches wide; don’t cut them, because the soft torn edges overlap better and give the jars a more even glowing finish.
3. Brush a thin coat of Mod Podge onto the outside of the first jar, working on one section at a time so the glue stays tacky while you apply the tissue.
4. Press torn tissue pieces onto the glued jar, overlapping them slightly until the whole body of the jar is covered in a rich orange layer; add a second layer anywhere that looks too pale or patchy.
5. Brush another light coat of Mod Podge over the tissue to smooth down edges, then set the jar aside to dry and repeat with the remaining 5 jars.
6. Let the jars dry for 20 to 30 minutes, then check for lifted corners and seal them down with a little extra glue if needed.
7. Draw 6 sets of jack-o'-lantern faces on the back of the black cardstock, mixing simple triangle eyes, sleepy eyes, toothy smiles, crooked grins, and round noses so each jar has its own personality.
8. Cut out the face shapes with scissors, keeping the features large enough to read clearly once the jars are glowing.
9. Attach the black faces to the jars with a thin coat of Mod Podge under and over cardstock pieces, or peel and stick them in place if you’re using black vinyl.
10. Wrap each jar neck with a 24-inch piece of twine or a small bundle of green raffia, then tie it into a knot or loose bow for a simple pumpkin-stem look.
11. Let everything dry completely for another 20 minutes so the tissue, faces, and topcoat all set without slipping.
12. Place 1 battery LED tea light inside each jar and group the finished jars together in a cluster of varying face designs for the fullest, glowiest display.
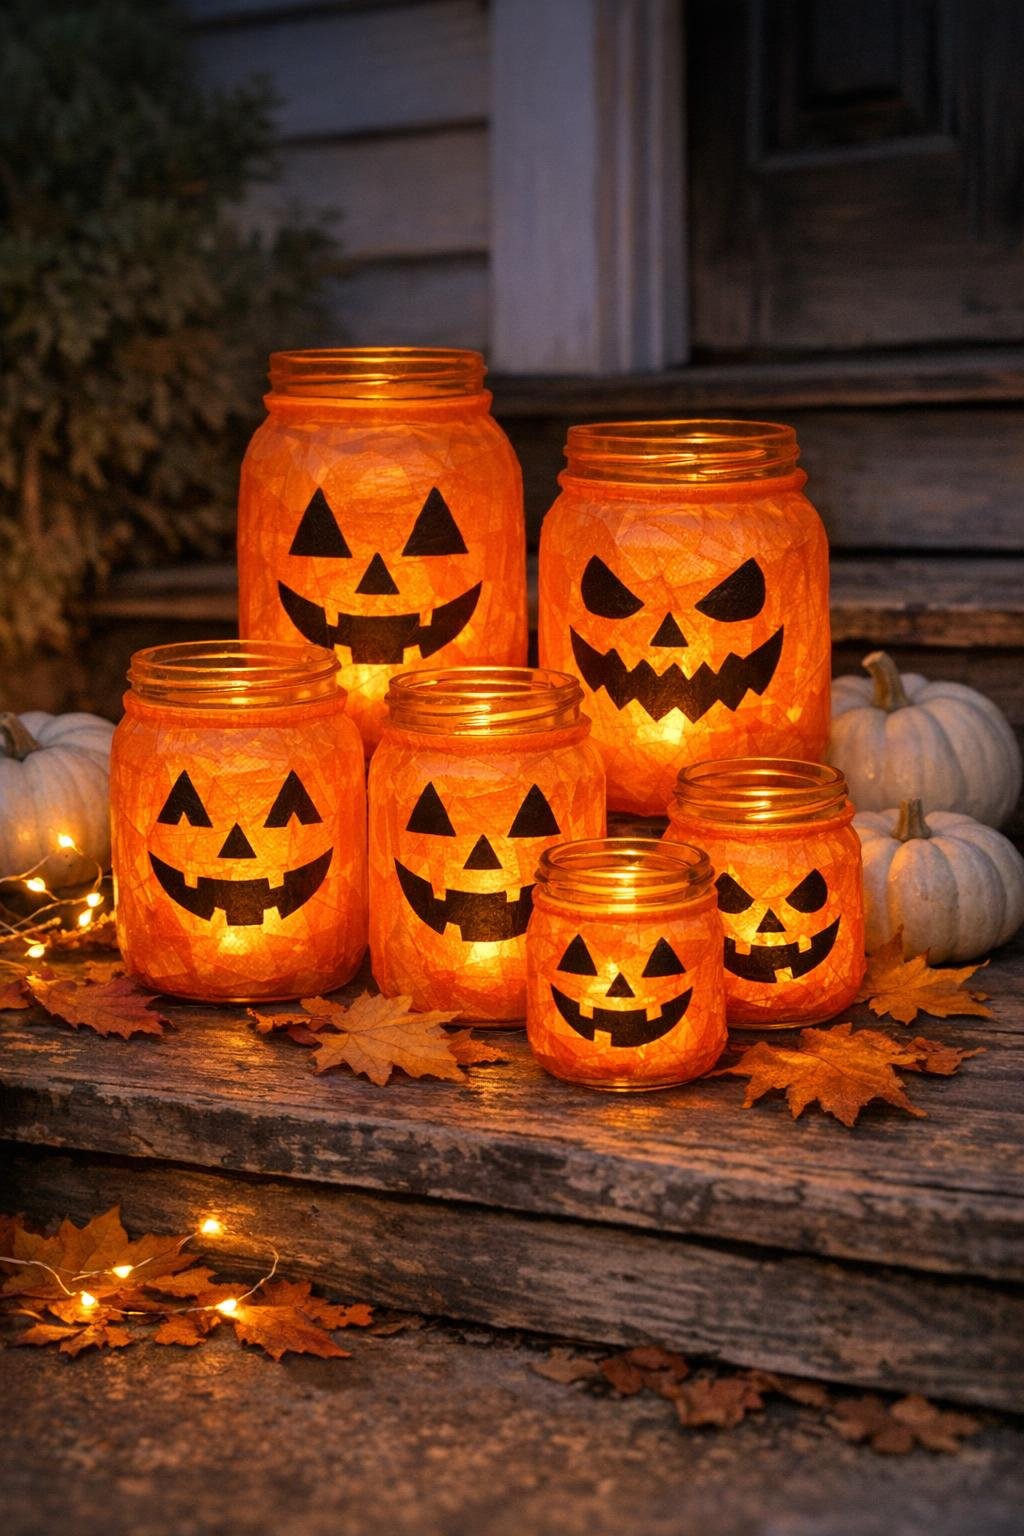
Use matching jars or mixed jars: A matching set looks a little more polished, but I’ve made these with saved pasta sauce jars and random mason jars and they still look great once they’re grouped together.
Double-layer for richer color: If your tissue paper is very thin, add extra overlap or a partial second layer so the glow reads pumpkin-orange instead of pale peach.
Keep faces bold: Tiny details disappear when the lights are on, so I always go a little bigger with the eyes and mouth than I think I need.
Vinyl is the fastest option: If you have black adhesive vinyl on hand, use it for the faces; it gives crisp edges and skips the extra drying time.
Try a more polished finish: A final thin coat of Mod Podge over cardstock faces helps unify the surface and gives the jars a cleaner, finished look.
Style them in groups: One jar is cute, but six together is the real payoff here. I like to cluster them in threes or sixes on an entry table, buffet, or porch so the glow feels full and intentional.
Battery lights only: Since these are paper-covered jars, stick with battery LED tea lights rather than real candles.
Make-ahead tip: I usually cover the jars one night and add the faces the next night while I’m waiting for dinner to finish. It breaks the project into two very manageable little pockets of time.