
When fall swings in here in the Midwest, I always end up with that awkward little window where I’m still trying to protect tender seedlings while the nights suddenly get sharp and cold. This simple cloche is one of those old-school garden tricks that looks almost too basic to matter, but it really does help hold warmth, block wind, and keep curious critters from nibbling new growth. If you’ve got a stack of plastic nursery pots in the shed, this is exactly the kind of practical reuse project worth doing.
What I love most is that it uses just three simple shed staples: nursery pots, twine, and landscape pins. You cut the bottom off the pot, set it over the seedling, and anchor it down so it stays put through breezy fall weather. I’ve used versions of this on lettuce, kale, late herbs, and even newly planted perennials, especially during busy workweeks when I need something fast, cheap, and reliable.
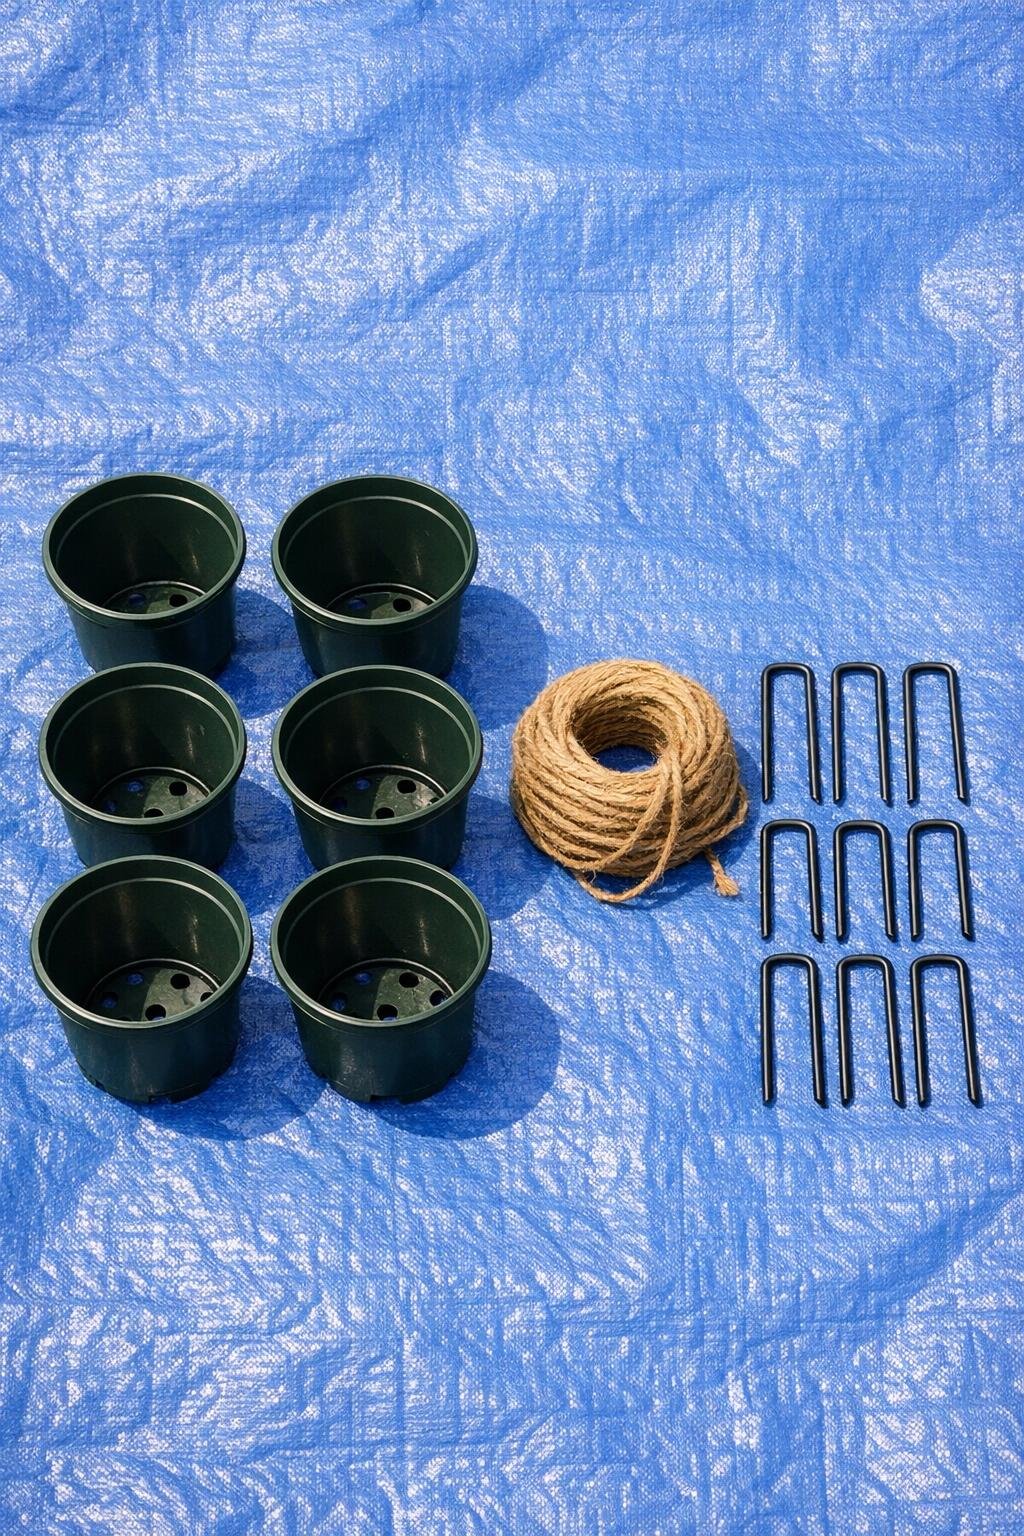
Materials
Instructions
1. Wash and dry the nursery pots so no old soil or root bits are left inside, then inspect each one for cracks and set aside any brittle pots.
2. Cut the entire bottom panel out of each plastic nursery pot, following the inner edge so you leave the sidewalls intact and create a wide open cylinder with the pot rim still attached.
3. Trim away any jagged plastic edges so the cut rim is smooth and even; this helps the cloche sit flat on the soil and makes it safer to handle later.
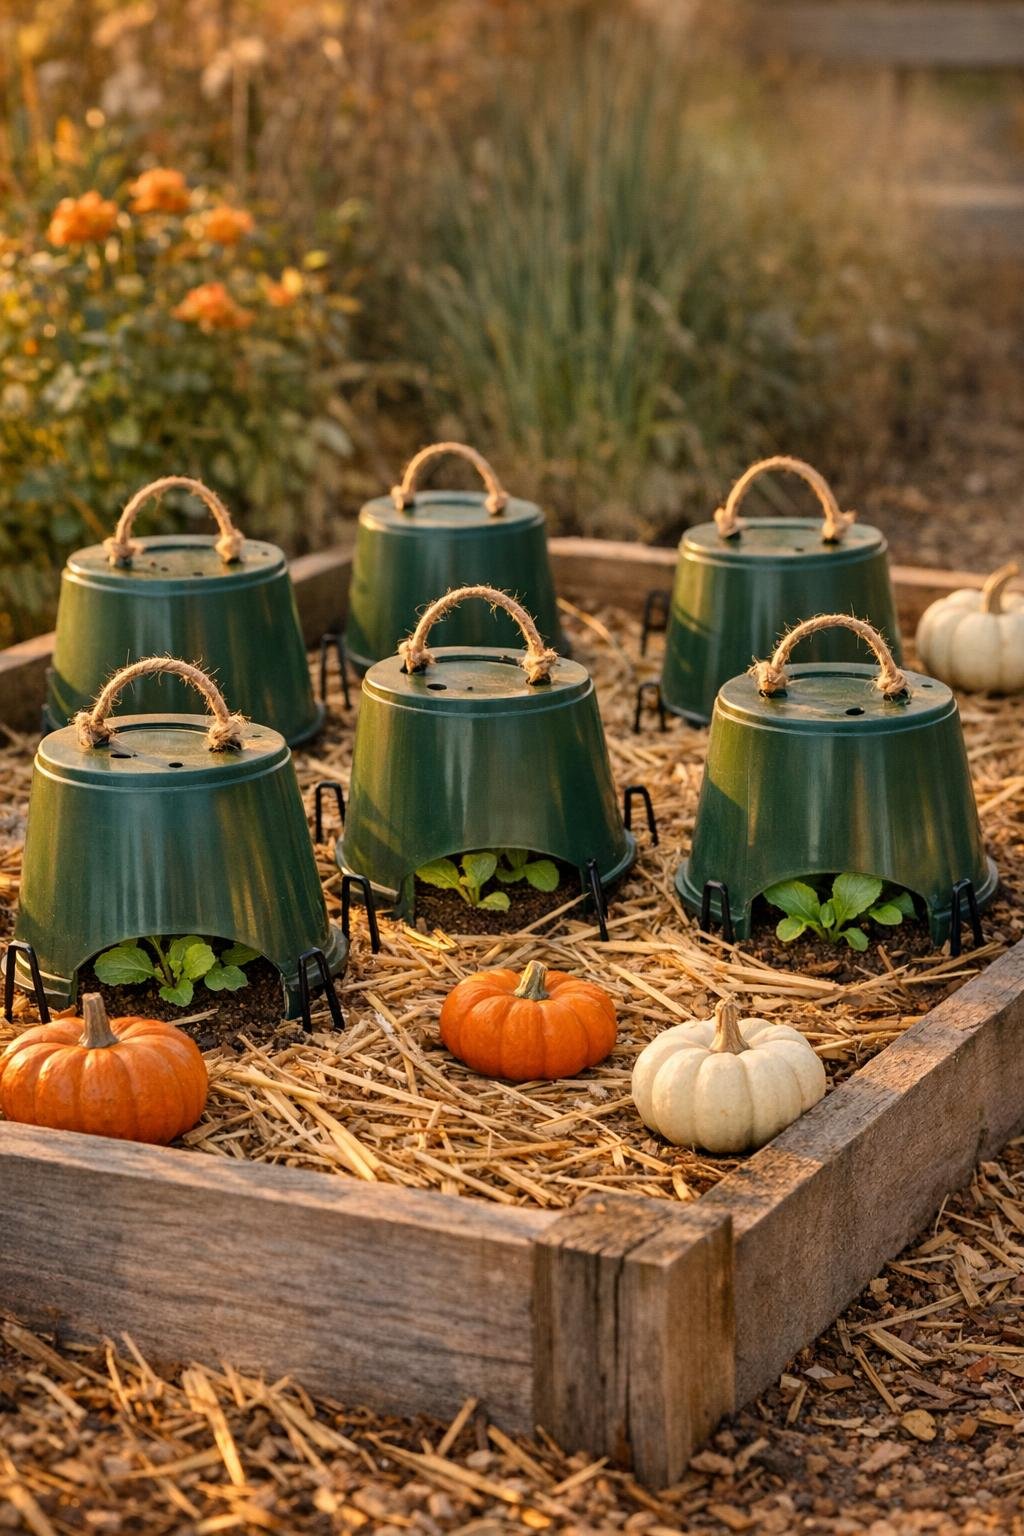
4. Cut one 3-foot length of twine for each pot and thread it loosely through two opposite side openings or drainage slots near the upper half of the pot, tying a simple knot inside each hole so it creates a carry-and-lift handle across the top.
5. Water your seedlings lightly before covering them so the soil is evenly moist and the plants are not stressed once the cloches are in place.
6. Center one bottomless pot over each seedling or small plant, pressing the cut edge about 1 inch into loose soil so wind can’t slip underneath too easily.
7. Push two landscape pins over the outer rim area on opposite sides of each pot, angling them slightly into the soil so the cloche stays anchored during gusty weather.
8. Leave the cloche in place during chilly nights and windy days, then lift it by the twine handle for a few hours on mild afternoons to give the seedling fresh air and prevent overheating.
9. Check every couple of days to make sure the pot hasn’t shifted, the seedling isn’t touching the sides too much, and condensation isn’t staying trapped for too long.
10. Remove the cloche fully once the plant outgrows it or when temperatures settle, then stack the pots in the shed for the next cold snap.
Variations & Tips
Use the right pot size: I like 10- to 12-inch nursery pots for most fall seedlings because they give enough headroom without swallowing the whole bed. For tiny starts, smaller pots work, but bigger pots are better for leafy greens.
Add daytime ventilation: If you get sunny afternoons, prop one side up slightly with a pebble for an hour or two. That little bit of airflow helps keep seedlings from getting too damp inside.
Best crops for this trick: This works especially well for lettuce, spinach, kale, parsley, cilantro, and newly transplanted brassicas. I’ve had the best luck using it on plants that need protection from early frost and wind, not deep hard freezes.
Keep it from blowing away: If your garden is extra exposed, add a third landscape pin. Our backyard catches those classic blustery Midwest fall gusts, and the extra anchor is worth it.
Watch for overheating: Even in cool weather, a sunny clear day can warm up the inside fast. If the bed gets full afternoon sun, lift the pots for part of the day and set them back in place before evening.
Make a whole matching set: Since these stack so easily, I usually prep several at once and keep them ready in the shed. It takes maybe 20 extra minutes up front, but it makes surprise cold nights so much less stressful.