
There are some projects that feel like a little bit of stage magic, even while you’re making them at the kitchen table. This one starts with the humblest thing in the world—empty paper towel rolls—and with a little glue, paint, and patience, turns into something that absolutely transforms a room after dark.
I’m especially fond of decorations like this because they look generous and dramatic without asking for fancy supplies or a whole weekend of work. If you like easy Halloween projects that make a big impression, this is the sort of make that feels wonderfully old-fashioned in the best way: simple materials, clever illusion, and a finish that looks far more special than it costs.
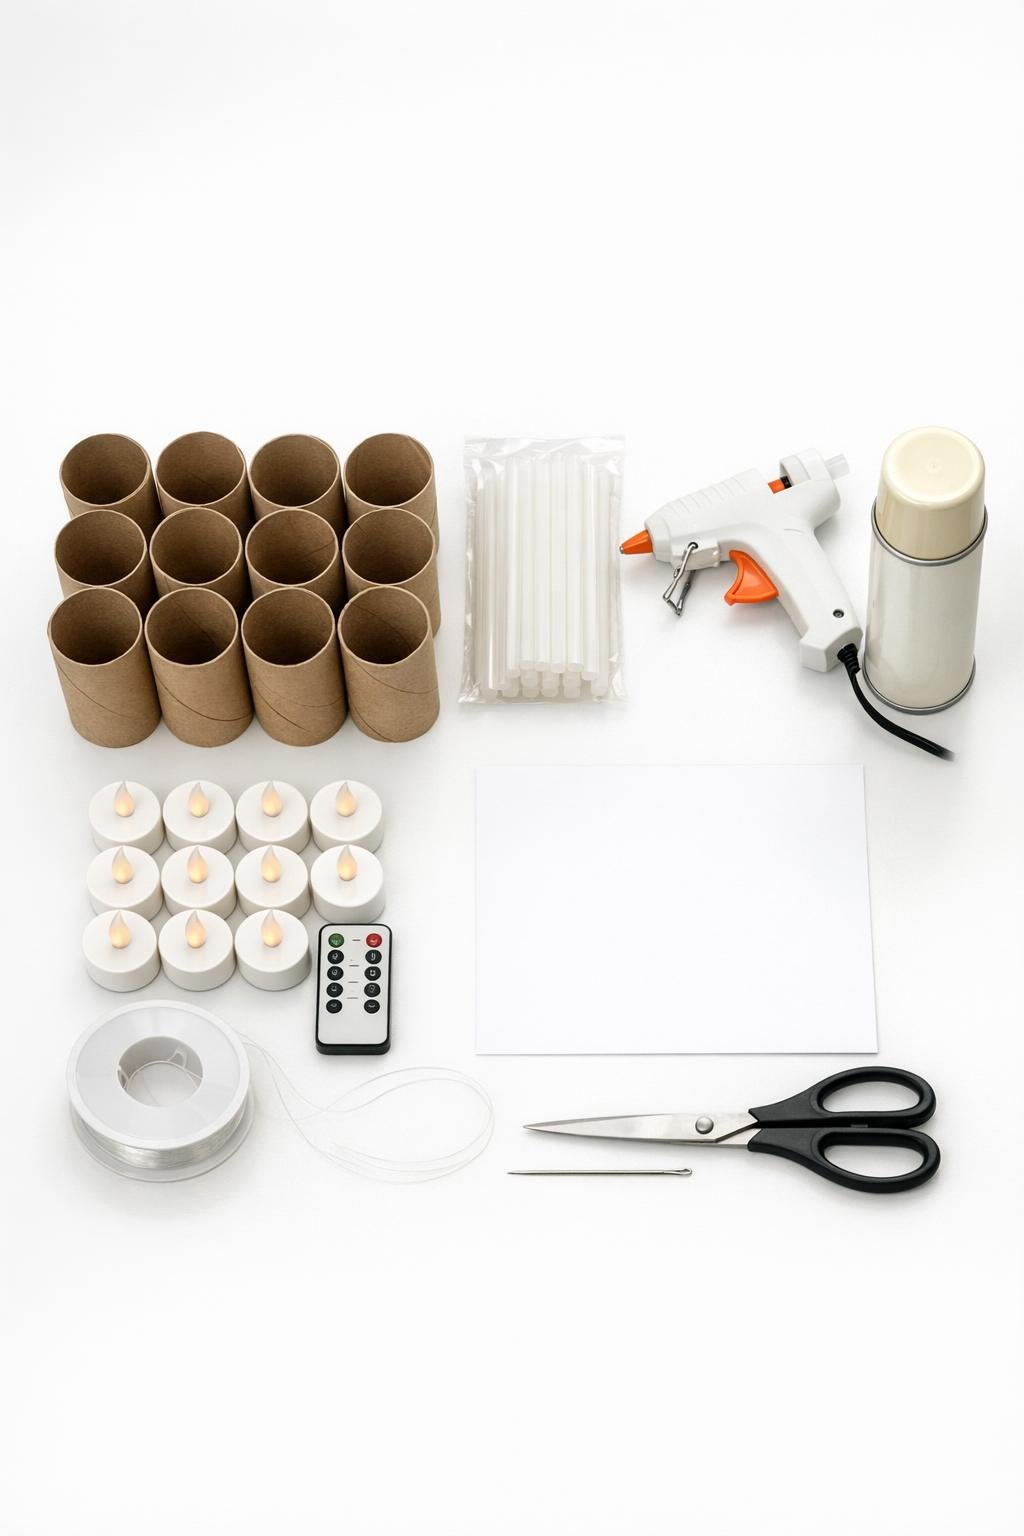
Materials
Instructions
1. Stand all 12 paper towel rolls upright on your work surface and lightly press any bent rims back into shape so each tube looks round and even.
2. Heat the glue gun, then run a thick bead of hot glue around the top rim of one roll, pausing often so the glue can spill naturally over the edge and drip down the sides like melted wax.
3. Add extra glue in layers around the top 2 inches of the roll, building up some heavy drips and some thin trails so the edge looks full and uneven rather than perfectly uniform.
4. Repeat the glue-drip treatment on all 12 rolls, varying the amount slightly so you end up with a mix of shorter and longer “candles” that will hang at different heights and look more natural together.
5. Cut 12 cardstock circles just slightly larger than the opening of the LED tea lights, then trim each one little by little until it slides snugly about 1 inch down inside a roll to make a hidden platform.
6. Snip four tiny slits around the top edge of each roll, then tuck one cardstock circle into each tube so it rests evenly on the slits and forms a shelf for the tea light.
7. Set one LED tea light on each platform and check that the flame-shaped bulb peeks above the top enough to read like a candle flame without wobbling.
8. Move the rolls onto scrap cardboard or a drop cloth and spray paint them in light coats, covering the cardboard and glue drips completely in white or cream while leaving the tops richly textured.
9. Let the paint dry fully, then add a second light coat anywhere the brown cardboard still shows through so the finish looks soft, solid, and candle-like.
10. Thread a long piece of clear fishing line onto the needle and poke two small holes opposite each other near the top of one roll, just below the painted drip edge.
11. Pull the fishing line through both holes and tie it into a secure hanging loop above the roll, then knot the line twice inside or outside the tube so it won’t slide.
12. Repeat with all 12 rolls, making a variety of hanging lengths from about 18 inches to 48 inches so the group will float at staggered heights instead of in one flat row.
13. Turn on the tea lights with the remote, place one into each roll if you removed them during painting, and test the glow in a dim room to be sure every flame sits upright and visible.
14. Hang the finished pieces from the ceiling, a curtain rod, or removable hooks, clustering all 12 together with the tallest in back and lower ones in front so the full arrangement feels abundant and theatrical at night.
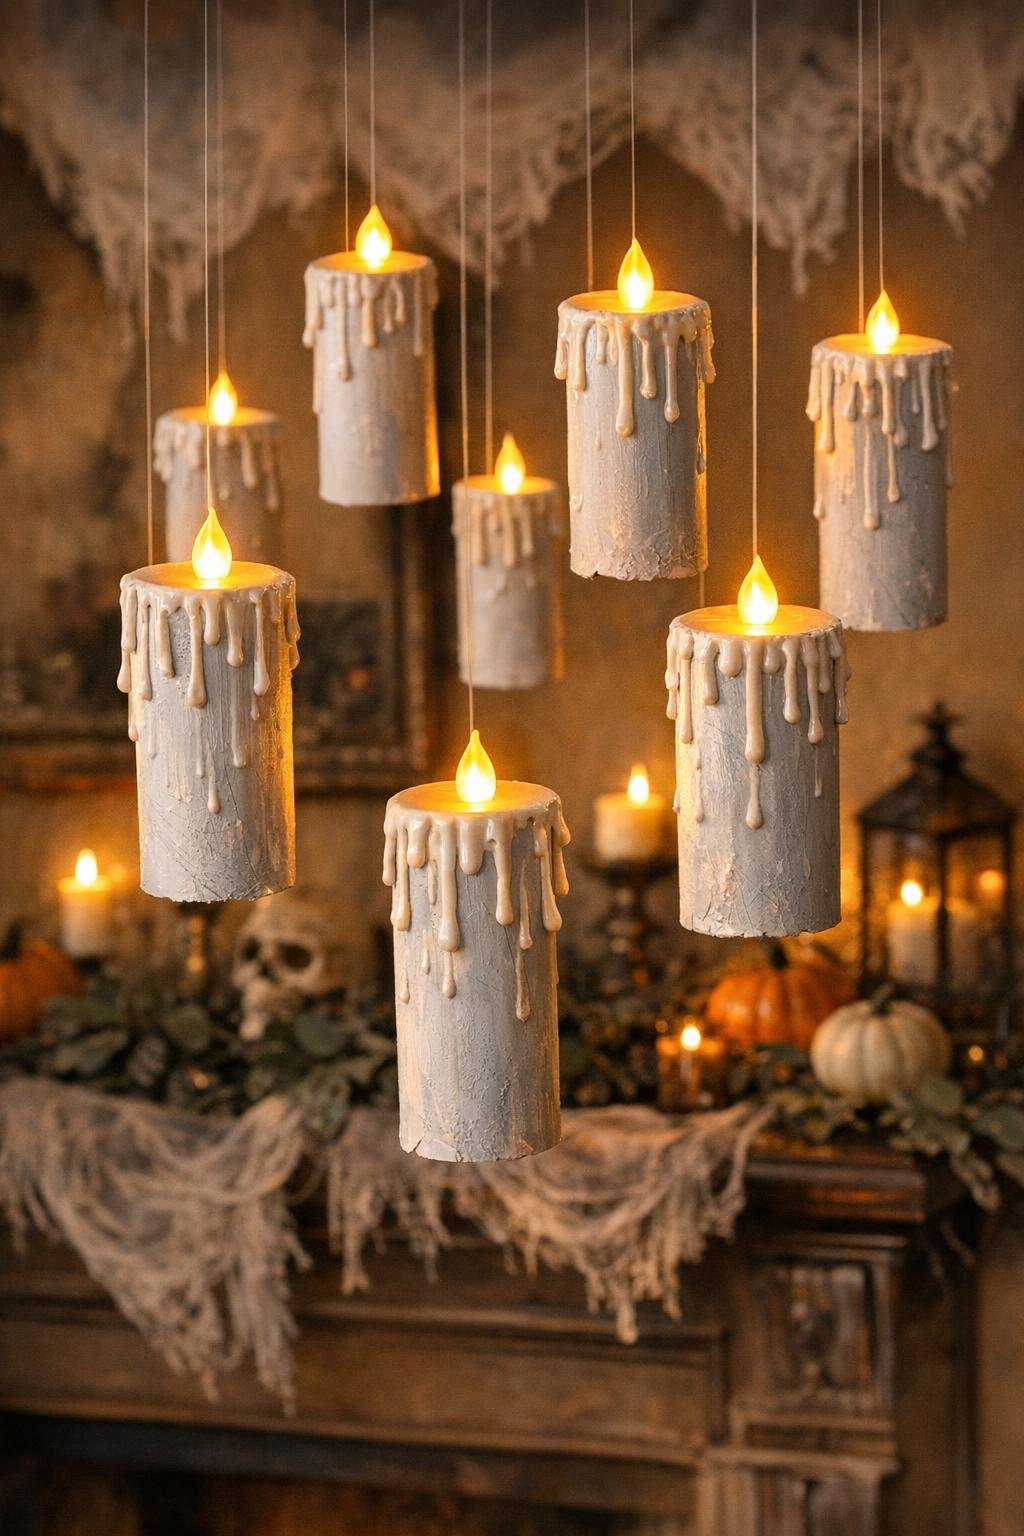
Variations & Tips
Color choice: Cream paint gives these a warmer, antique candle look, while bright white makes them feel a little spookier and sharper after dark.
More realistic drips: Don’t be shy with the glue at the top edge. The prettiest finished effect comes from thick, layered buildup around the rim, with plenty of uneven runs down the sides.
Hanging tip: I like to cut all my fishing lines first and lay them in piles by length, because once the candles are painted they go together quickly and the varied heights make the whole display look fuller.
Safe display spot: These are best indoors or on a covered porch where wind won’t tangle them. Battery tea lights keep the look magical without any worry about real flame.
Make the cluster bigger: If you have the room, hang the 12 candles in a loose oval or sweeping path instead of a straight line. That fuller arrangement gives you the enchanted nighttime effect this project is really meant to deliver.
Storage tip: Nest the painted rolls upright in a box with a little tissue or paper between them, and keep the tea lights in a separate bag so everything is ready to hang again next Halloween.