
There are a few little tricks that feel like magic every single time, and this is one of them. You start with the simplest supplies and a plain pan of water, then in just a few minutes you get a rich, swirled finish that looks far more special than the effort it takes. It reminds me of those old-fashioned marbled papers I used to admire in library books, only this version is made for autumn decorating and comes together right on the kitchen counter.
If you like a project with a big payoff and very little fuss, this one is for you. It’s especially nice for anyone who wants fall décor that looks collected and heirloom-inspired instead of overly themed, and it’s a wonderful way to use up half-finished bottles of nail polish that have been rattling around in a drawer for years.
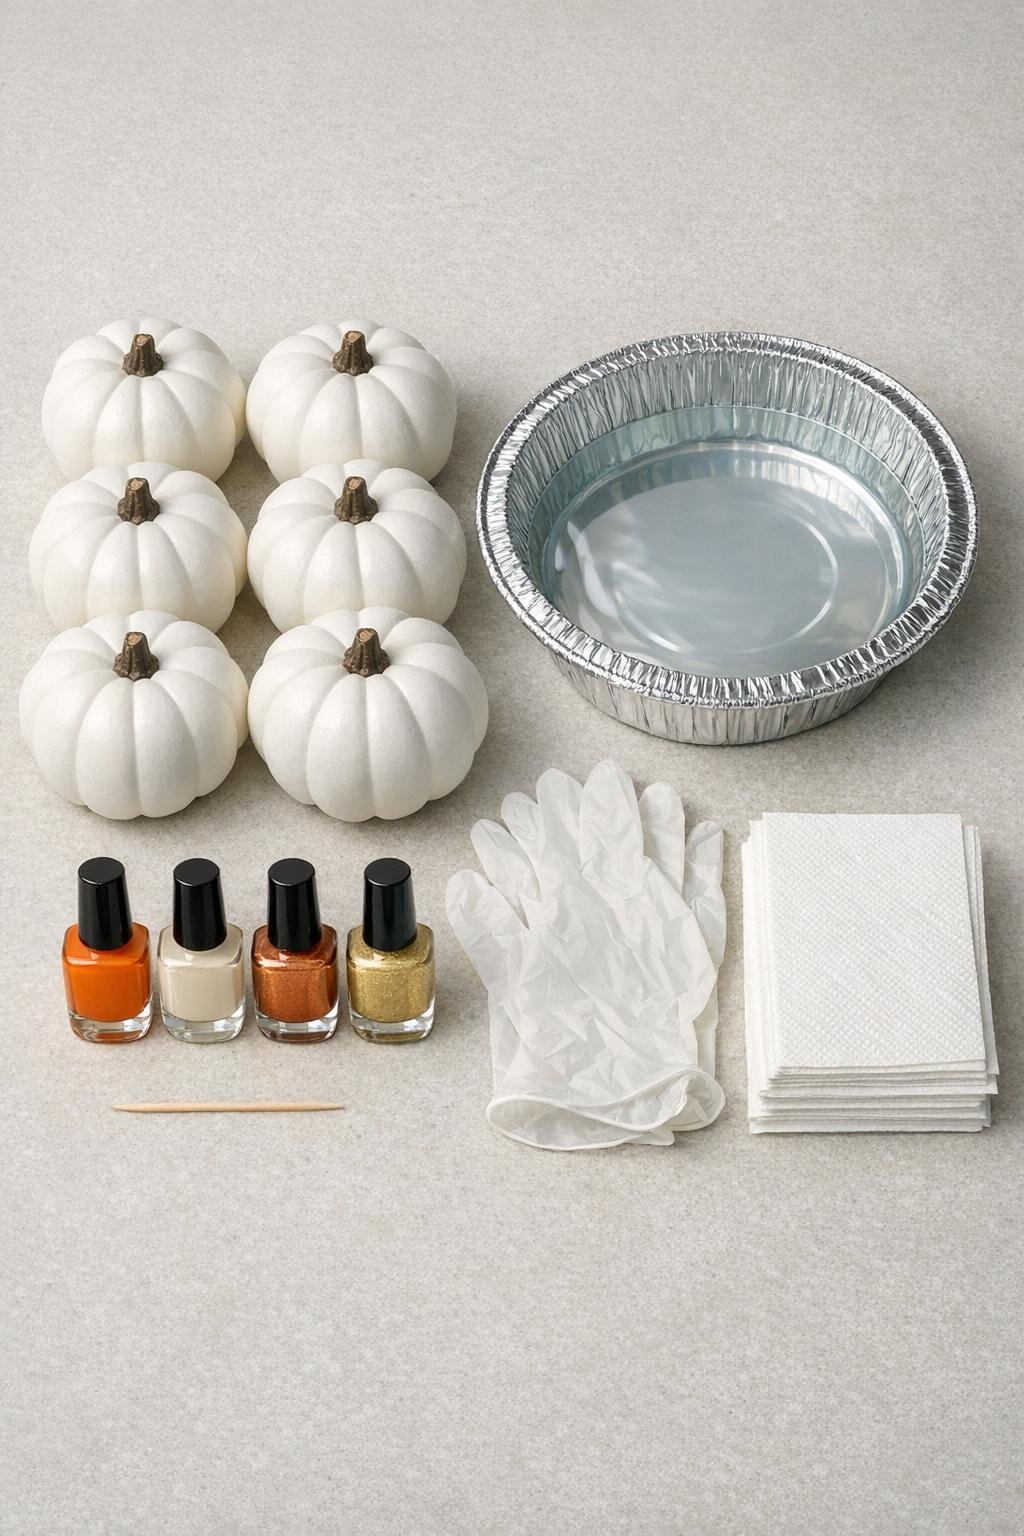
Materials
Instructions
1. Cover your work surface, fill the foil pan with 1 1/2 to 2 inches of room-temperature water, and put on gloves so you can work quickly once the polish hits the surface.
2. Set out 2 to 3 pumpkins at a time and have the nail polish bottles uncapped and ready, because the polish begins to set fast once it touches the water.
3. Drip orange, cream, copper, and gold nail polish over the surface of the water, scattering small puddles across the pan until you have a loose, full layer of color about 6 to 8 inches across.
4. Drag the tip of a toothpick through the floating polish 2 or 3 times to make broad marble lines, but don’t overmix or the colors will muddy.
5. Hold one pumpkin by the stem, tilt it slightly, and dip one side into the marbled polish so the color wraps across the top and down the sides in a natural, uneven pattern.
6. Lift the pumpkin straight up, let excess water drip back into the pan for a second, then set it on paper towels to dry with the uncoated side down or angled so the finish stays intact.
7. For fuller coverage, add fresh polish to a clean area of the water and dip another section of the same pumpkin once the first area is no longer dripping, leaving a little white space here and there for an heirloom look.
8. Repeat with the remaining pumpkins, refreshing the water surface with new drops of polish for each one so every piece gets clear color and distinct veining.
9. If stray bits of dried polish cling where you don’t want them, gently lift them off with a paper towel edge or your gloved fingertip while the finish is still slightly soft.
10. Let all the pumpkins dry undisturbed for at least 1 hour, then turn them upright and group them together so the different swirls and metallic touches play off one another.
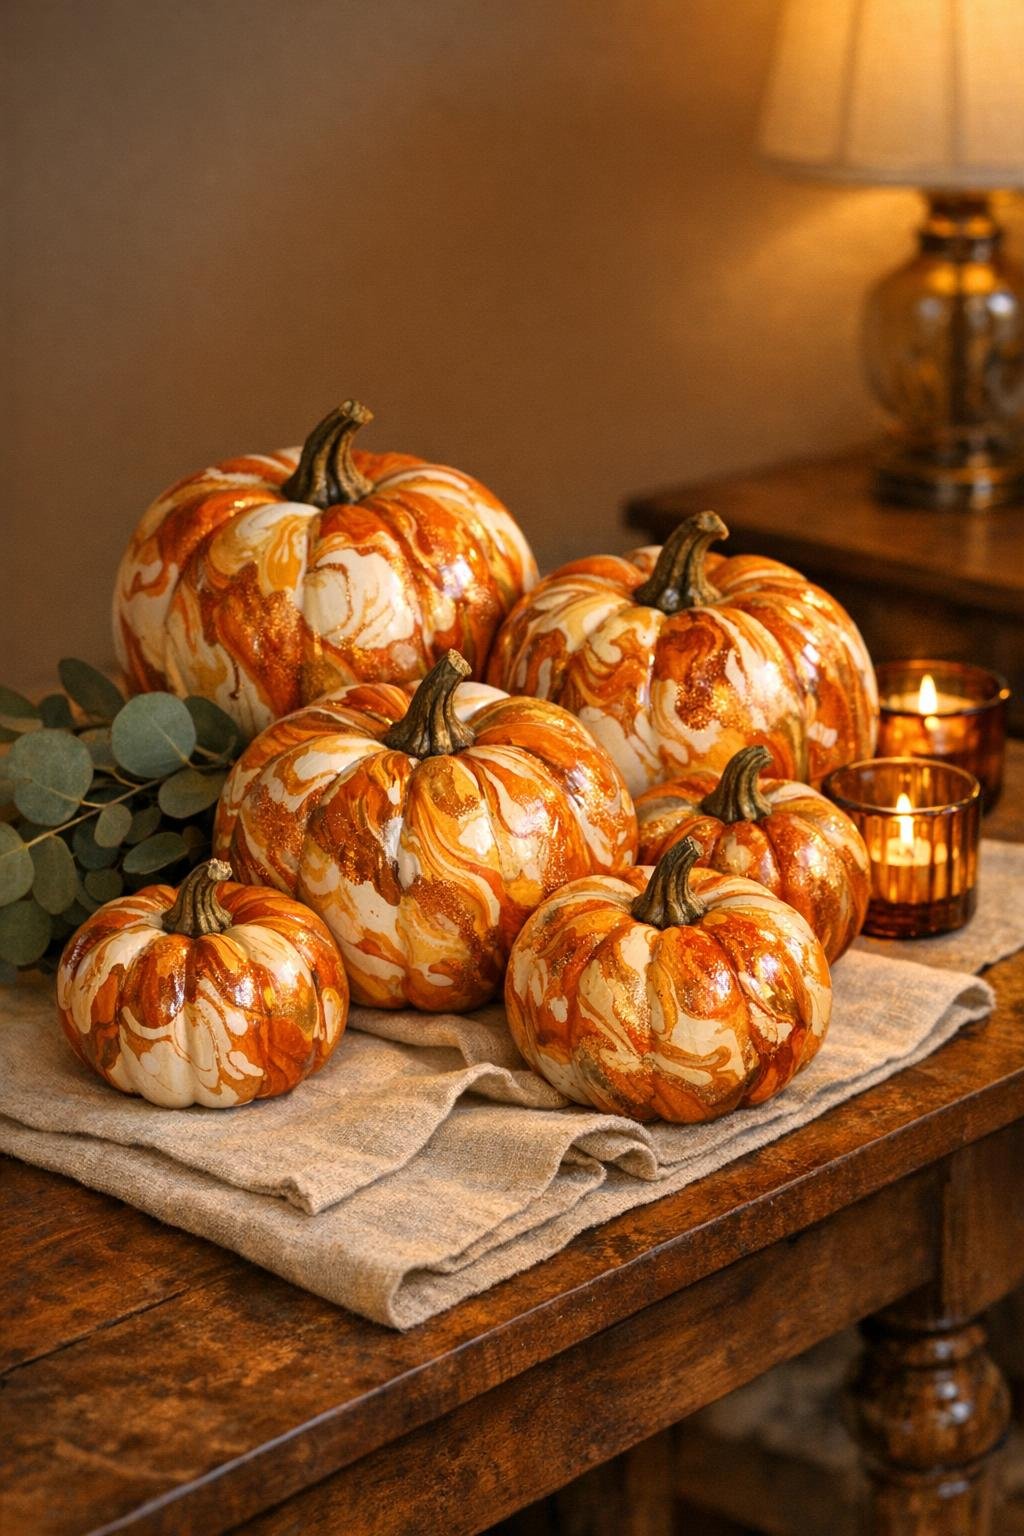
Variations & Tips
For softer heirloom color: Use more cream and just a few drops of orange and copper in each round of marbling for a lighter, chalkier finish that feels especially vintage.
For richer metallic detail: Add the gold last and swirl it only once or twice so it stays bright and reads as fine veining instead of disappearing into the other shades.
For the prettiest grouping: Marble 4 to 6 pumpkins with slightly different color balance rather than making them all match exactly; that mixed collection looks more natural on a mantel or table.
Work fast: Nail polish sets quickly on water, so drip, swirl, and dip right away for the cleanest marbling.
Keep coverage generous: Dip deep enough to carry the pattern over the shoulders of the pumpkin, not just the very top, because that fuller wrap is what makes the finished arrangement look lush and polished.
Expect each one to differ: The beauty of this project is in the variation, and the little streaks, ribbons, and uneven edges are exactly what give it that old-world heirloom charm.