
This little kitchen project is one of my favorite kinds of DIY: fast, useful, and cute enough that it actually makes the room feel more pulled together. You’re turning a wall-mounted wooden cutting board into a measuring cup rack by adding small S-hooks underneath, so the board does double duty as warm kitchen decor and hardworking storage.
I love projects like this because they solve a real-life problem without asking for a whole weekend. If your measuring cups are always tangled in a drawer like mine used to be, this is such a smart fix. It’s especially great for busy home cooks who want everyday tools within reach but still want the kitchen to look neat and intentional.
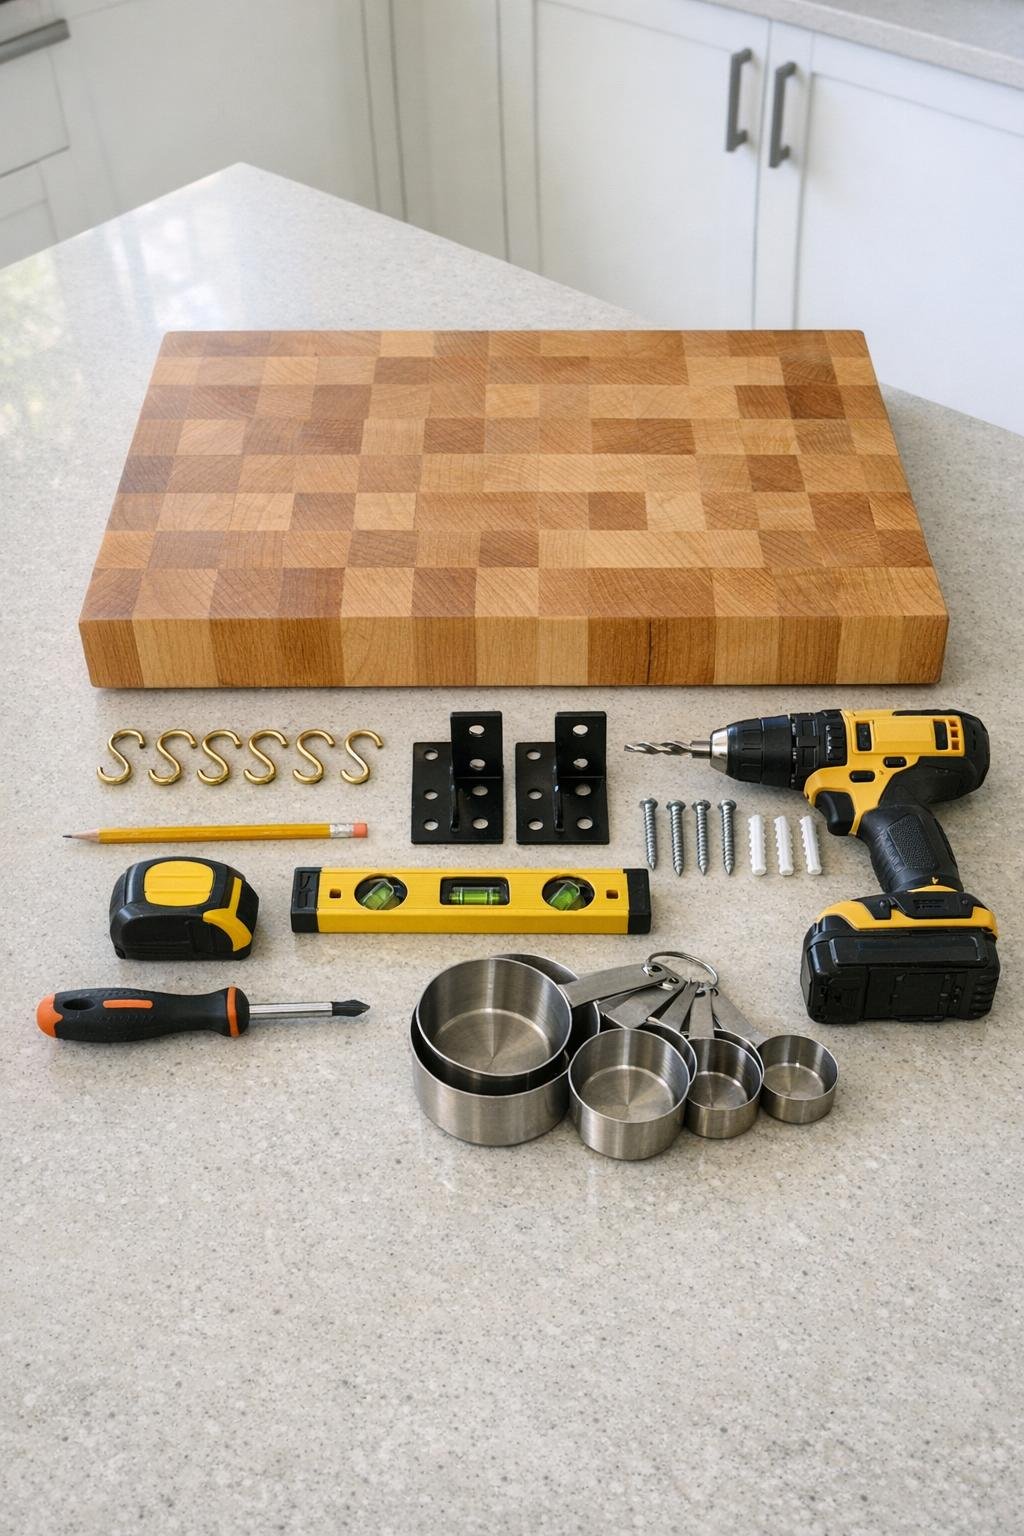
Materials
Instructions
1. Wipe down the cutting board and lightly sand any rough spots along the edges or underside so it feels smooth and finished once it’s on the wall.
2. If the wood looks dry, rub in a thin coat of butcher block oil and let it soak for 15 to 20 minutes, then buff off the excess with a soft cloth.
3. Flip the cutting board over and mark the underside for the S-hooks, spacing 5 hooks evenly across the lower long edge with about 2 to 2 1/2 inches between each one.
4. Attach the top side of each brass S-hook onto the underside edge of the board by slipping or seating them into position so they hang straight down and can swing freely without bumping each other.
5. On the back of the cutting board, measure and mark the placement for the two mounting brackets, keeping them level and about 2 to 3 inches in from each short side.
6. Drill shallow pilot holes for the bracket screws, then secure the mounting brackets to the back of the board with the 3/8 inch wood screws.
7. Hold the board against the wall where you want it, preferably near your baking or prep zone, and use a level to mark the wall screw locations.
8. Drill the wall holes, insert anchors if needed, and drive in the wall screws, leaving the heads slightly proud so the board can slide securely onto them.
9. Hang the cutting board on the wall and check it with the level again, making any tiny adjustments before fully tightening the screws.
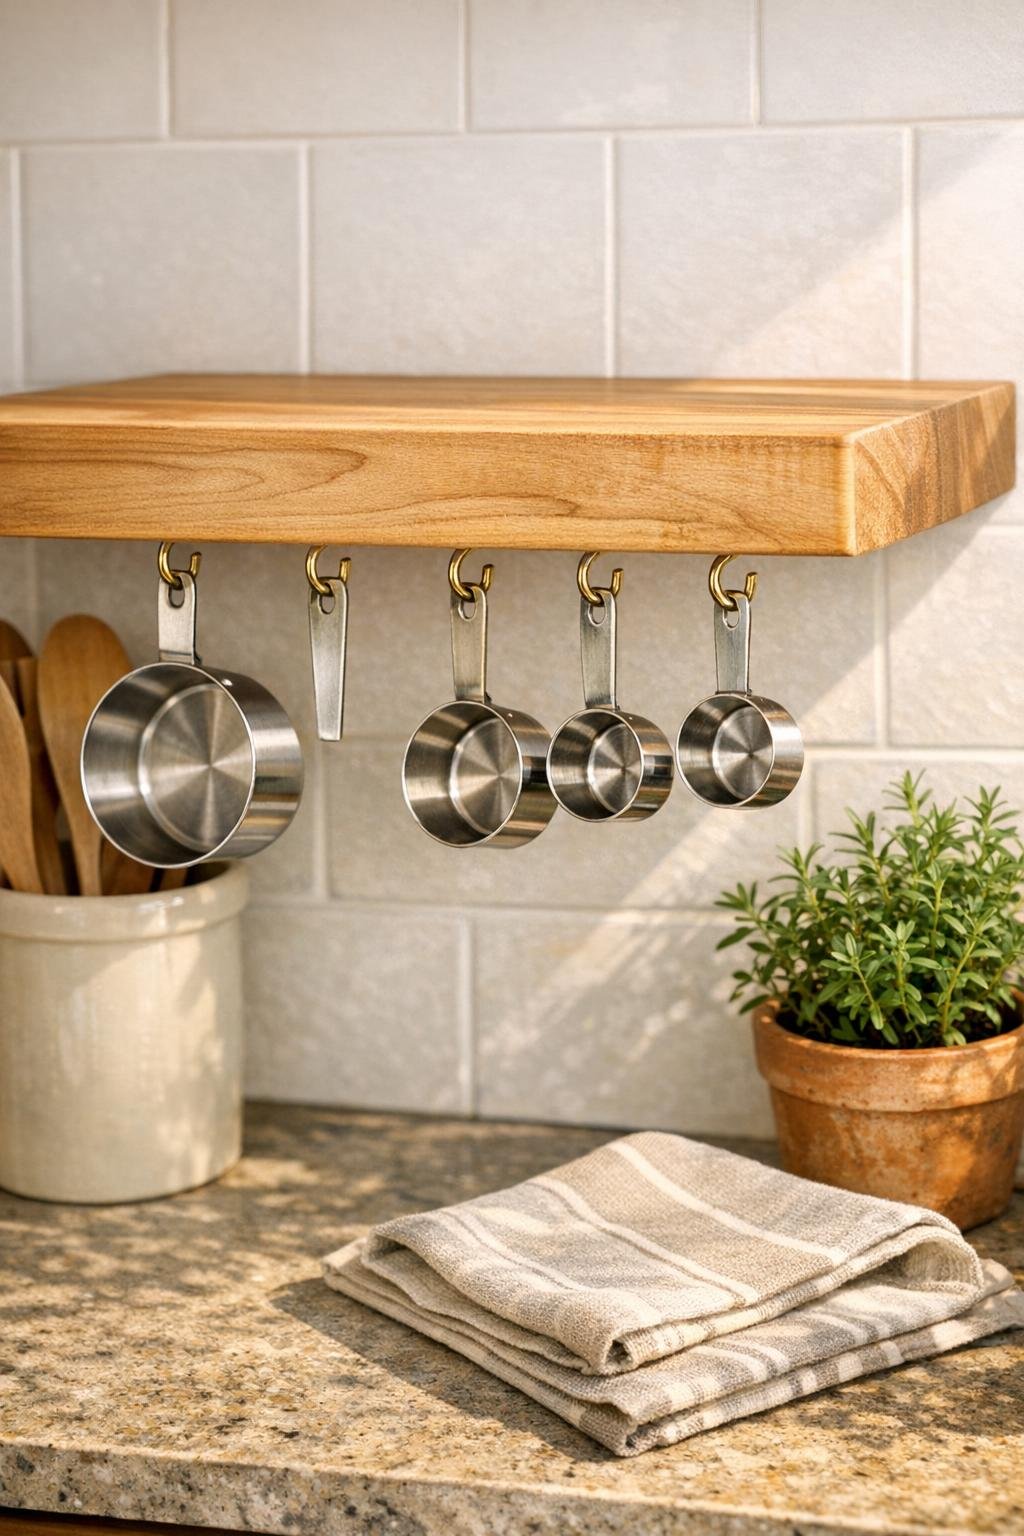
10. Hang the measuring cups from the brass S-hooks, arranging the largest cups toward the ends and the smaller ones in the center so the rack looks balanced and stays easy to use.
Variations & Tips
Add more capacity: If you have a full measuring cup and spoon set, use a 14 x 20 inch cutting board and 7 to 8 small S-hooks so everything can hang together without looking crowded.
Choose the right board: A thick maple board gives the prettiest finished look and enough depth to visually support the hooks, which is why I love it for this project.
Match your hardware: Brass S-hooks look warm and polished, but black, nickel, or copper-toned hooks can work if they fit your kitchen better.
Mind the wall placement: I like to mount this low enough that I can grab the 1-cup measure without stretching, but high enough that the cups don’t touch the backsplash or counter items below.
Keep it food-friendly: Since this is a cutting board, stick with butcher block oil or another food-safe conditioner if you freshen the wood finish.
Check the cup handles first: Before you mount anything, test your measuring cups on one S-hook to make sure the handles slide on and off easily and the cups hang facing forward.
Use studs when possible: Measuring cups are light, but a solid wall mount always feels better in a busy kitchen, especially if this rack will get daily use.