
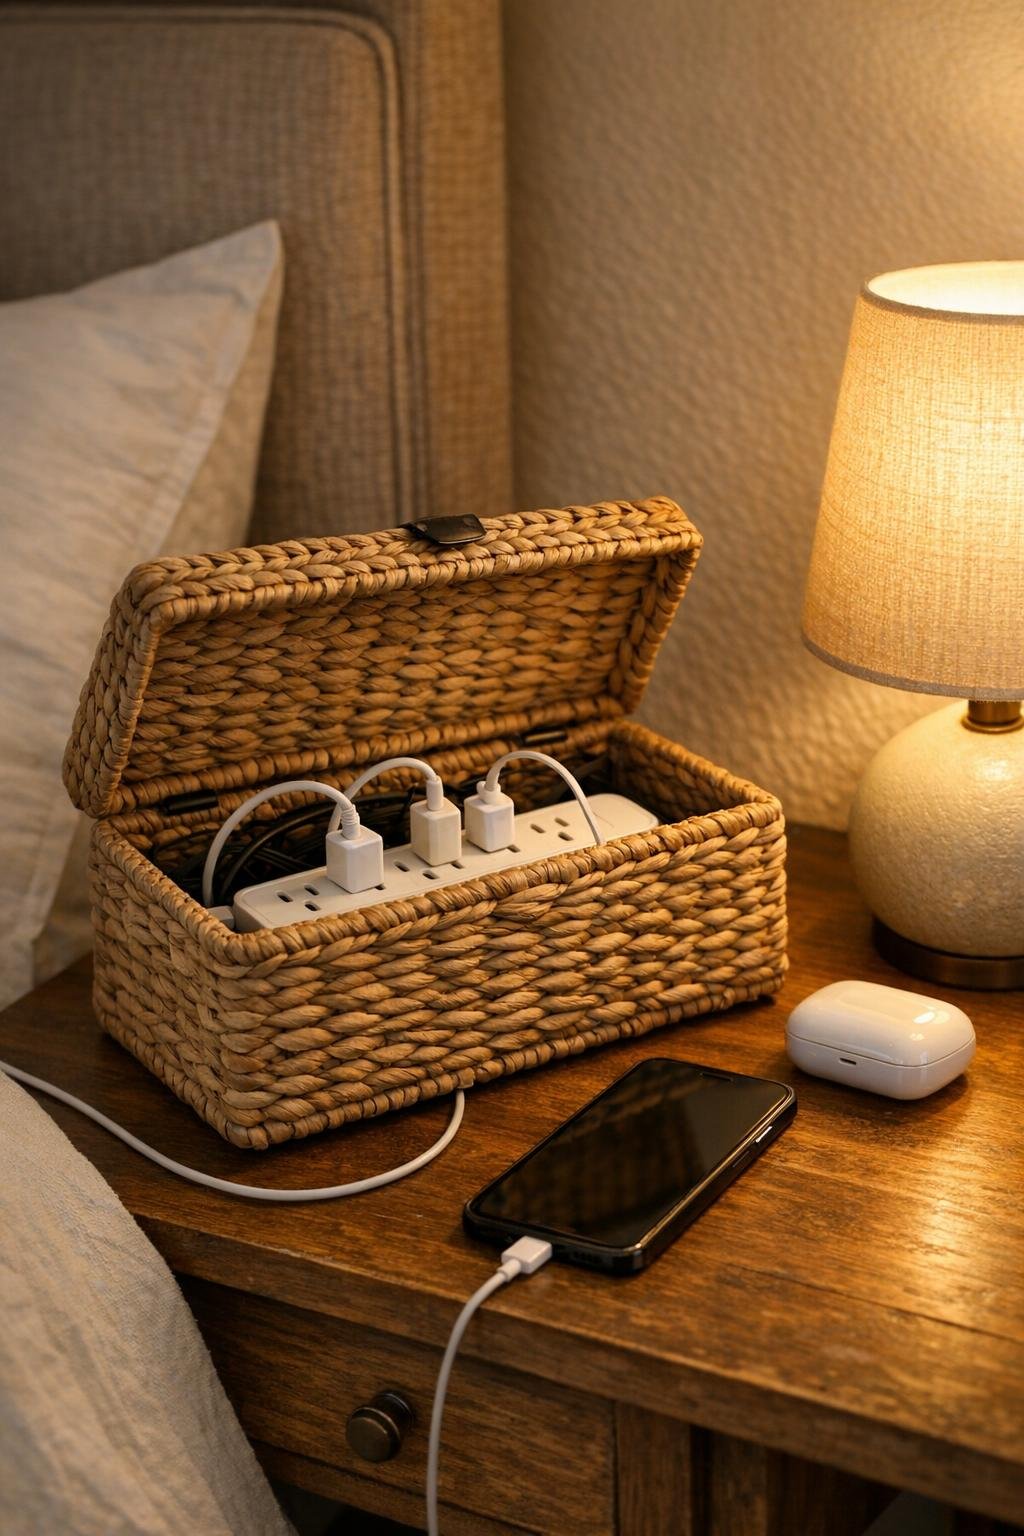
This bedroom charging station is one of those tiny household fixes that makes the whole room feel calmer. By tucking a power strip inside a lidded woven bread basket, you get a neat spot to charge a phone, watch, earbuds, and e-reader without staring at a tangle of cords on the nightstand.
I love projects like this because they solve a real everyday annoyance with almost no building skill required. If you want your bedside table to look more polished but still need easy access to chargers, this is a simple afternoon project that gives you a surprisingly tidy, finished result.
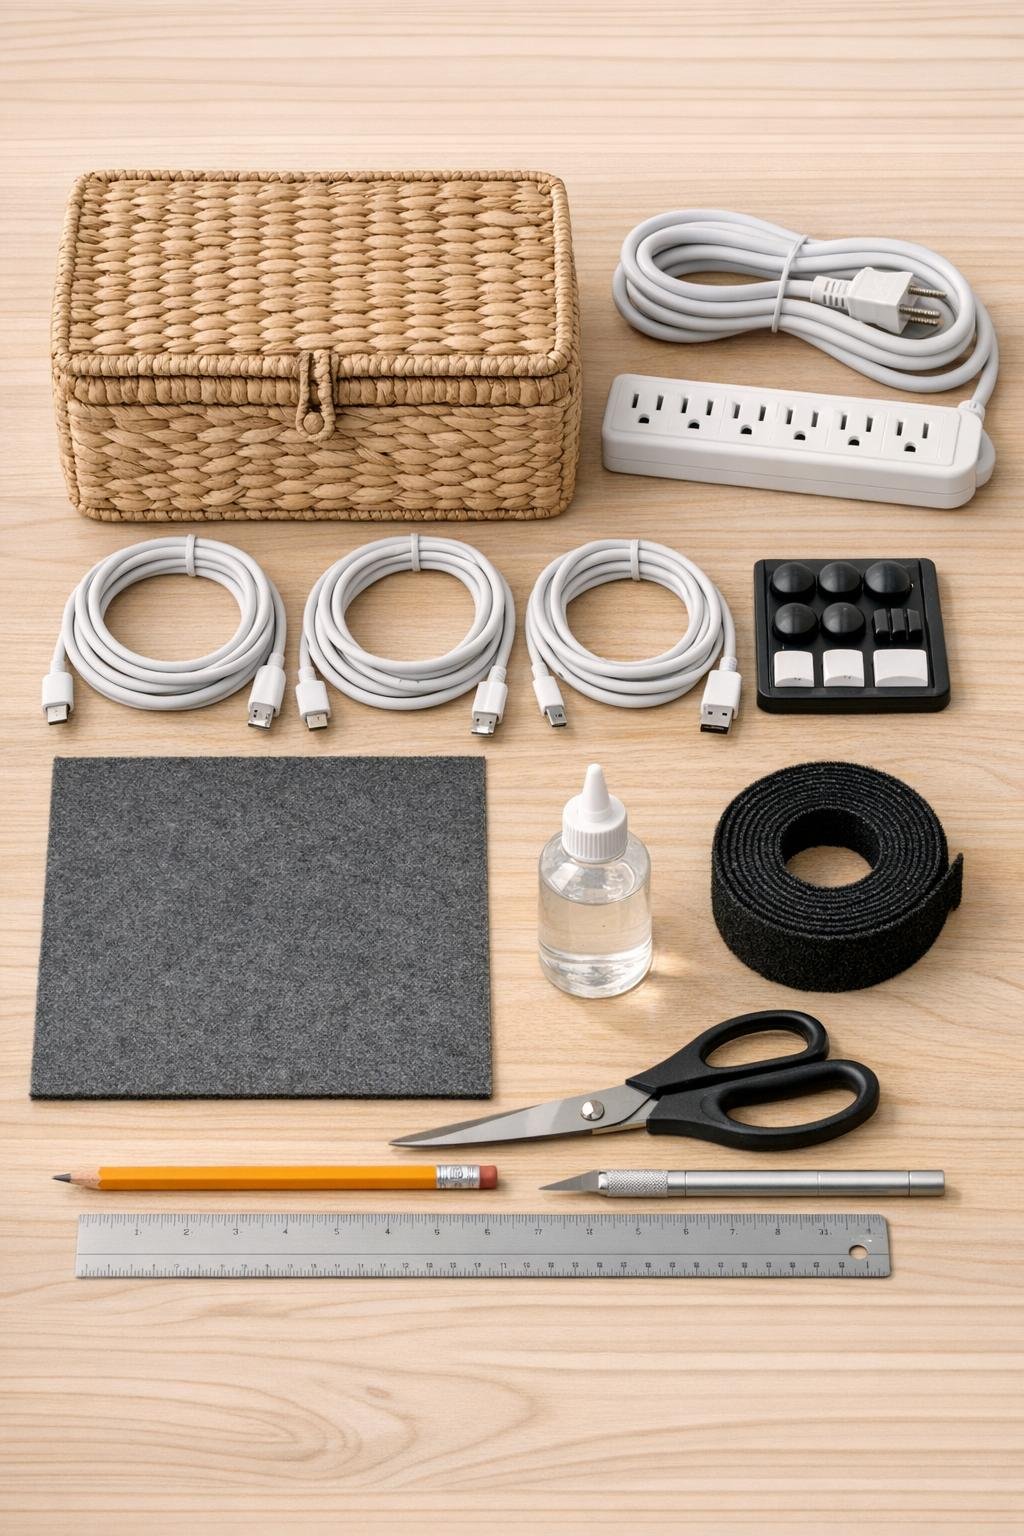
Materials
Instructions
1. Set the basket on your nightstand and test the fit of the power strip inside, placing it lengthwise so the outlets face up and the lid can still close easily.
2. Decide which side or back of the basket will face the wall, then mark a small cord opening near the lower edge where the power strip cord can exit discreetly.
3. Use the craft knife to carefully cut a snug opening through the woven seagrass, starting small and widening only as much as needed for the plug cord to pass through.
4. Cut the felt sheet into a liner for the basket bottom and glue it in place to keep the power strip from shifting and to protect the basket from abrasion.
5. Feed the power strip cord out through the opening, then place the white power strip inside the basket on top of the felt liner.
6. Wrap one or two hook-and-loop ties around any extra cord length inside the basket or behind the nightstand so you do not end up with a bulky tangle.
7. Plug your charging cables into the power strip and route the cable ends upward so they sit near the basket opening when the lid is lifted.
8. Attach adhesive cable clips along the inside back edge or inner rim of the basket to hold each charging cable in place and keep the ends from slipping down inside.
9. Trim or reposition the cables so each one reaches comfortably to the top edge without looping excessively over the sides.
10. Test the lid by closing it gently over the cables; if needed, shift the cables toward a corner or gap in the weave so the lid rests naturally without pinching them hard.
11. Plug the power strip into the wall and test each charging cable with your devices before placing the station into its final position.
12. Style the finished basket on your nightstand with the lid mostly closed and the cable ends ready to grab, leaving enough ventilation around the basket and easy access to the power switch if your strip has one.
Variations & Tips
Add device zones: If you charge several items nightly, assign one cable to each device type and keep them in a fixed order so you are not fishing around half-asleep.
Choose the right basket: A rectangular basket with a fairly rigid lid works best because it hides the strip neatly while still opening quickly. Make sure it is large enough that the power strip sits flat without forcing the sides outward.
Keep it breathable: Do not pack the basket tightly with adapters, battery banks, and excess cord. A little air space around the strip helps it stay cooler during charging.
Protect delicate weaves: If the cut opening starts to fray, add a tiny bead of clear craft glue around the edges and let it dry completely before threading the cord through again.
Match your room: If your bedroom leans modern, use a pale natural seagrass basket with white cables; if it is warmer or more traditional, a honey-toned woven basket blends in beautifully with wood furniture.
Nightstand placement: I like to place the basket toward the back corner of the nightstand so the charging cables are easy to reach but the basket still reads as decor instead of clutter.