
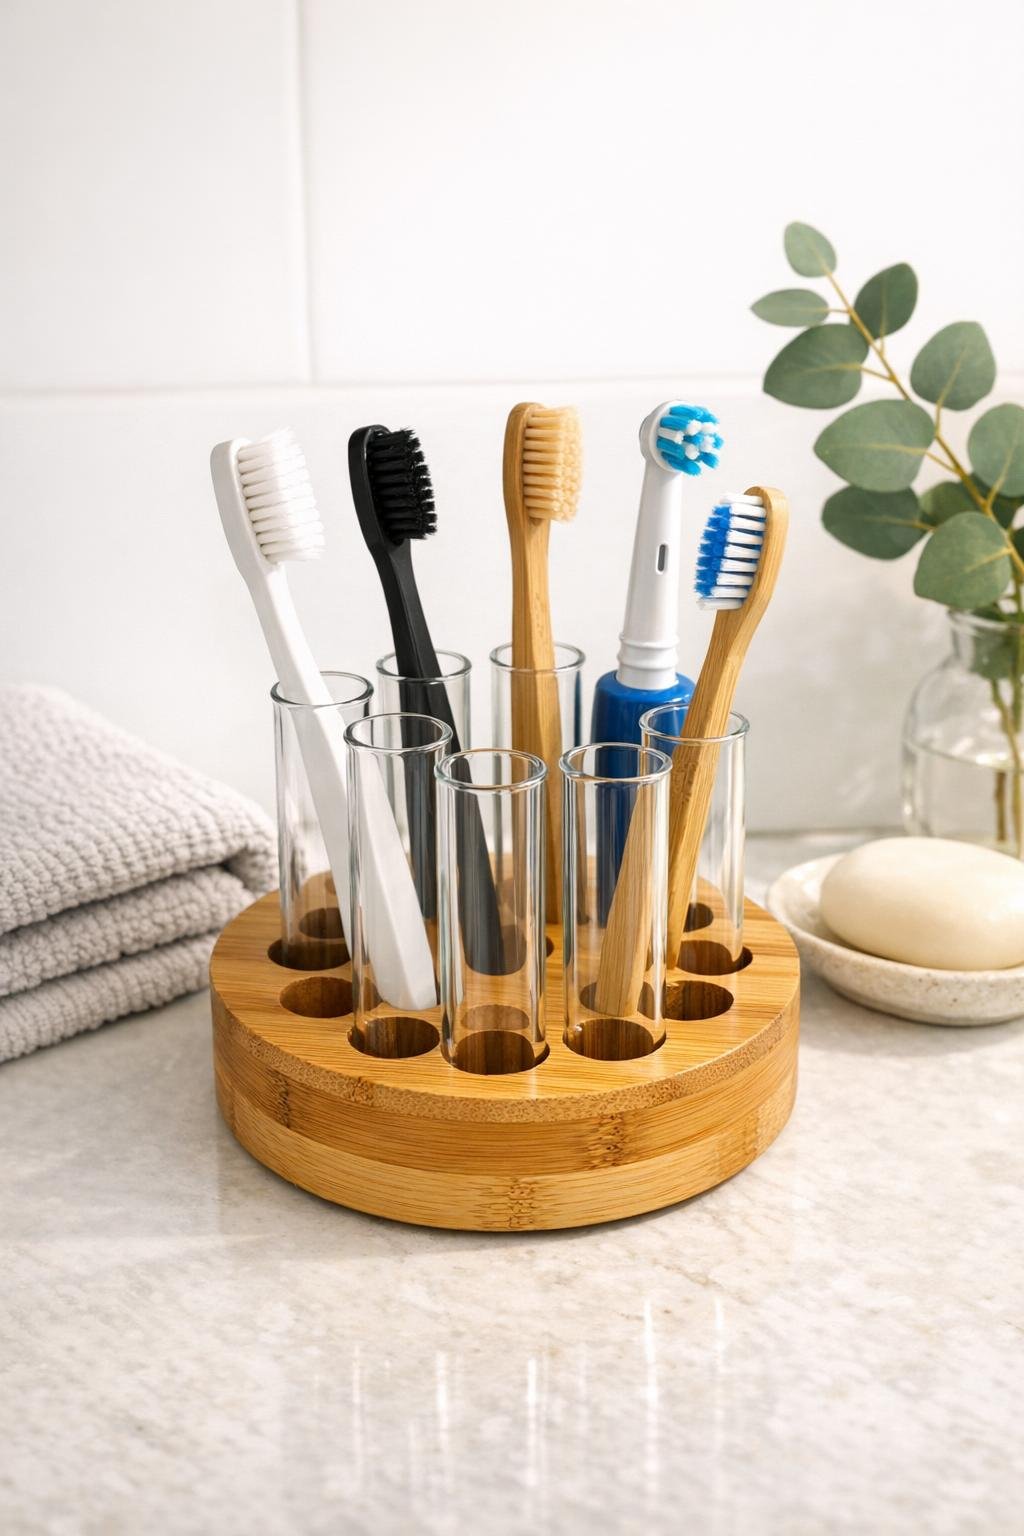
I have a soft spot for useful little projects that make an everyday routine feel tidier and just a touch special, and this toothbrush holder is exactly that kind of thing. By fitting small glass test tubes into a round wooden spice rack base, you get a bathroom organizer that keeps toothbrushes upright, separated, and easy to clean, with a look that feels neat, natural, and a little unexpected.
It’s a fine project for anyone who likes simple DIYs that don’t require a whole workshop to pull off. I especially love that it turns basic pieces into something guests notice right away. It reminds me of the old Midwestern habit of making do beautifully—using what you have, but finishing it nicely enough that it looks meant to be there all along.
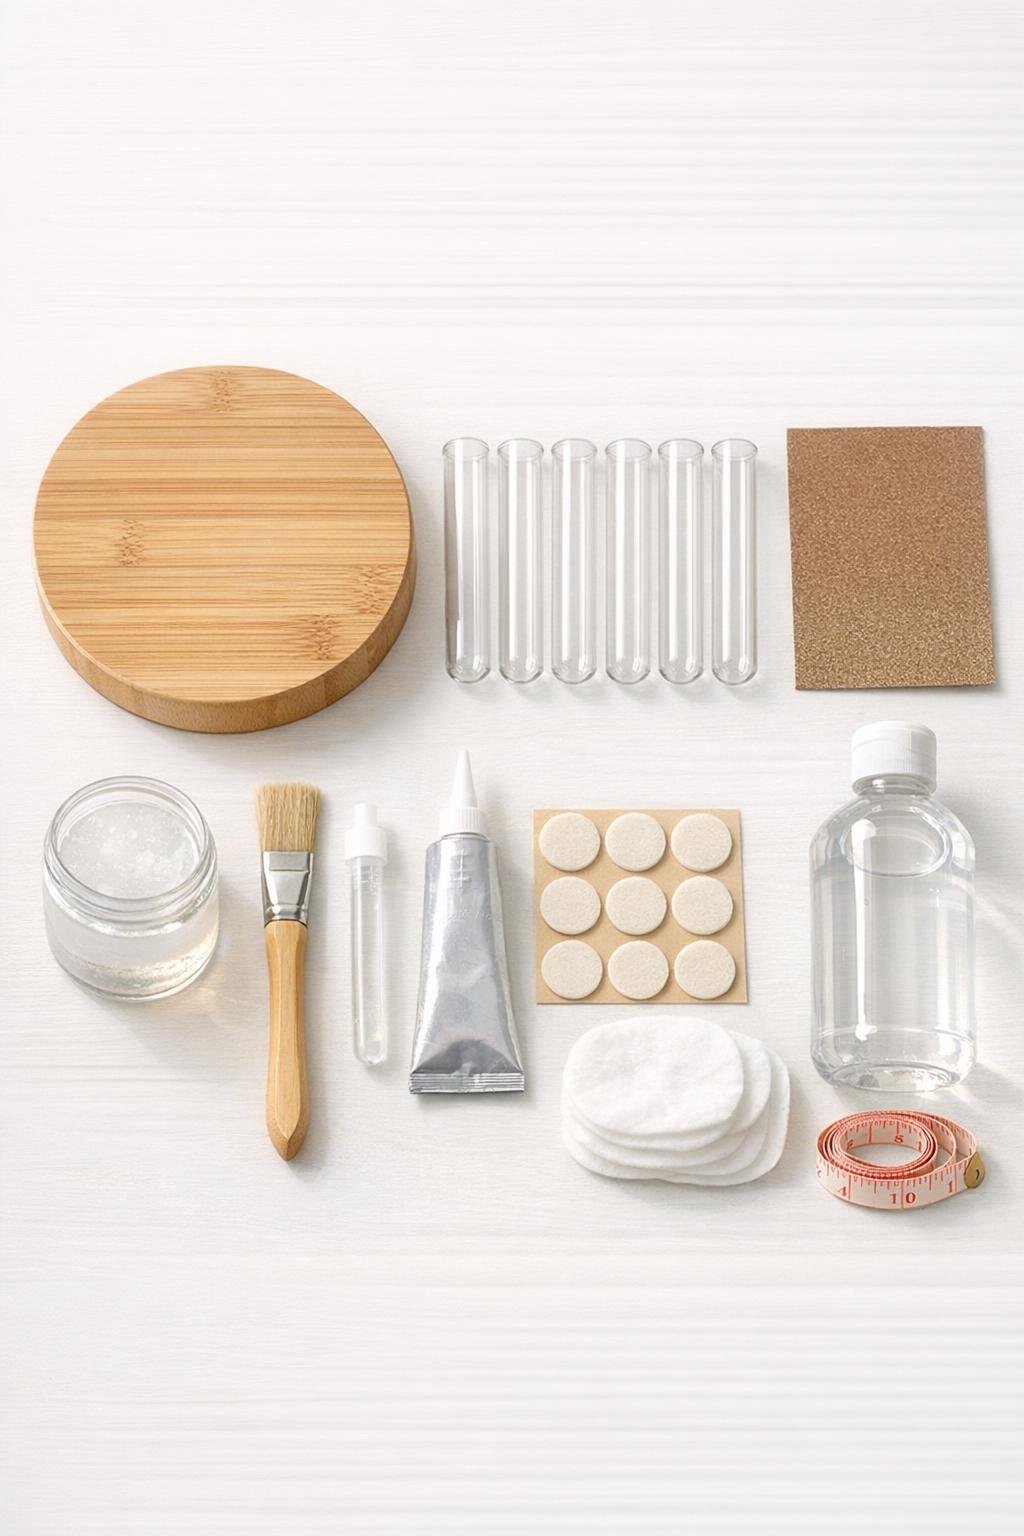
Materials
Instructions
1. Wipe the wooden spice rack base and the test tubes with rubbing alcohol to remove dust, oil, and any shelf residue, then let everything dry completely.
2. Lightly sand the entire wooden base, especially around the tube openings and outer edge, so the finish goes on smooth and the holder feels polished in hand.
3. Brush on a thin coat of clear waterproof sealer over the top, sides, bottom, and inside edges of each opening, then let it dry according to the product directions.
4. Add a second thin coat of sealer for better moisture protection, making sure the base is evenly covered without drips, and allow it to cure fully.
5. Test-fit each glass tube into its opening and check that they sit straight; if any hole is tight, sand that opening very lightly and try again.
6. Run a very small bead of clear silicone adhesive inside each opening only where the glass will touch the wood, using just enough to keep the tubes steady without messy squeeze-out.
7. Slide the test tubes into the base one at a time, spacing and turning them so they look even from every angle, then leave the holder undisturbed until the adhesive sets.
8. Turn the holder over and stick felt pads around the underside edge, plus one in the center if needed, so it sits level and won’t scratch the bathroom counter.
9. Once fully cured, rinse and dry the test tubes, then place toothbrushes, a toothpaste tube, or a slim floss pick in the openings that fit best for your household.
Variations & Tips
For a warmer finish: If you prefer a deeper wood tone, apply a light coat of wood stain before sealing. I’d keep it soft and natural-looking so the bathroom still feels fresh and clean.
For family use: Use 8 test tubes instead of 6 if your round spice base allows it. That gives each person their own spot, which is mighty handy in a busy household.
For easier cleaning: Skip heavy glue and use only a tiny bead of silicone so the tubes stay secure but can still be removed with care later if one needs replacing.
For stability: If your base is lightweight, choose thicker glass tubes or add a cork or rubber pad in the center underside to help the holder sit flat and feel more substantial.
For bathroom longevity: Don’t skip sealing the wood. In my experience, anything that lives near a sink needs that extra protection, or it won’t stay pretty for long.
For a polished look: Keep all the tube rims at the same height and wipe away fingerprints before setting the holder out. That little finishing touch is what makes a homemade piece look thoughtfully done instead of thrown together.