
I’m a big fan of decor projects that look far more expensive than they really are, especially when I can knock them out on a weeknight after work without turning my kitchen counter into a full craft disaster. This one is exactly that kind of project. You start with the most basic plastic pumpkins and use a simple textured paint mix to give them a soft, aged finish with tons of character.
If you love warm fall decorating but don’t want anything too glossy or obviously store-bought, this is such a satisfying little makeover. It’s beginner-friendly, fast, and forgiving, and the texture does a lot of the heavy lifting for you. I also love that it uses just a handful of supplies, which is usually the sweet spot for me when I’m trying to fit crafting into a busy week.
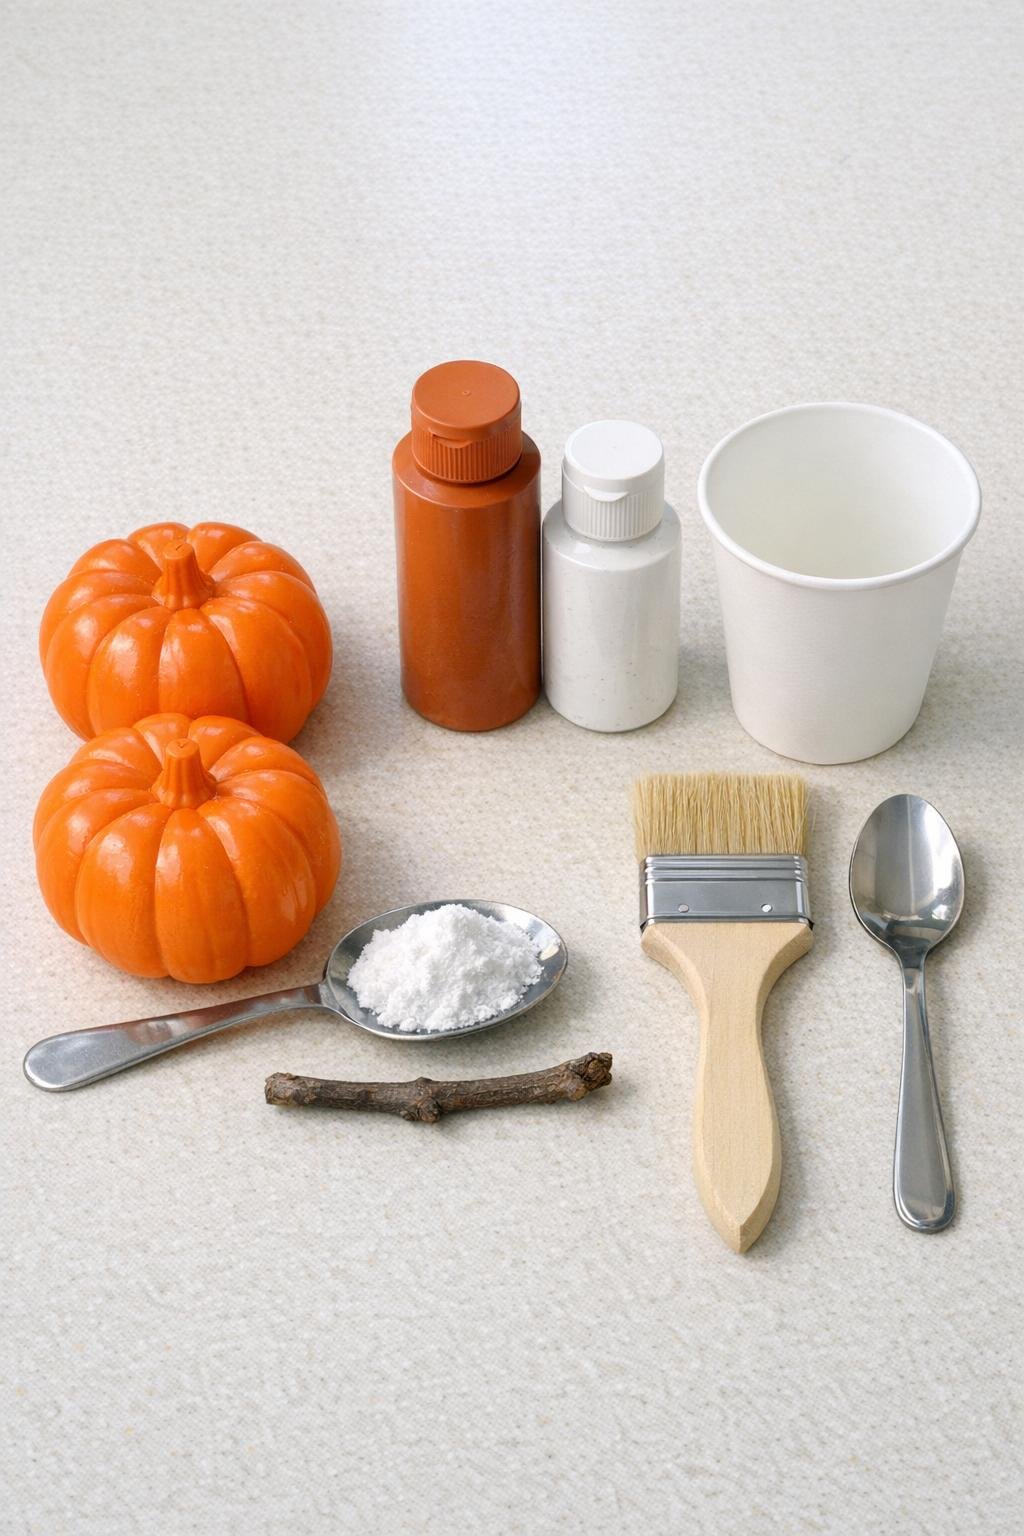
Materials
Instructions
1. Wipe both plastic pumpkins clean and dry so the paint can grip the surface evenly. If either pumpkin has a tag or sticker residue, remove it before you start.
2. Pour the terracotta acrylic paint into the disposable cup, then stir in 3 tablespoons of baking soda until the mixture is thick, grainy, and spreadable like cake frosting. Scrape the sides and bottom well so there are no dry pockets.
3. Brush the textured paint onto the first pumpkin in a heavy, stippled coat, working it into all the grooves and around the stem area. Leave the surface slightly uneven instead of smoothing it flat, because that roughness creates the pottery look.
4. Coat the second pumpkin the same way, using up the remaining paint to create full, dense coverage on both pumpkins. Dab extra paint onto any thin or shiny spots so no bright plastic shows through.
5. Let the pumpkins dry completely for 45 to 60 minutes, then check the finish with your hands. If you find smooth or patchy areas, add a second light stippled coat just where needed and let it dry again.
6. Dip the dry chip brush lightly into the white acrylic paint, then wipe most of it off before softly dry brushing the raised ridges and top curves of each pumpkin. Keep this layer subtle so it looks like natural age and chalky variation, not white stripes.
7. Remove the original stem from one pumpkin if possible, then press the real stick into the top opening so it fits snugly as a more natural stem. If the opening is tight, twist the stick gently as you insert it.
8. Style the finished pumpkins together as a pair once everything is fully dry, turning the most textured sides forward. Grouping the two sizes and finishes together makes the final look fuller and more collected.
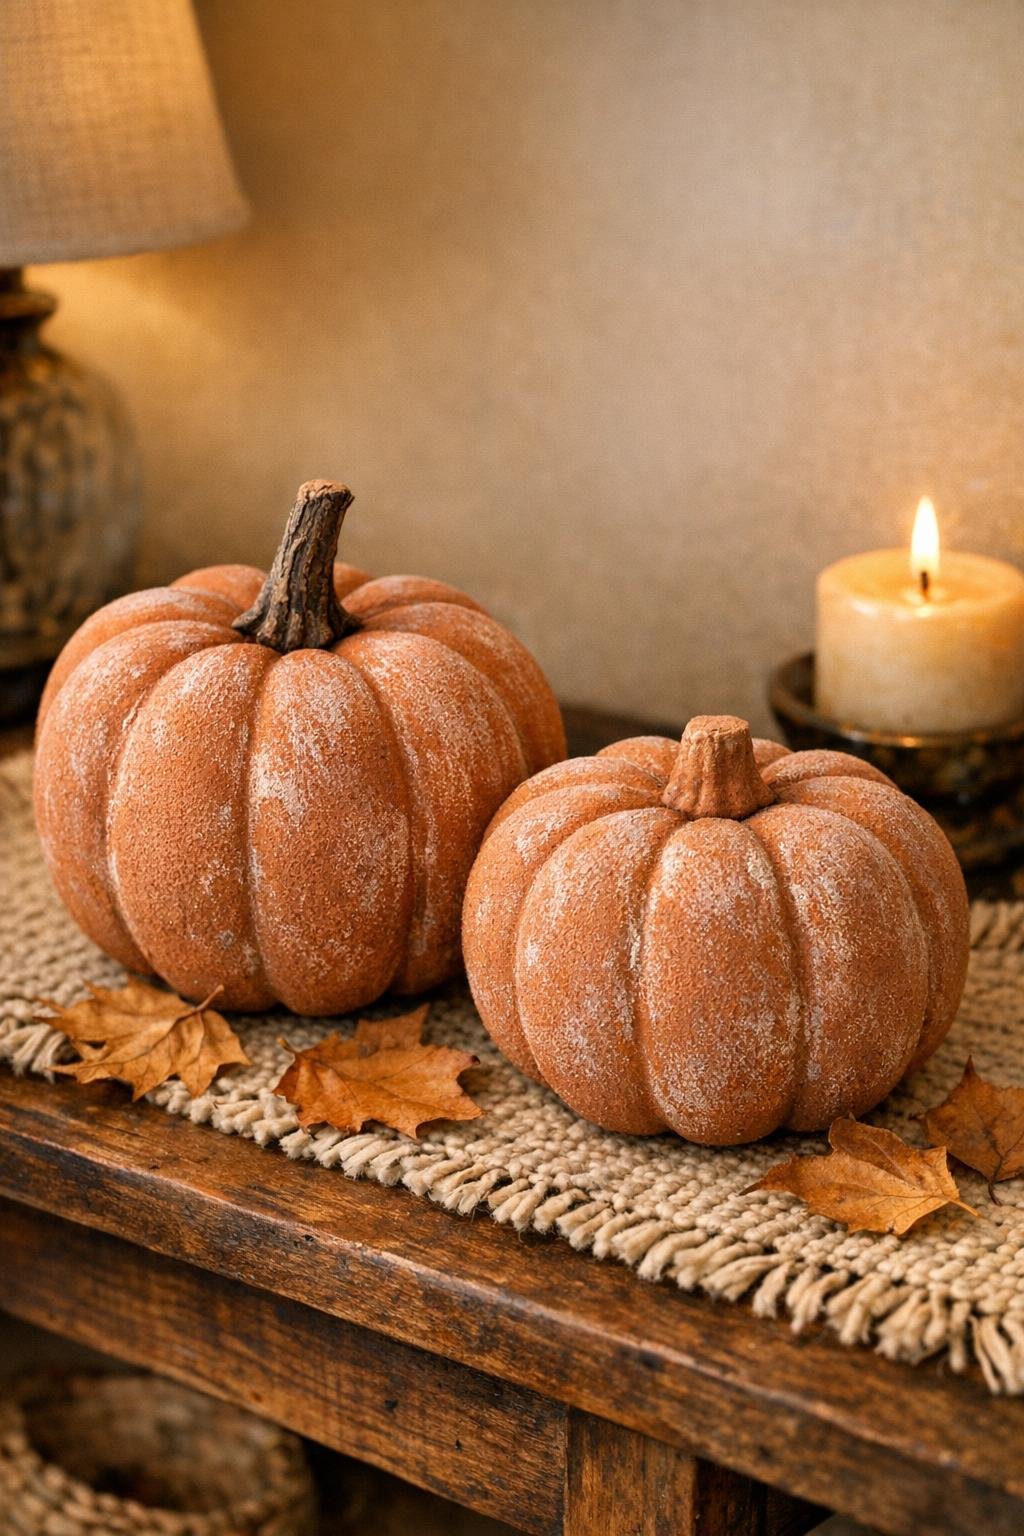
Variations & Tips
For deeper color: If you want a richer clay look, add a little more terracotta paint and keep the baking soda ratio the same texture-wise. I like aiming for a warm earthy tone rather than a bright orange-brown.
For extra texture: Use a tapping motion with the chip brush instead of long strokes. That gives you more of that chalky, pottery-style surface and hides the plastic even better.
For a more collected look: Make one pumpkin slightly heavier on the white dry brush and leave the other more solid terracotta. That tiny bit of variation makes them feel less matching-set and more like something you slowly gathered over time.
About drying time: If your house is humid or you applied a very thick coat, give them longer than an hour before dry brushing. I’ve rushed paint before on weeknights and always regret it when fingerprints show up in the finish.
Stem tip: Choose a stick with a little bend or natural texture if you can. It’s such a simple detail, but it instantly makes the finished pumpkin look more realistic and styled.
Where to use them: These look especially good on an entry table, mantel, kitchen shelf, or dining centerpiece. I love projects like this because they give that cozy seasonal look without needing a whole weekend or a giant craft haul.