
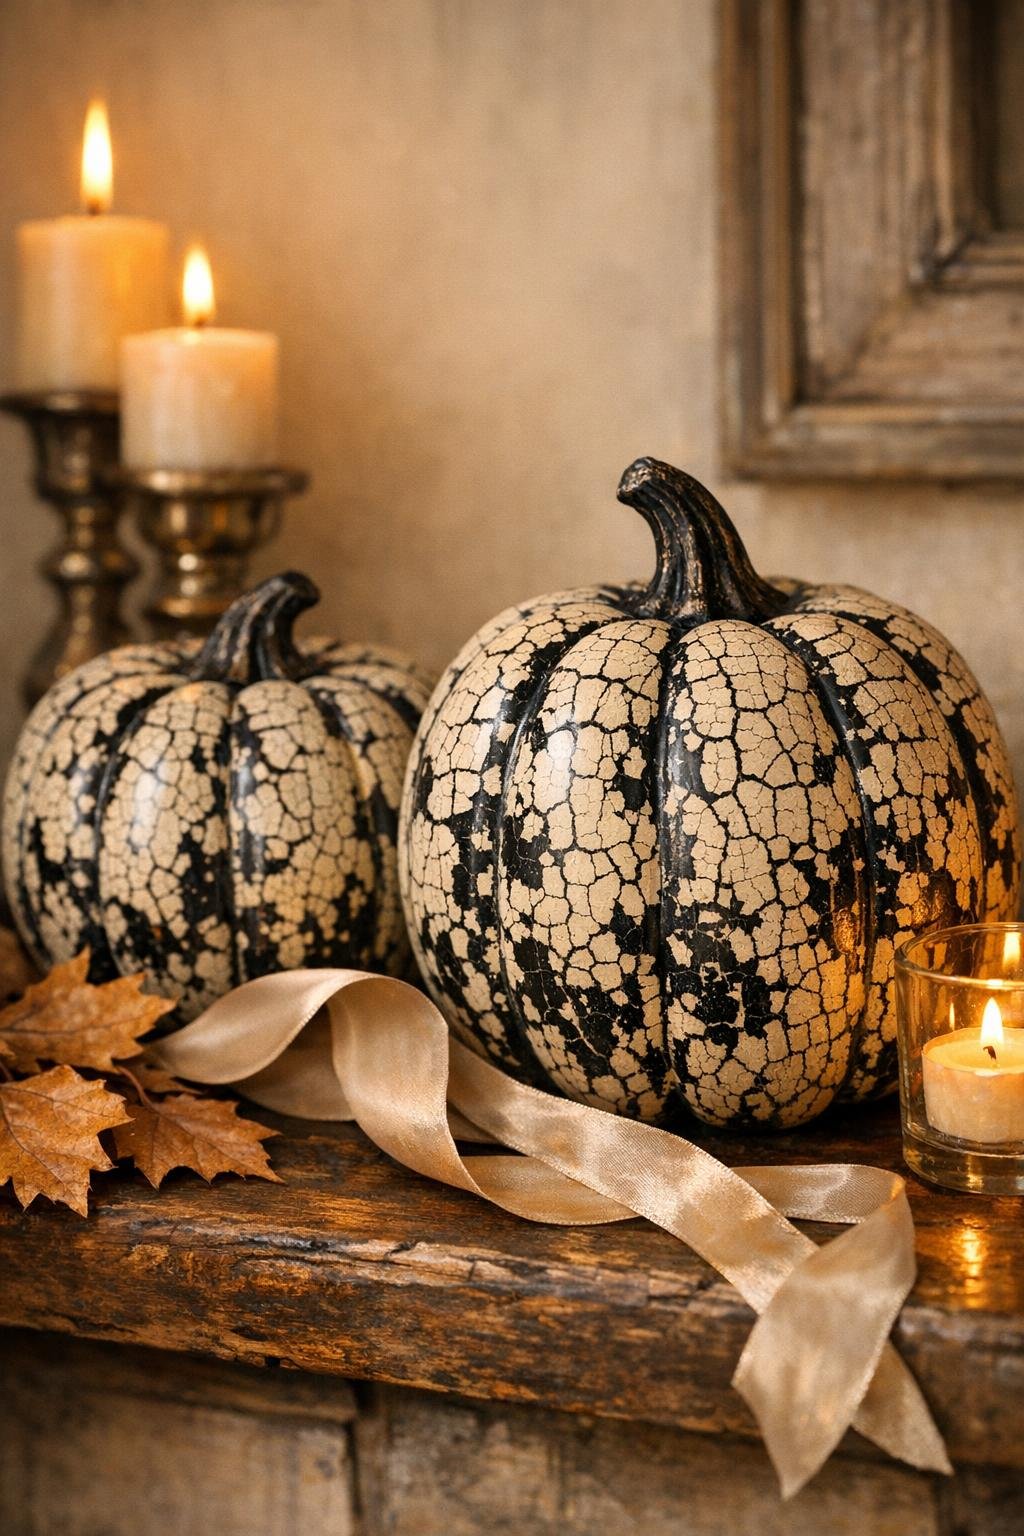
There are a few craft finishes that look wildly fussy but are actually perfect for a busy weeknight, and this is one of them. You start with plain black plastic pumpkins, add a coat of school glue and paint, and let the texture do all the dramatic work for you. The result has that moody, old-world feel I love for fall decorating, but the process is simple enough to squeeze in after dinner while the kitchen is being cleaned up.
I’m especially fond of projects like this because they don’t require a giant supply haul or a whole Saturday afternoon. If you like seasonal decor that feels a little elevated without being precious, this is a very forgiving makeover. The trick is mostly in letting the crackle happen instead of overworking it, which, honestly, is good life advice too.
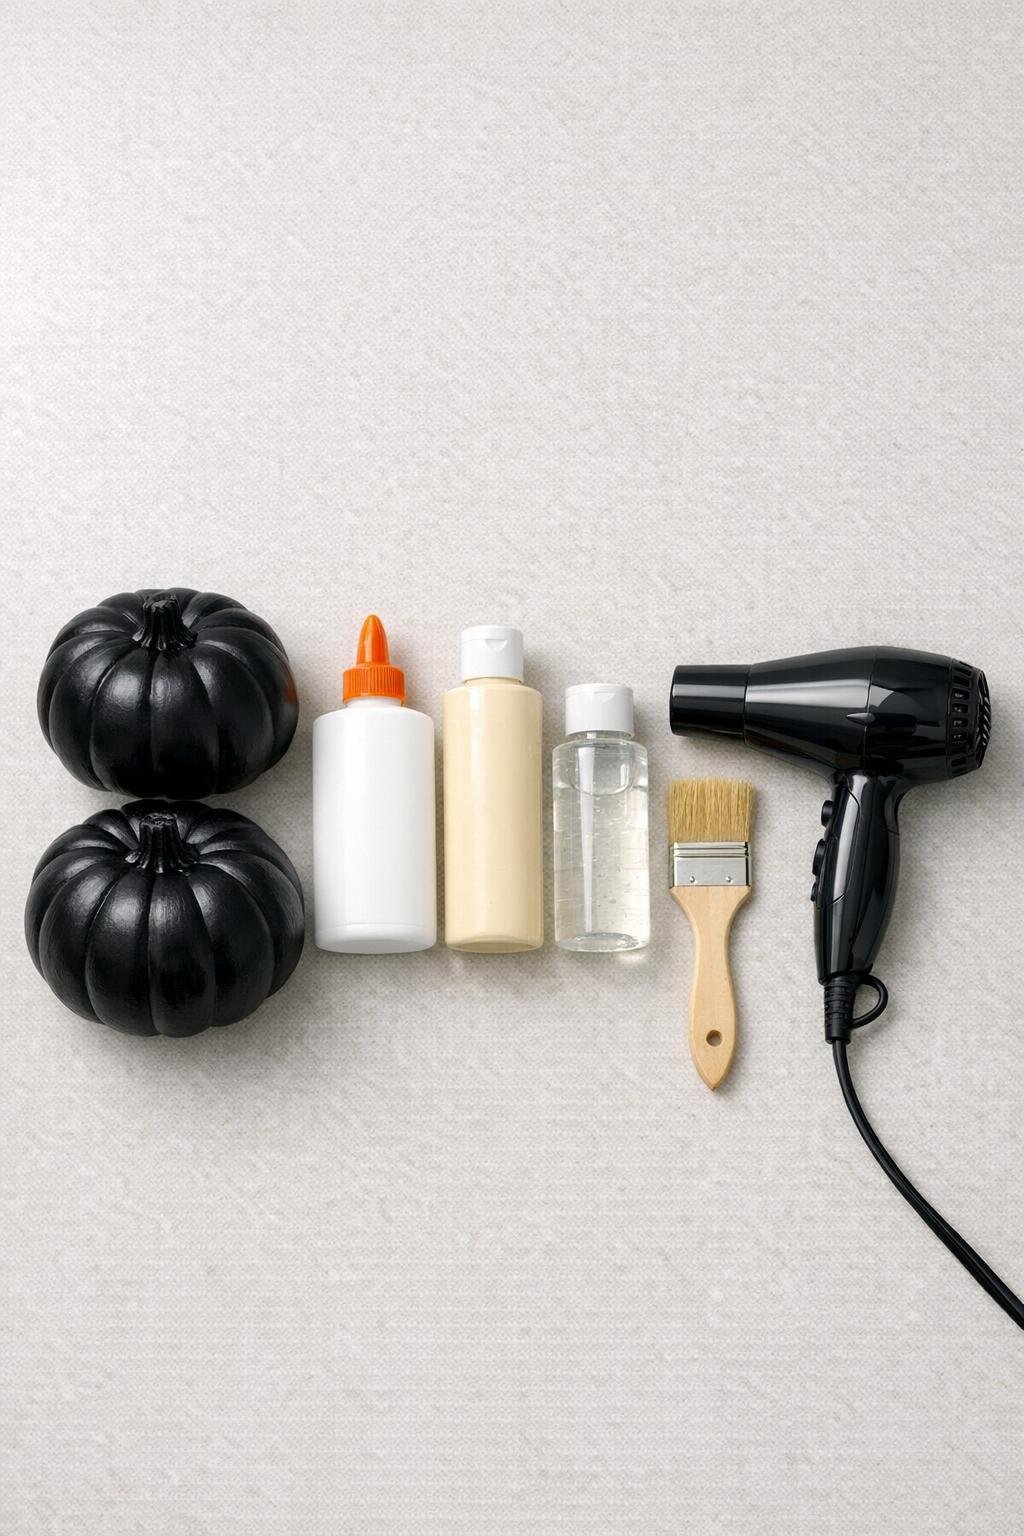
Materials
Instructions
1. Wipe both black plastic pumpkins with a dry cloth so the surface is free of dust, then set them upright on your counter with the stems facing up.
2. Brush on a thick, even coat of white school glue over one pumpkin, working in sections and leaving visible brush marks instead of smoothing it out too much.
3. Turn the hair dryer to warm and dry the glue for 1 to 2 minutes until it looks tacky and slightly skinned over but is still soft underneath.
4. Quickly brush cream acrylic paint over the tacky glue in long, gentle strokes, covering the pumpkin without going back over the same area more than once or twice.
5. Use the hair dryer on warm again, holding it 8 to 10 inches away, and watch the crackle develop as the paint dries and pulls apart to reveal the black underneath.
6. Repeat the same glue, dry, paint, and dry process on the second pumpkin, matching the coverage but letting the crackle pattern form naturally so the pair still looks slightly different.
7. Let both pumpkins sit for 20 to 30 minutes until fully dry to the touch, then check for any bare spots and lightly touch up only if needed on a small section.
8. Brush or spray on a light coat of clear sealer to protect the finish, keeping the coat thin so you don’t fill in the crackle texture.
9. Let the sealer dry completely, then style the pumpkins together with the stems visible and the crackled finish facing forward.
Variations & Tips
For bigger crackles: Apply the glue a little thicker and dry it only to the tacky stage before painting. Thicker glue usually gives you a bolder, more dramatic aged look.
For finer crackles: Use a slightly thinner glue coat and a lighter hand with the paint. I like this look when I’m mixing these pumpkins with more traditional neutral fall decor.
Don’t overbrush: This is the part that always tests my patience. Once the paint hits the tacky glue, too much brushing can muddy the finish instead of letting the crackle open up cleanly.
Choose matte or satin sealer: A matte sealer keeps the finish looking older and chalkier, while satin gives it a subtle polished glow. I usually go matte when I want that vintage flea-market vibe.
Make them look collected, not identical: If you’re displaying both pumpkins together, let one have slightly heavier cream coverage and one show more black through the cracks. That tiny mismatch makes them feel more authentic and much less store-bought.
Best placement: These hold up best indoors or on a covered porch. Since the finish is built with school glue and craft paint, I’d keep them out of direct rain and harsh weather.