
When my garden beds start looking tired in late summer or need a gentle boost heading into fall, I lean on the simplest tricks first. This easy slow-release compost tea dispenser uses just drilled PVC pipe plus two common shed items to carry moisture and nutrients right down into the root zone, where it does the most good. It is one of those practical little projects that looks almost too simple, but once it is tucked into a bed and working away, you can absolutely see the difference in how evenly plants stay fed.
I especially love this for raised beds and in-ground vegetable patches because it cuts down on waste, keeps the surface from getting soggy, and makes feeding feel manageable even during a busy week. If you already have a bit of PVC, some landscape fabric, and a couple of caps or gravel on hand, you can make a generous set in one afternoon and have them ready for cool-season greens, garlic, mums, or overwintering perennials.
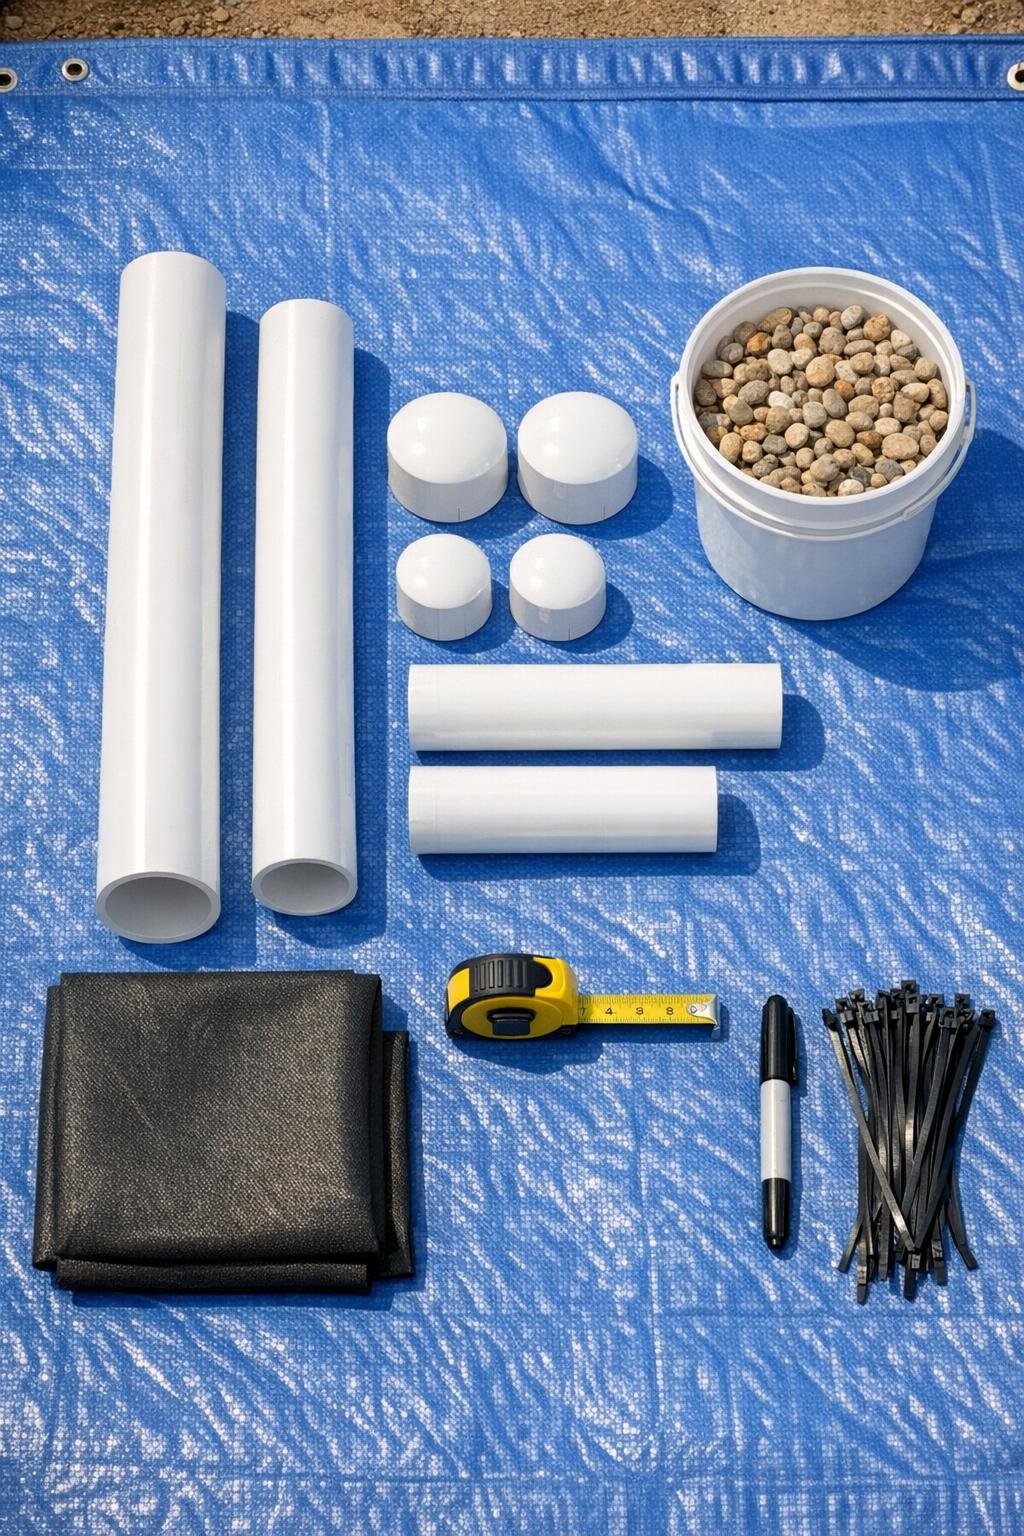
Materials
Instructions
1. Cut your PVC into three 18-inch sections if it is not already cut, then wipe off any dust so your marks stay visible. I like this length because it is deep enough to reach roots but still easy to fill and move.
2. Wrap a strip of masking tape around each pipe 2 inches up from the bottom and another 3 inches down from the top. This leaves a solid lower end and a clean upper collar so the pipe stays sturdy in the soil.
3. Mark drilling spots in rows between the tape lines, spacing holes about 1 1/2 inches apart around the pipe. Stagger the rows so the holes are spread evenly instead of lining up in straight columns.
4. Drill 1/4-inch holes at each mark, rotating the pipe as you go until the middle 13 inches are well perforated. Brush away burrs with your hand or a scrap of sandpaper so compost bits will not catch as easily.
5. Cap the bottom of each pipe firmly with a PVC end cap. If the fit is loose, tap it snug with the palm of your hand so it stays put when you press the pipe into the bed.
6. Cut the landscape fabric into three strips large enough to wrap once around the drilled area of each pipe. This fabric acts like a filter and keeps soil from packing into the holes too quickly.
7. Wrap one strip of fabric around each perforated section and secure it with two zip ties, one near the top of the drilled area and one near the bottom. Keep the top 3 inches of pipe uncovered so you have a clean opening for pouring in tea.
8. Pour 1 cup of pea gravel into the bottom of each pipe. That little bit of weight helps the dispenser sit upright and gives the liquid a small settling area before it moves out through the holes.
9. Choose spots in the garden bed 4 to 6 inches away from plant crowns, then push or twist each pipe into the soil until the drilled section is buried and the clean top collar stays above ground. Leave about 2 to 3 inches showing so it is easy to find and fill.
10. Backfill soil snugly around each pipe and press gently so there are no big air gaps. The dispenser should stand straight without wobbling.
11. Strain your compost tea well, then slowly pour about 1 gallon into each pipe so the liquid seeps out underground instead of flooding the surface. If the bed is very dry, add a little plain water first to help the tea spread more evenly.
12. Refill the pipes weekly or as needed through fall, rinsing them with clean water every few uses if sediment builds up. Once you get in the habit, it is as easy as topping off a watering can, but much more targeted.
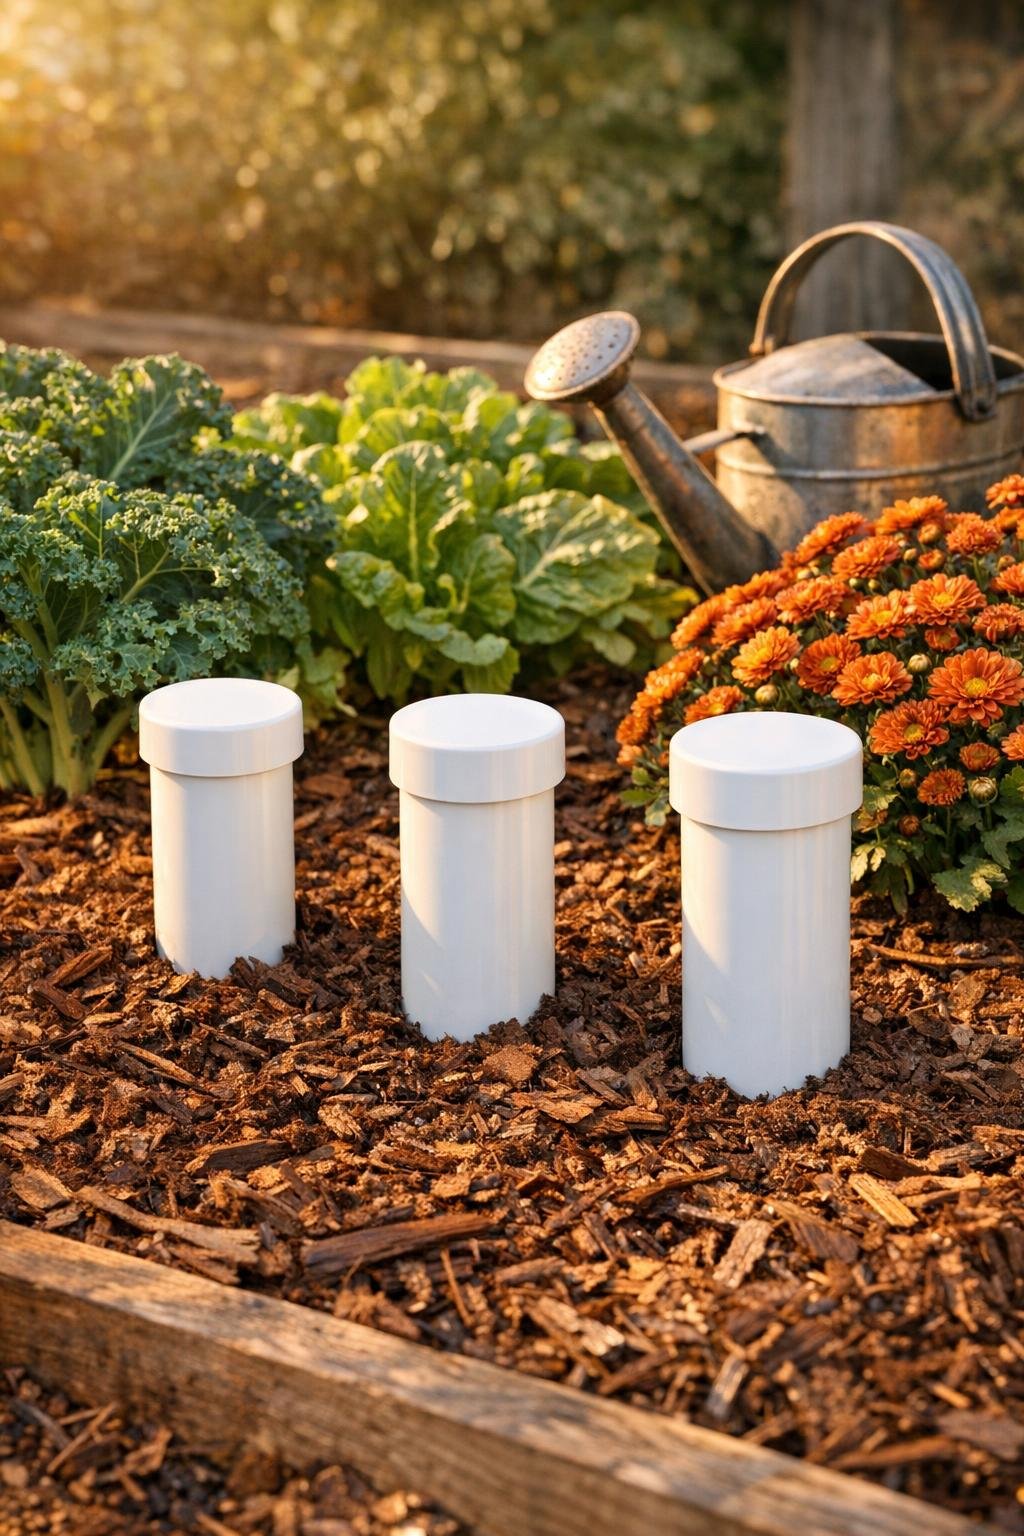
Variations & Tips
For raised beds: Use 12-inch pipes instead of 18-inch ones if your soil depth is shallower. I still keep the same idea: solid top and bottom, with the center section drilled generously.
For picky plants: If you have plants that dislike heavy feeding, dilute the compost tea a bit more and fill the pipes halfway. I do this around herbs and anything I want to keep from growing too soft and floppy.
To prevent clogs: Always strain compost tea through an old flour sack towel or fine mesh before pouring. That one step saves so much fuss later.
For a tidier look: Paint just the exposed top collar of the PVC with outdoor-safe matte brown or dark green paint before installing. It helps the pipes blend into the bed while still staying easy to spot.
For heavier soil: Drill a few extra holes in the upper half of the buried section so liquid disperses more gradually. Clay soil needs more exit points than loose garden soil.
Winter care: Pull the dispensers before a hard freeze if your bed heaves badly, rinse them clean, and store them in the shed. If your winters are mild, you can leave them in place and start using them again the minute spring planting begins.