
This little bedroom organizer is one of those projects I love because it turns a very ordinary object into something pretty and genuinely useful. By attaching a small metal cheese grater onto a velvet-covered picture frame backing, you get a tidy earring display with lots of ready-made holes, soft texture behind it, and just enough personality that people always notice it.
I’m especially fond of projects like this for bedrooms and dressing areas because they help keep everyday things from ending up in little piles on the dresser. If you want a simple afternoon DIY that looks polished without needing fancy tools, this is a good one to make.
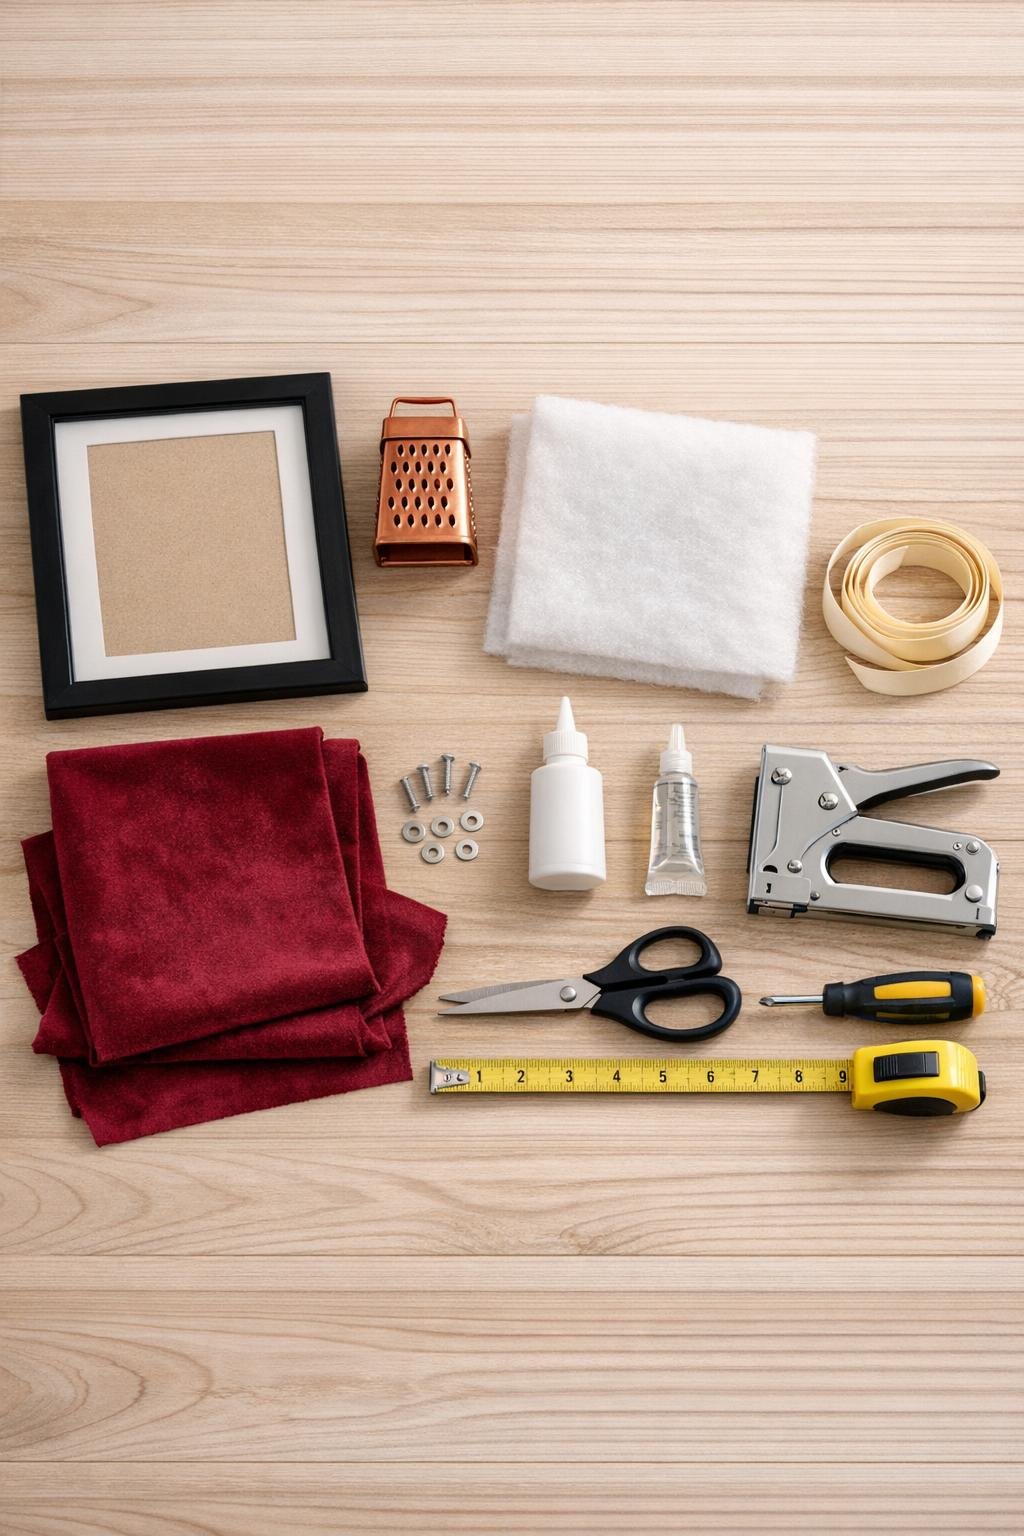
Materials
1 picture frame with removable backing, 8 x 10 inches
Instructions
1. Remove the backing from the picture frame and set the glass aside for another project or store it safely, since you won’t need it here.
2. Cut the batting to the same size as the frame backing, then cut the burgundy velvet 2 inches larger on all sides so it can wrap neatly around the back.
3. Center the batting on the front of the frame backing, lay the velvet over it right side down, and place the backing on top so the padded side will face out when finished.
4. Pull the velvet snug over one long side and staple or glue it to the back, then pull the opposite side tight and secure it; repeat on the short sides and fold the corners neatly like wrapping a gift.
5. Trim away any bulky excess fabric on the back so the finished panel will still fit back into the frame without bowing.
6. Place the small copper cheese grater centered on the velvet-covered side with the handle at the top, then mark four attachment points near the grater edges where the metal is flat enough to anchor securely.
7. Make tiny pilot holes through the backing at the marked spots, then set the grater back in place and fasten it with the four screws and washers so it sits snugly against the velvet.
8. Add a small bead of strong glue behind any area of the grater that lifts away from the velvet, then press gently so it feels solid and doesn’t rattle.
9. Attach the ribbon to the back top edge as a hanger, either stapled securely in two spots or glued and stapled together for extra hold.
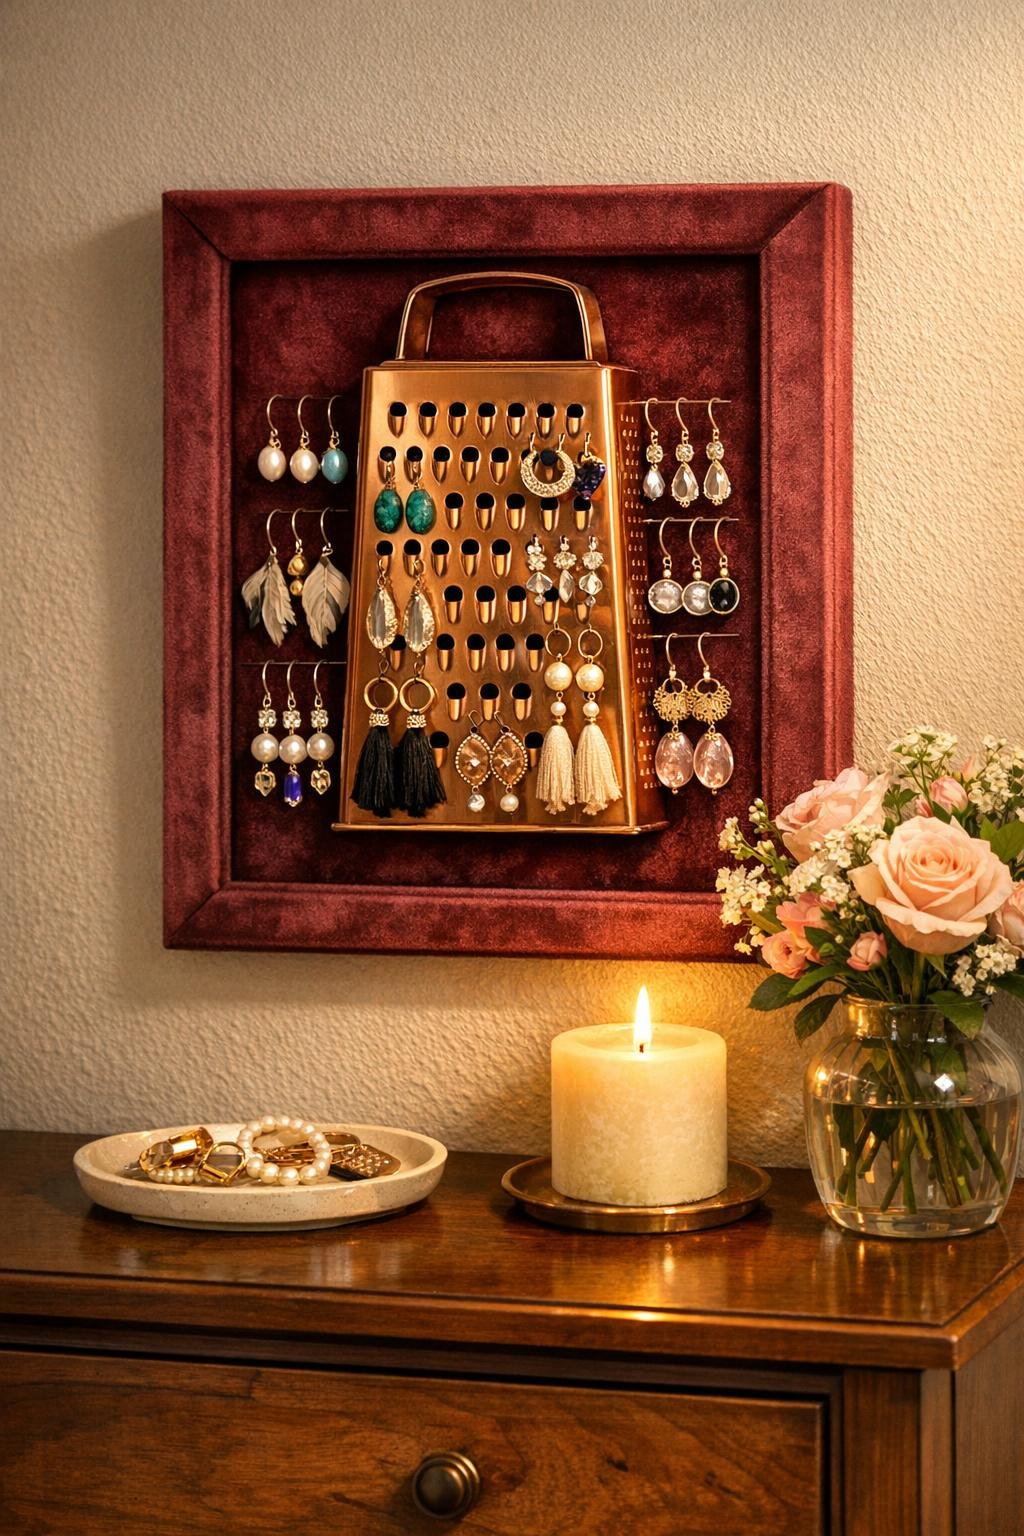
10. Fit the finished backing back into the frame, making sure the copper grater sits proud and centered against the burgundy velvet for a clean, framed look.
11. Let all glue cure fully, then hang the display in the bedroom and slip earrings through the grater holes, using the larger openings for hoops and the smaller holes for studs and dangles.
Variations & Tips
For picky style preferences: If bold burgundy feels too dramatic, use blush, cream, navy, or sage velvet instead. I always think it helps to match the frame fabric to the bedding or curtains so it looks intentional in the room.
Frame finish: If your frame looks too plain, paint it before assembly in matte black, antique gold, or soft white for a more polished bedroom look.
No-drill option: If the grater metal is thin and lightweight, you can use a generous bead of industrial-strength glue alone, but I still prefer screws for peace of mind.
Extra storage: Add a row of small adhesive hooks along the bottom inside edge of the frame for necklaces or bracelets if you want the display to work even harder.
Make it feel fuller: This project looks best when the grater is loaded up with earrings instead of half empty. I like grouping hoops on one side, colorful dangles in the middle, and everyday pairs at the top so the whole piece feels decorative even when it’s practical.
Gift idea: This makes a sweet handmade gift for a teen, college student, or friend setting up a new space. Tuck in a couple of pairs of earrings before wrapping, and it looks extra thoughtful.