
I love a decorating project that looks a little magical but takes less time than making a weeknight pasta. This one is especially good if you have a few thrift-store finds sitting around or a mantel that always feels like it needs one more layer to look finished. With just a handful of simple supplies, you can turn plain glass pieces into a glowy winter display that feels cozy, festive, and far more expensive than it is.
Because I work full-time, I’m always looking for decor ideas I can pull together in one evening after dinner, and this is exactly that kind of project. It’s beginner-friendly, rental-friendly, and perfect for anyone who wants a soft seasonal centerpiece without dealing with paint, power tools, or complicated floral arranging.
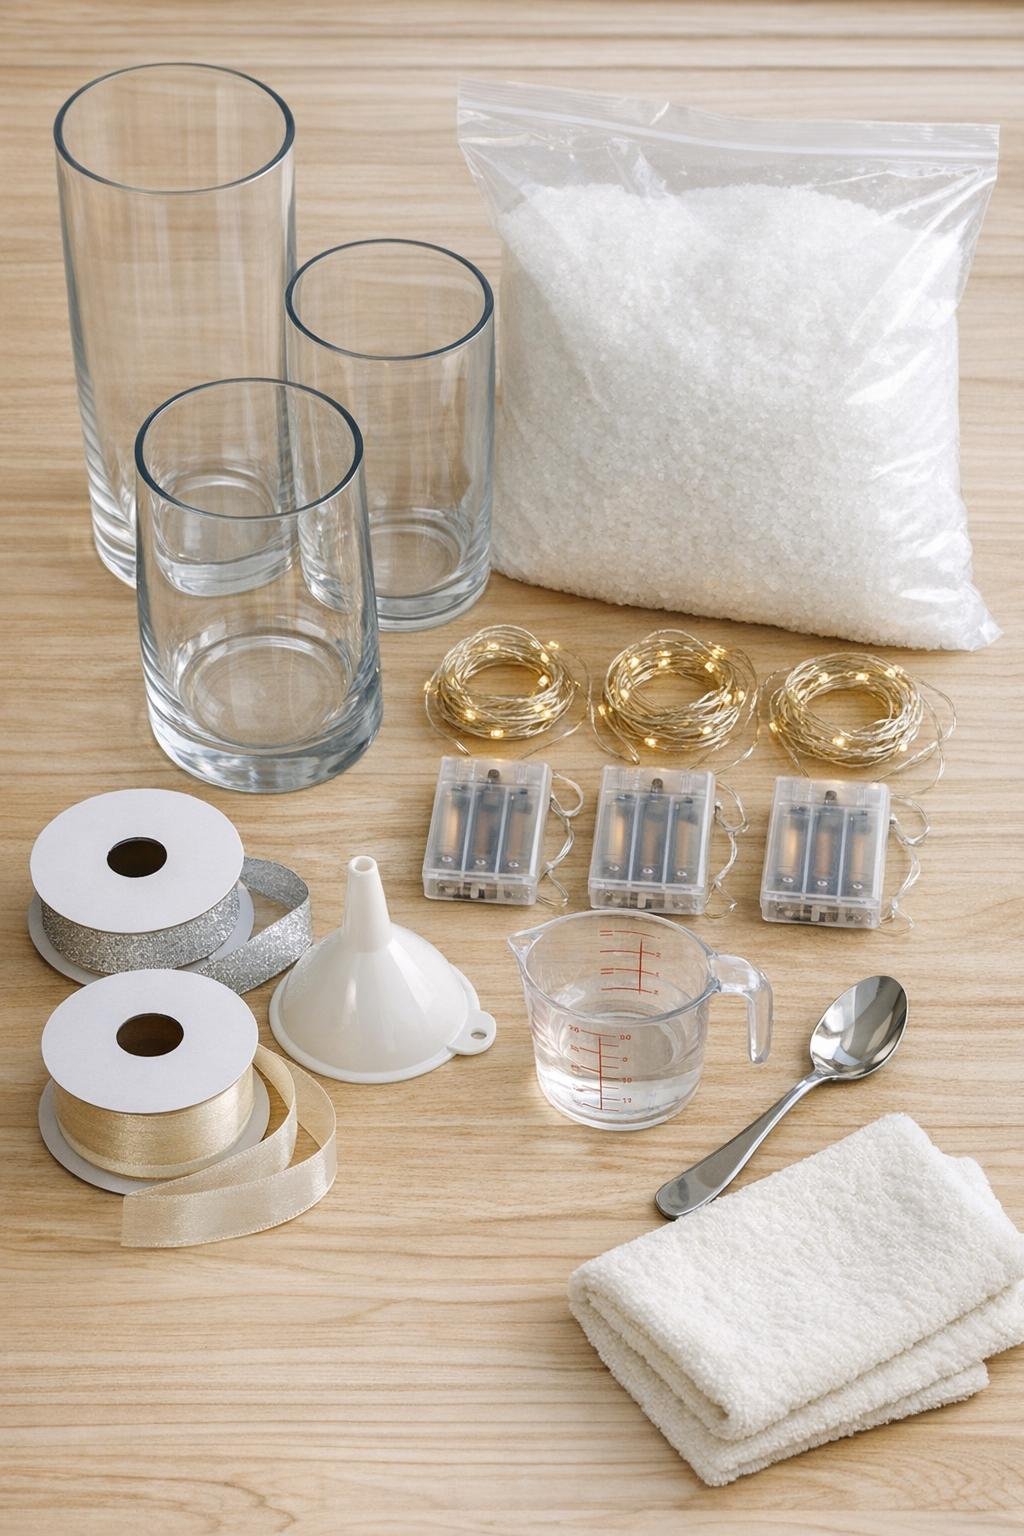
Materials
Instructions
1. Wipe each glass vase inside and out with a microfiber cloth so the finished display looks bright and polished once the lights are on.
2. Test all three fairy light strands and install fresh batteries before you fill anything, because it is much easier to swap a faulty strand now than after styling the mantel.
3. Pour 3 to 4 cups of Epsom salt into the widest vase, 3 cups into the medium vase, and 2 to 3 cups into the smallest vase, adjusting so each vase looks generously filled about one-third to halfway up.
4. If you want extra shimmer, stir a small pinch of fine glitter into the top layer of salt in each vase, keeping it subtle so the look stays soft and snowy instead of flashy.
5. Coil the first fairy light strand into the tallest vase, starting with the battery pack end at the back and nestling the wire loosely into the salt so the lights look tucked into snow rather than crammed in.
6. Repeat with the second and third strands, shaping the lights in gentle loops and pushing a little salt around them with the spoon so the bulbs are supported and evenly spaced.
7. Turn the lights on and check the balance from a few feet away, then add another scoop or two of salt anywhere the wire looks too exposed or the fill level feels uneven.
8. Tie ribbon around the neck or widest point of each vase, depending on the shape, and trim the tails so they look full and neat without dragging across the mantel.
9. If your battery packs are visible from the front, secure them behind each vase with a piece of clear tape or a glue dot so the arrangement looks clean from the main viewing angle.
10. Arrange the vases on the mantel with the tallest in the center or slightly off-center, then layer in a few small faux pine or berry sprigs around the bases for a finished, styled look.
11. Dim the room lights and make one last adjustment to the spacing, turning the vases a little until the glow, ribbon, and glass shapes all read nicely together from across the room.
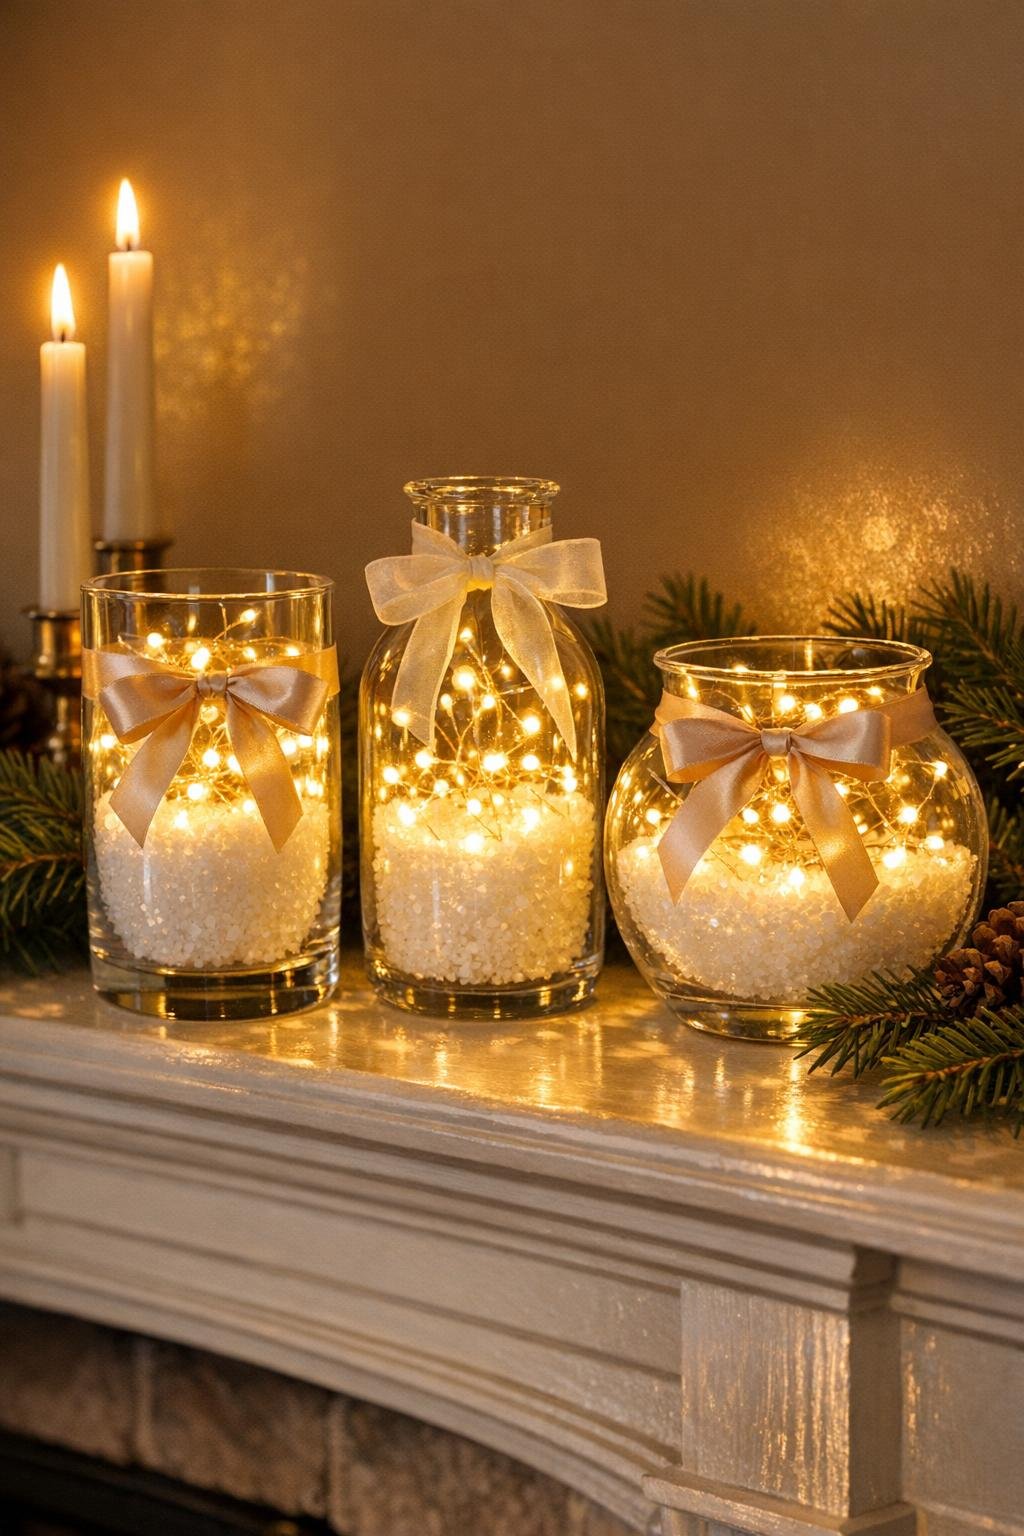
Variations & Tips
Use mixed vase shapes: I like combining one tall cylinder, one urn-shaped vase, and one shorter bottle-style vase because the different silhouettes make the mantel look collected instead of too matchy.
Choose warm lights: Warm white fairy lights give this project that cozy winter glow; cool white can work, but it reads icier and a little less inviting in most living rooms.
Hide the battery packs well: If your mantel has a garland, tuck the packs just behind it, which is what I usually do when I want the setup to look polished without fuss.
Try a color theme: Cream velvet ribbon feels classic, red ribbon makes it more holiday-forward, and silver or pale blue keeps the look wintry well past December.
Scale it up: For a long mantel, make five vases instead of three and vary the heights more dramatically so the arrangement looks lush and intentional rather than spaced too far apart.
Keep cleanup easy: Pour the salt into the vases over a tray or baking sheet so stray crystals do not end up all over the mantel or floor, which is a trick I rely on anytime I craft after a long workday.
Reuse everything: After the season, empty the salt, wrap the light strands separately, and store the ribbons in the vase so next year’s setup takes maybe ten minutes.