
There are a few holiday projects I come back to when I want something cheerful, affordable, and easy enough to finish in one afternoon, and this is one of them. It starts with a simple wire wreath ring and a pile of shiny bells, then turns into a front-door decoration that catches the light beautifully and gives you that full, festive look without needing fancy tools or a long supply list.
I especially love this kind of project for busy families because you can make it assembly-line style right at the kitchen table. If you enjoy crafts that feel a little dramatic in the end but are actually very straightforward to build, this one is a lovely choice for a porch, mudroom door, or even an interior pantry or hallway door during the holidays.
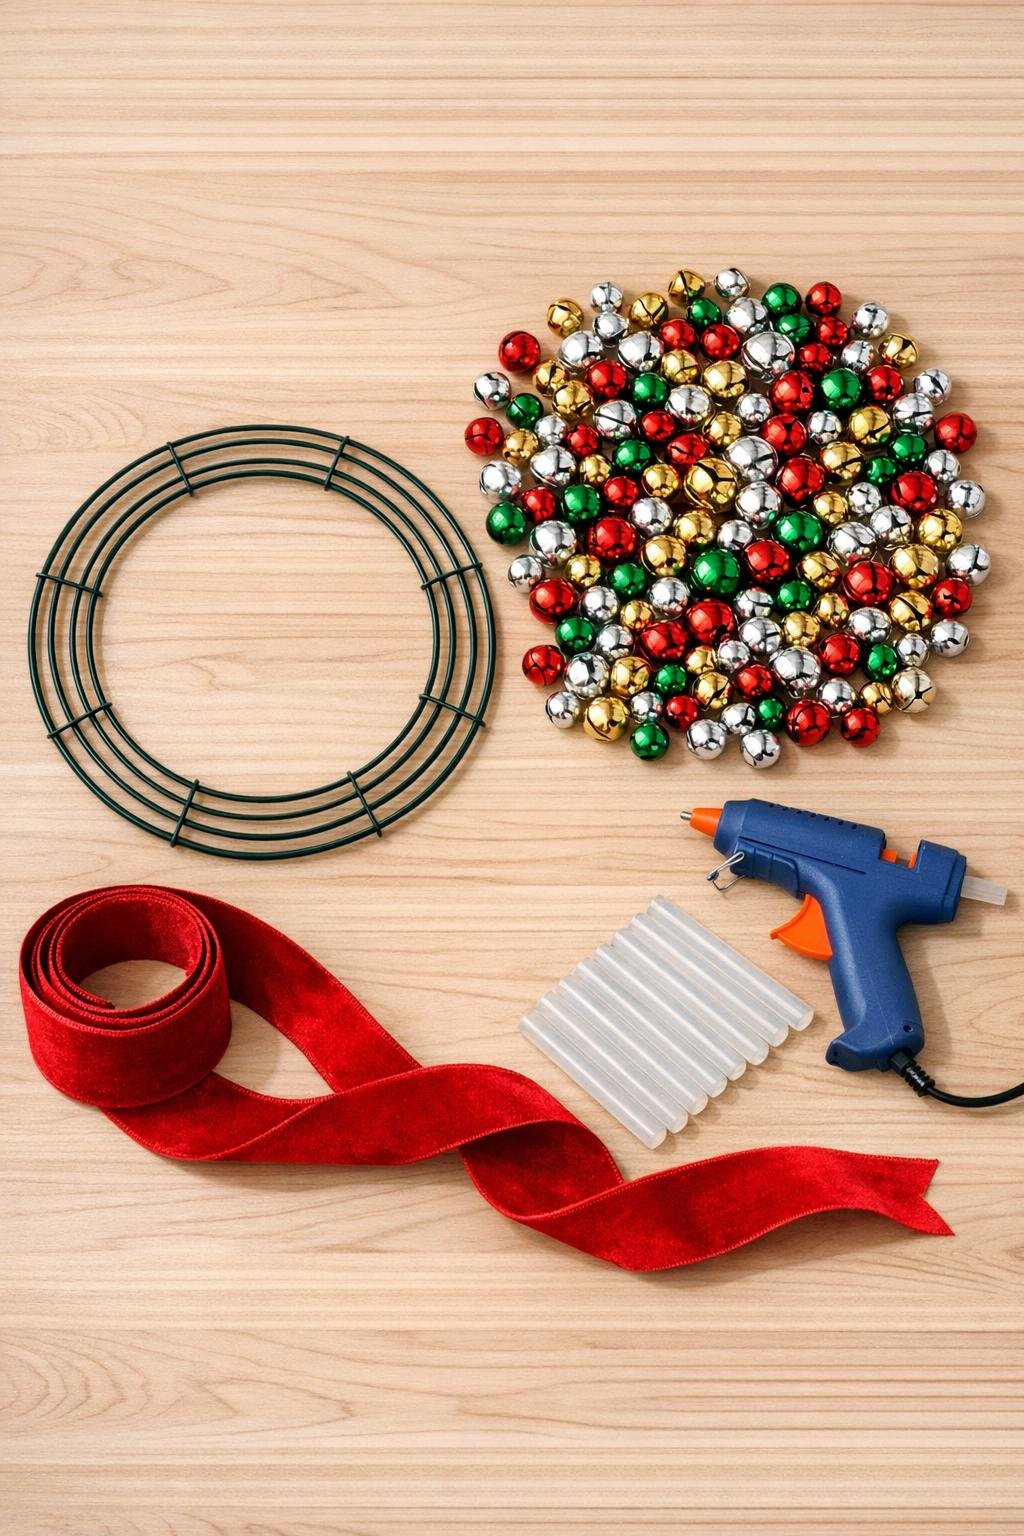
Materials
Instructions
1. Set your wreath ring on parchment paper or a silicone mat, plug in the glue gun, and sort the bells into piles by size so you can build an even, full design without stopping to hunt for pieces.
2. Wrap the narrow ribbon tightly around the top of the wire ring and knot it into a hanging loop, because it is much easier to add the hanger before the wreath gets bulky and heavy.
3. Glue the largest bells around the outer edge of the ring first, placing them close together and alternating colors so the base looks balanced from the beginning.
4. Fill the inner edge of the ring with more large bells, tucking them slightly toward the center opening so the wreath starts to look generously covered instead of flat.
5. Add the medium bells across the middle of the wreath, gluing them into the gaps and layering them slightly over the first row so very little of the wire frame still shows.
6. Tuck the small bells into any visible spaces, especially around the inner circle and top section, to create a rounded, lush surface with no obvious bare spots.
7. Press any loose or wobbly bells with an extra dab of hot glue at their sides where they touch neighboring bells, which helps the whole wreath feel sturdy and polished.
8. Cut 18 to 24 inches of the velvet ribbon, tie a full bow, and glue or knot it at the top of the wreath just below the hanging loop so it frames the piece without covering too many bells.
9. Let the glue cool completely for 15 to 20 minutes, then lift the wreath and check the edges; if you spot any open spaces, glue in a few leftover small bells for a fuller final look.
10. Hang it on your front door or entry wall and give the bow tails a quick trim or angle cut if needed so the whole piece looks neat and finished.

Variations & Tips
For a classic look: Use only red, green, and gold bells with the red velvet bow. This feels extra traditional and shows up beautifully against a white or dark-painted front door.
For a more elegant version: Try all silver and gold bells with cream, black, or deep green ribbon. I love this approach if the rest of your holiday decor is a little less playful and more polished.
For picky decorators: If your family members all have different tastes, let each person choose a color section or ribbon option before you glue. It is an easy way to make the wreath feel personal without changing the method.
Glue gun tip: High-temp glue holds metal bells better than low-temp glue. Work in small sections so the glue stays hot long enough to grab each bell securely.
Make it extra full: Buy an extra bag of small bells if you can. Those little fillers are what make the difference between “cute” and “wow” on a project like this.
Door safety: If your door gets strong afternoon sun or weather exposure, hang the wreath on a covered porch or storm door. Heat and moisture can weaken hot glue over time.
Storage tip: Wrap the wreath loosely in tissue paper and store it flat in a shallow box after the season. That keeps the bow from getting crushed and helps the bells stay firmly in place.