
When I want holiday décor that looks full and special without sending me on a long shopping trip, this is exactly the kind of project I reach for. It uses simple supplies, comes together in an afternoon, and gives you that cozy, woodsy Christmas feel that looks right at home on a mantel, entry table, or dining room sideboard.
I especially love this one because it starts with humble materials and turns into something that feels polished and festive by the end. If you like easy seasonal projects with a big visual payoff, or you want something charming enough to display all through December, this is a wonderful make.
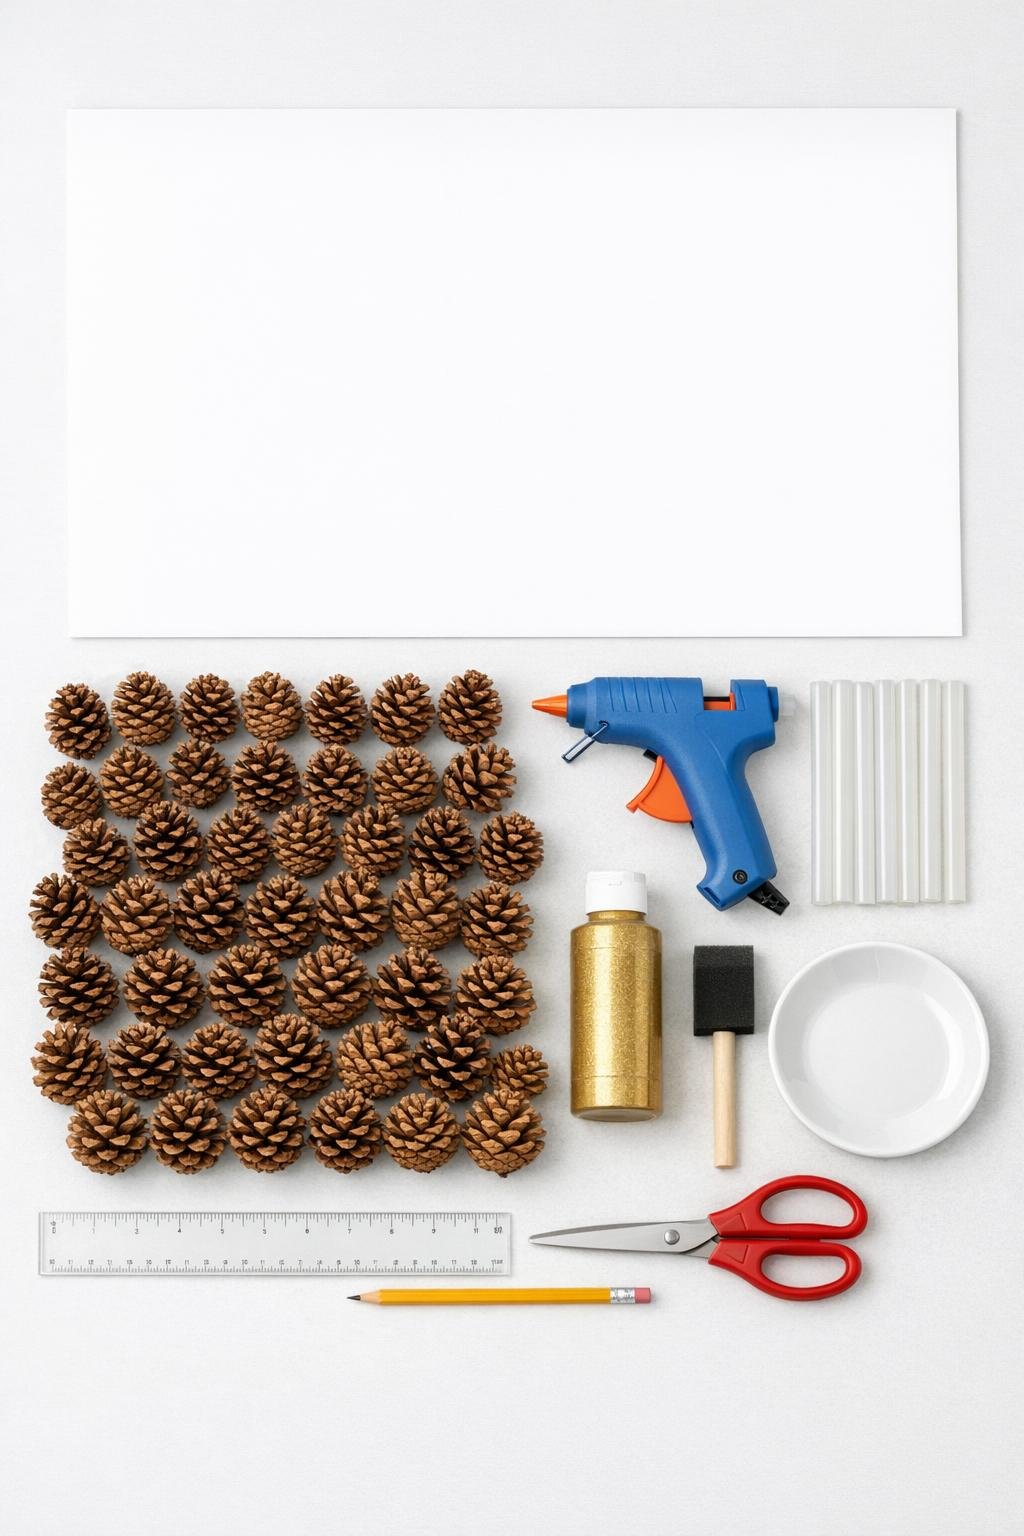
Materials
Instructions
1. Roll the poster board into a tall cone about 14 inches high with a 6-inch base, then trim the bottom edge until it sits flat on the table without wobbling.
2. Hot glue the poster board seam from top to bottom, hold it in place for 30 seconds, and let the cone cool completely before decorating.
3. Sort the pinecones by size, setting the largest aside for the bottom row, medium ones for the middle, and the smallest ones for the top so the shape stays full and even.
4. Starting at the base, hot glue the largest pinecones all the way around the cone with the pointed ends facing outward and slightly upward, pressing each one firmly into place.
5. Build the second and third rows above the base, staggering the pinecones so they nest into the gaps instead of lining up directly over one another.
6. Continue gluing medium pinecones up the cone in tight rows, checking from all sides as you go so the coverage stays dense and the cardboard does not peek through.
7. Fill the upper third with the smallest pinecones, angling them closer together as the cone narrows to keep the silhouette nicely tapered.
8. Glue one small pinecone at the very top to finish the point, then tuck extra pinecones or loose scales into any visible gaps for a rich, full surface.
9. Pour a little gold paint onto the plate and lightly dry-brush the outer tips of the pinecones, catching the edges instead of coating them solid so the natural texture still shows.
10. Let the paint dry fully, then place the finished piece on your mantel or tabletop and turn it until the fullest side faces forward.

Variations & Tips
For a fuller look: Use a mix of pinecone sizes and keep the rows snug. I always tell myself this is one of those projects where a little extra coverage makes all the difference.
For picky decorators: If bright gold is not your style, dry-brush with champagne, bronze, or even white for a snowy look. Just keep the paint on the outer edges so the pinecones still look natural.
If your cone feels flimsy: Cut a second strip of poster board and glue it inside the seam area for reinforcement before adding pinecones. That extra support helps a lot with a taller version.
For easy pinecone prep: Make sure the pinecones are clean and completely dry before you start gluing. If I gather them outside, I let them sit indoors for a day or two first.
To make a larger display: Create three cones in different heights and group them together on a mantel or buffet. That clustered look feels extra festive and fills a space beautifully without much more effort.
For a polished finish: Turn the piece in good light once it is done and fill any thin spots with one last small pinecone or a loose scale. Those little touch-ups are what make handmade décor look truly finished.