
There’s something deeply satisfying about turning the most ordinary kitchen-adjacent supplies into décor that catches the light and looks far more special than its price tag suggests. I’m especially fond of projects like this in the colder months, when a mantel, shelf, or doorway wants a little shimmer, but I don’t necessarily want to haul out a bin of complicated seasonal decorations.
This is a wonderfully approachable craft for anyone who likes repetitive, almost meditative handwork. If you can trace a shape, cut with scissors, and press patterns with a pen, you can make this. The result has that crisp metallic sparkle I love in a city apartment at night—simple materials, a little patience, and suddenly the whole room feels dressed up.
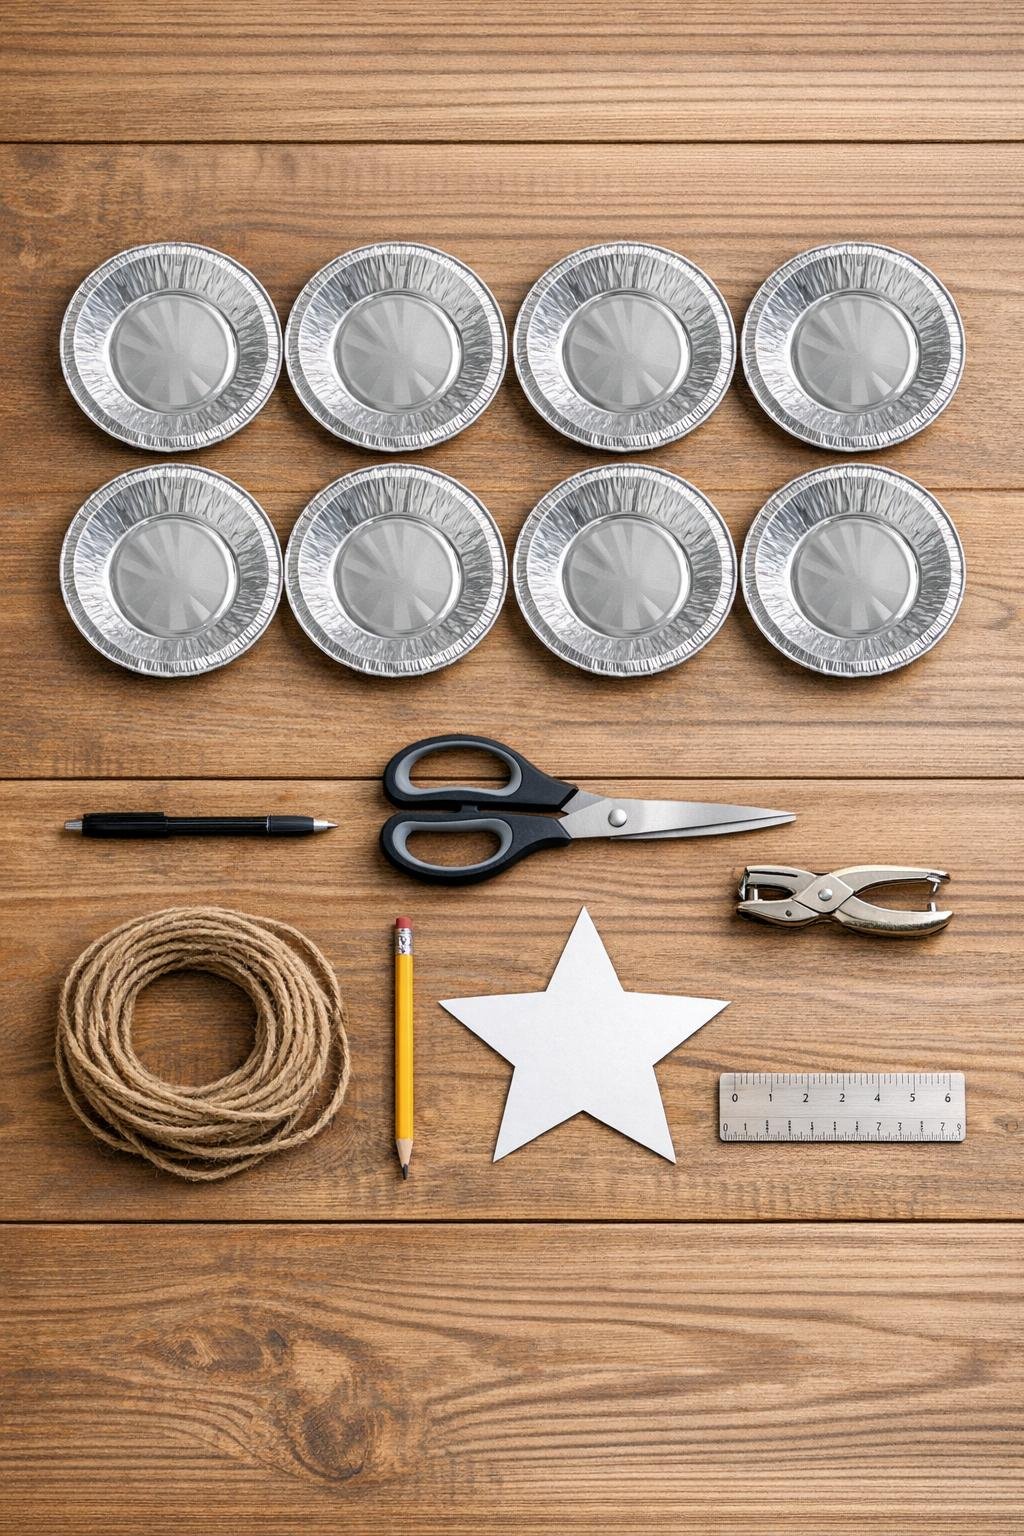
Materials
Instructions
1. Flatten the pie tins by gently pressing the ridged sides outward and smoothing the bottoms as much as possible with your hands so you have broad workable sheets of aluminum.
2. Draw a simple 6-inch five-point star on cardstock, cut it out, and use it as a template to trace 2 stars onto the flat bottom area of each pie tin until you have 12 to 14 stars total.
3. Cut out each star carefully with scissors, trimming slowly around the points so they stay crisp; if any edges curl, flatten them gently with your fingers.
4. Place one star on the table and, using the ballpoint pen, press dotted lines, swirls, short dashes, and border patterns into the metal without tearing it, working from the center outward to create a full embossed design.
5. Repeat the embossing on all the stars, varying the motifs a little so the garland looks rich and handmade; I like adding a dotted center starburst and a double outline around the edges for extra sparkle.
6. Punch one hole near the upper left point and one hole near the upper right point of each star, keeping the holes about 1/4 inch in from the edge so the metal stays strong.
7. Cut a 7-foot length of twine for the main garland and lay the stars in a row, overlapping the spacing visually until you like the balance; 12 stars usually fills a mantel nicely with a full look.
8. Thread the twine through the holes in each star, leaving 1 to 2 inches between stars, and knot after every star or double the twine back through the holes to hold each one in place.
9. Add small knots at both ends of the garland for hanging, and tie on a narrow ribbon at each end or in the center if you want a softer finished touch.
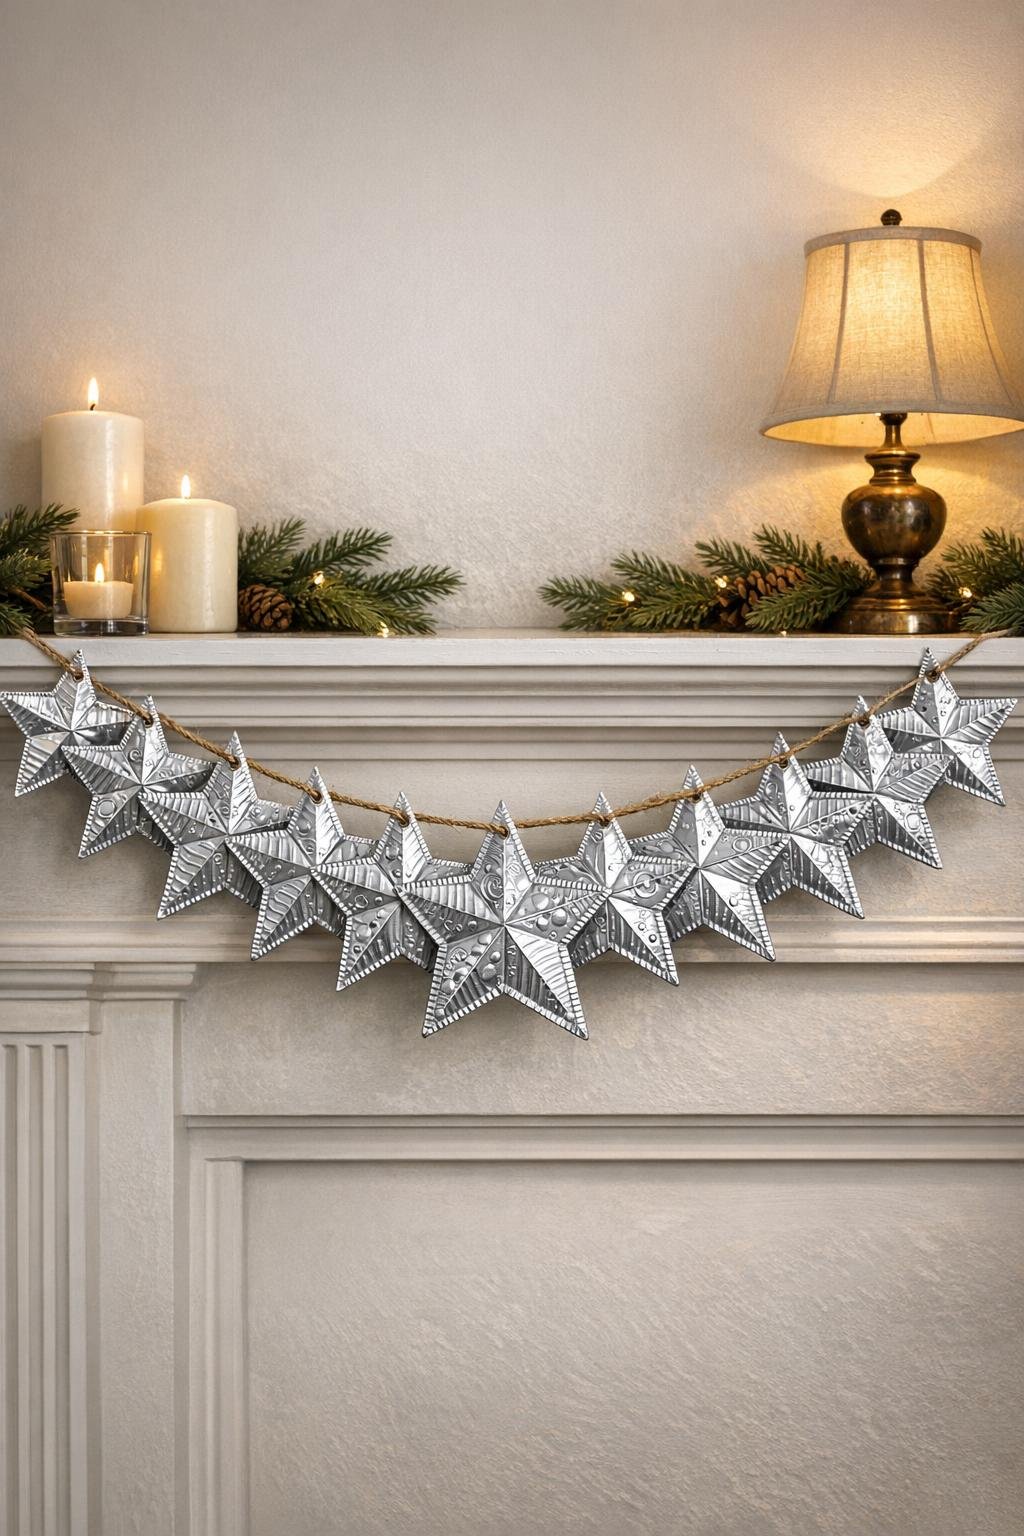
10. Hang the piece across a mantel, shelf front, window, or doorway, then fan and tilt the stars slightly so they catch the light and show off the embossed detail.
Variations & Tips
For a fuller mantel: Make 14 stars instead of 12 and reduce the spacing slightly. A dense drape always reads more luxurious, and this material is inexpensive enough that it’s worth using the extra tins.
For cleaner cutting: If the tin edges feel stubborn, make one small snip into a corner area first and then cut gradually around the star. I find that slower cuts give much neater points than trying to muscle through the metal.
For extra dimension: After embossing, gently bend each star point forward or backward just a touch. That little bit of shaping helps the garland reflect light beautifully, especially in the evening.
For different looks: Try all dots for a snowflake-like effect, or use straight scored lines for a more rustic quilt-star feel. I often think of this the way I think about garnish in cooking—the same base recipe, but a different finish changes the whole mood.
For year-round use: Swap the ribbon color or surrounding décor instead of remaking the garland. Red velvet feels festive, navy looks wintry, and natural linen ribbon works well for everyday farmhouse style.
For safety: If any cut edge feels sharp, roll it inward slightly with your fingers before hanging. The aluminum is soft, but a quick check makes the finished piece much more user-friendly.
For sturdier hanging: A tiny dab of clear-drying glue on the back of each knot keeps stars from sliding over time. Let it dry fully before you move the garland into place.