
If your bathroom counter turns into a tangle of hot tools and cords by the end of the week, this little vanity-door organizer is the kind of fix that feels almost too easy. I love projects like this because they solve a real everyday problem without asking you to drill into tile, buy a bulky organizer, or give up precious drawer space.
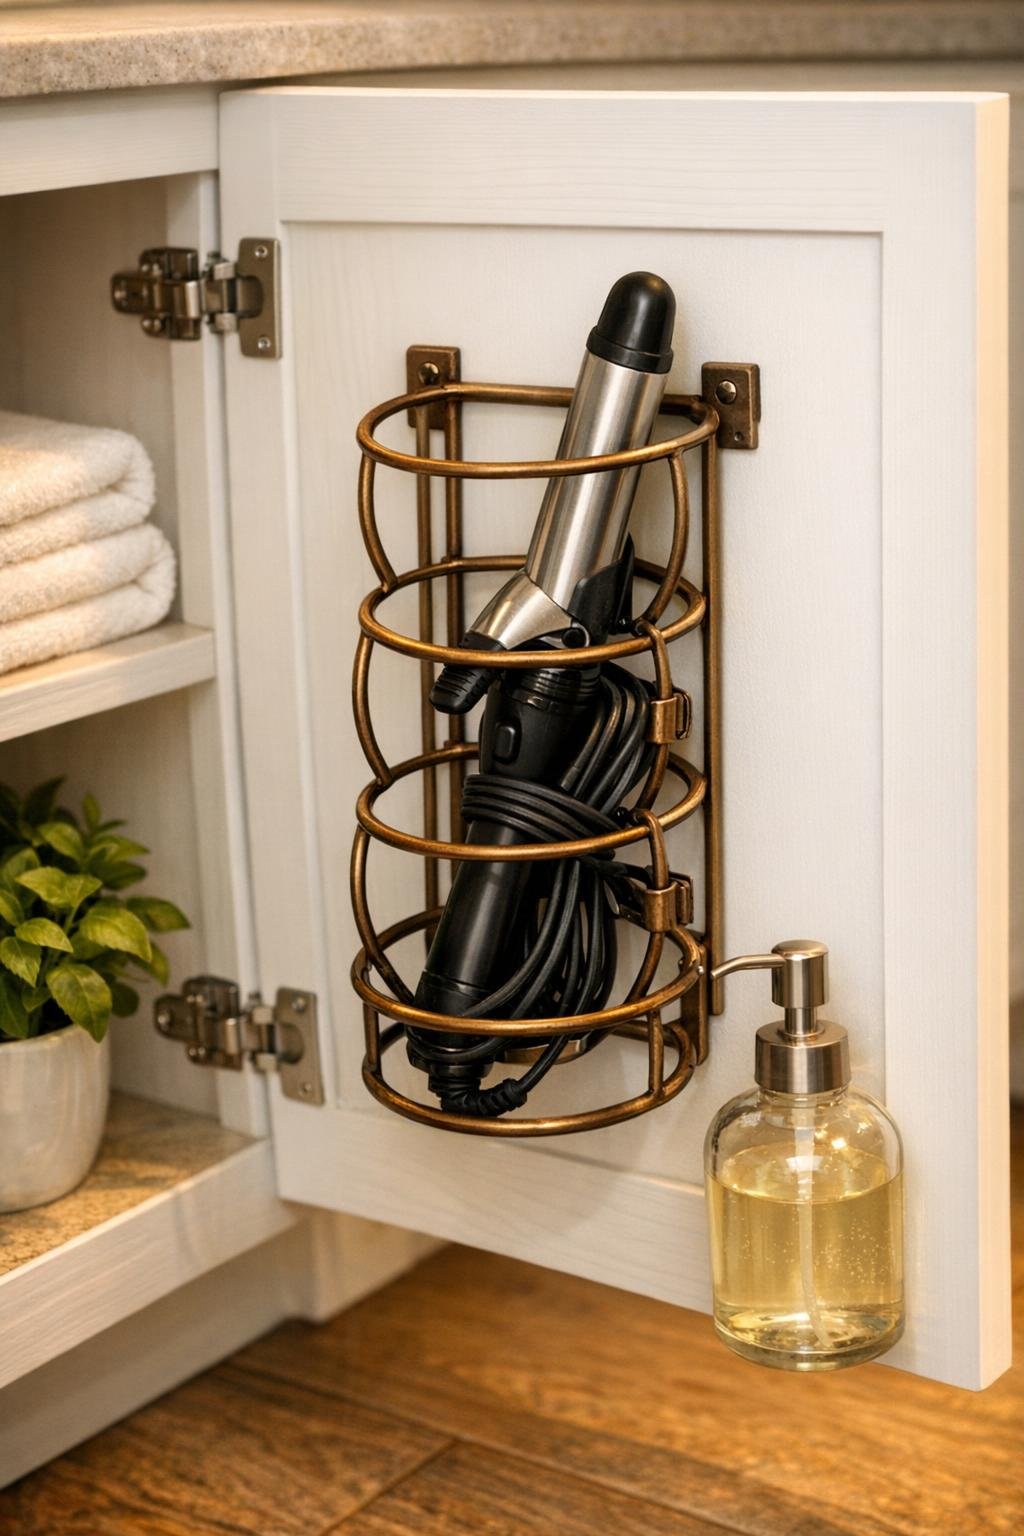
This curling iron holder is made by fitting a metal wine bottle holder onto the inside of the vanity cabinet door, then using the open space around it to keep the cord neat and out of the way. It is perfect for small bathrooms, busy family routines, and anyone who wants their getting-ready area to feel a little more pulled together with almost no effort.
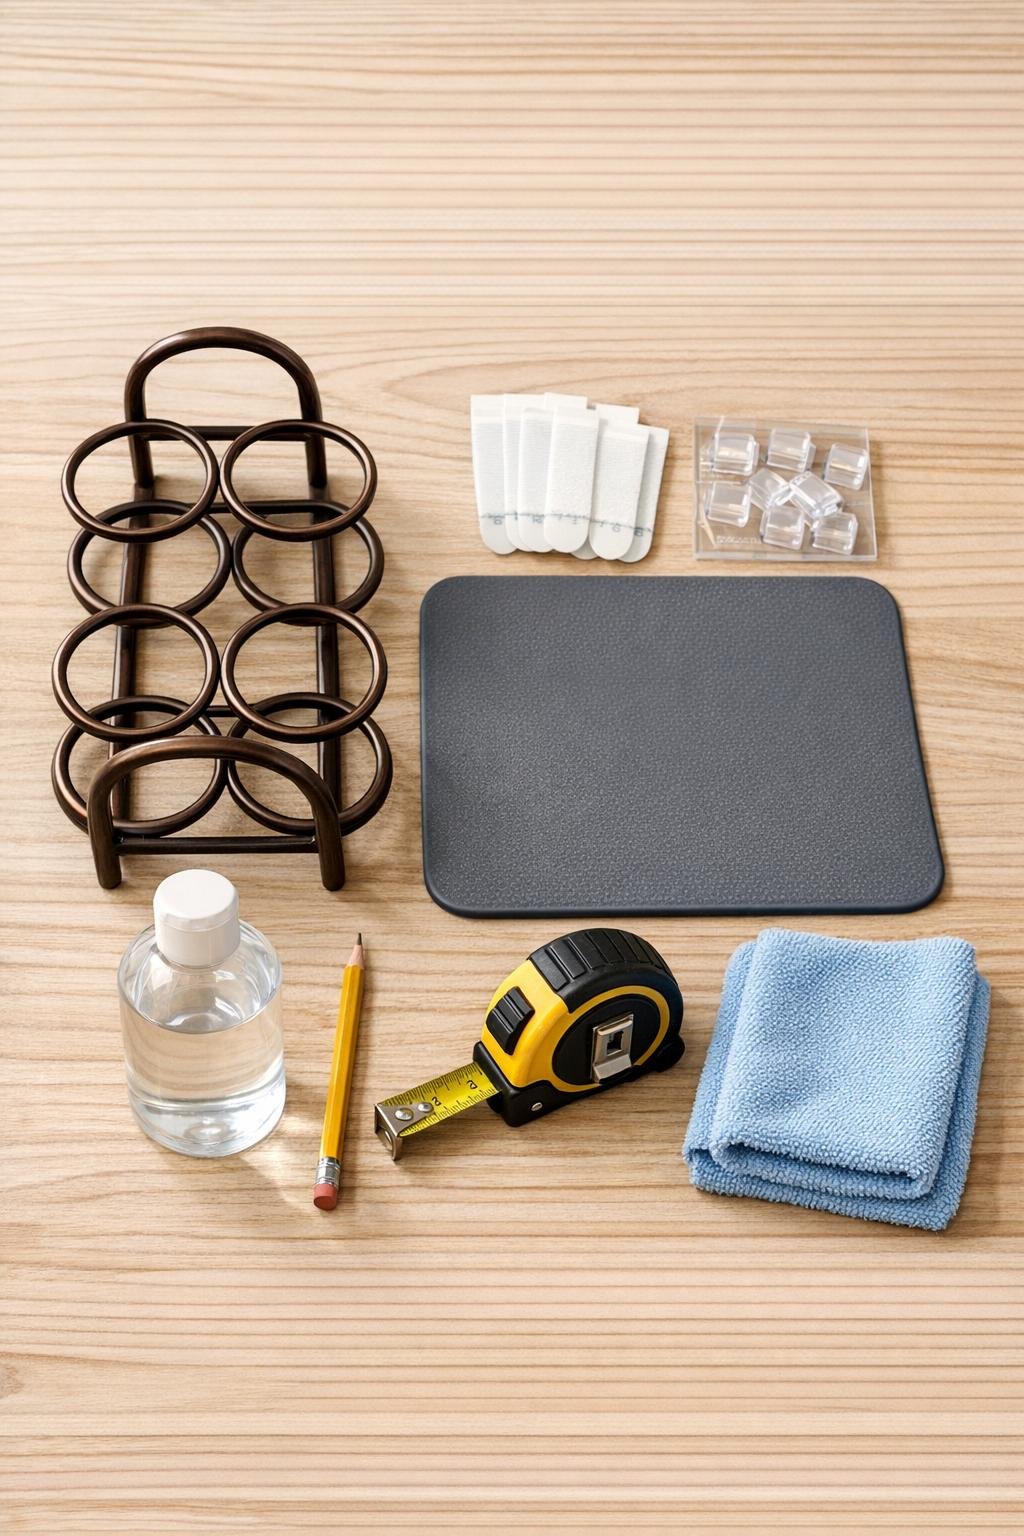
Materials
Instructions
1. Empty the vanity cabinet door area and check that the door closes properly with at least 4 inches of inside depth so the holder and curling iron will fit without hitting shelves or plumbing.
2. Hold the bronze wine bottle holder against the inside of the vanity door and test the height until the lower ring sits low enough to cradle the barrel while still leaving room above for the handle.
3. Mark the top and side placement lightly with pencil, centering the holder so it looks tidy and leaves a little space along one side for the cord clips.
4. Wipe the marked area thoroughly with rubbing alcohol and a microfiber cloth, then let it dry fully so the adhesive grips well.
5. Cut or place the silicone mat on the lower half of the marked area so it sits directly behind where the hot barrel may rest, giving the cabinet door a simple heat-safe backing.
6. Attach the heavy-duty mounting strips to the back contact points of the wine bottle holder, using enough strips to support both the top and bottom sections evenly.
7. Press the holder firmly onto the marked spot over the silicone-backed area and hold it in place for 30 to 60 seconds, making sure it stays straight.
8. Add the two adhesive cord clips beside the holder in a vertical line or slight diagonal so the curling iron cord can wrap neatly without dangling into the cabinet.
9. Wait the full cure time recommended for your adhesive strips before storing anything in the holder; this extra patience makes a big difference in how well it lasts.
10. Slide the curling iron handle-down into the bronze rings so the barrel is supported, then wrap the cooled cord through the clips for a tidy, easy-to-grab setup.
Variations & Tips
For flat irons: A slightly wider metal wine holder or one with a more open front works well for a hair straightener, especially if you mount it a little higher so the tool slides in and out easily.
For busy family bathrooms: If more than one person shares the space, mount a second holder on the other cabinet door for a blow dryer or backup styling tool. I always find that giving each item its own spot cuts down on morning chaos.
Heat safety: Only store the tool once it has cooled unless your holder placement and backing are specifically designed for high heat. The silicone layer is a smart buffer, but I still play it safe in a family bathroom.
Renter-friendly option: Removable mounting strips are my favorite here because they hold well and come off more cleanly than many permanent adhesives.
Make it look polished: Choose a bronze, black, or brushed metal holder that matches the faucet or cabinet hardware so the project looks intentional instead of improvised.
Before you commit: Open and close the cabinet door with the tool inside a few times before final placement. It is much easier to adjust the height at the start than after the adhesive has fully bonded.