
I have always had a soft spot for the things other folks set out by the road. Around here in the Midwest, an old household piece usually still has a little life left in it if you look at it with fresh eyes. This project turns a worn, forgotten board into a cheerful piece of winter porch decor with hardly any fuss, and it is one of those makeovers that looks far more special than the effort it takes.
If you enjoy simple seasonal decorating, this is a good one for you. It is beginner-friendly, budget-friendly, and sturdy enough to hold up through the winter months on a covered porch. Best of all, the shape is already doing half the work for you, so with a coat of paint and a few easy details, you get something charming and full of personality.
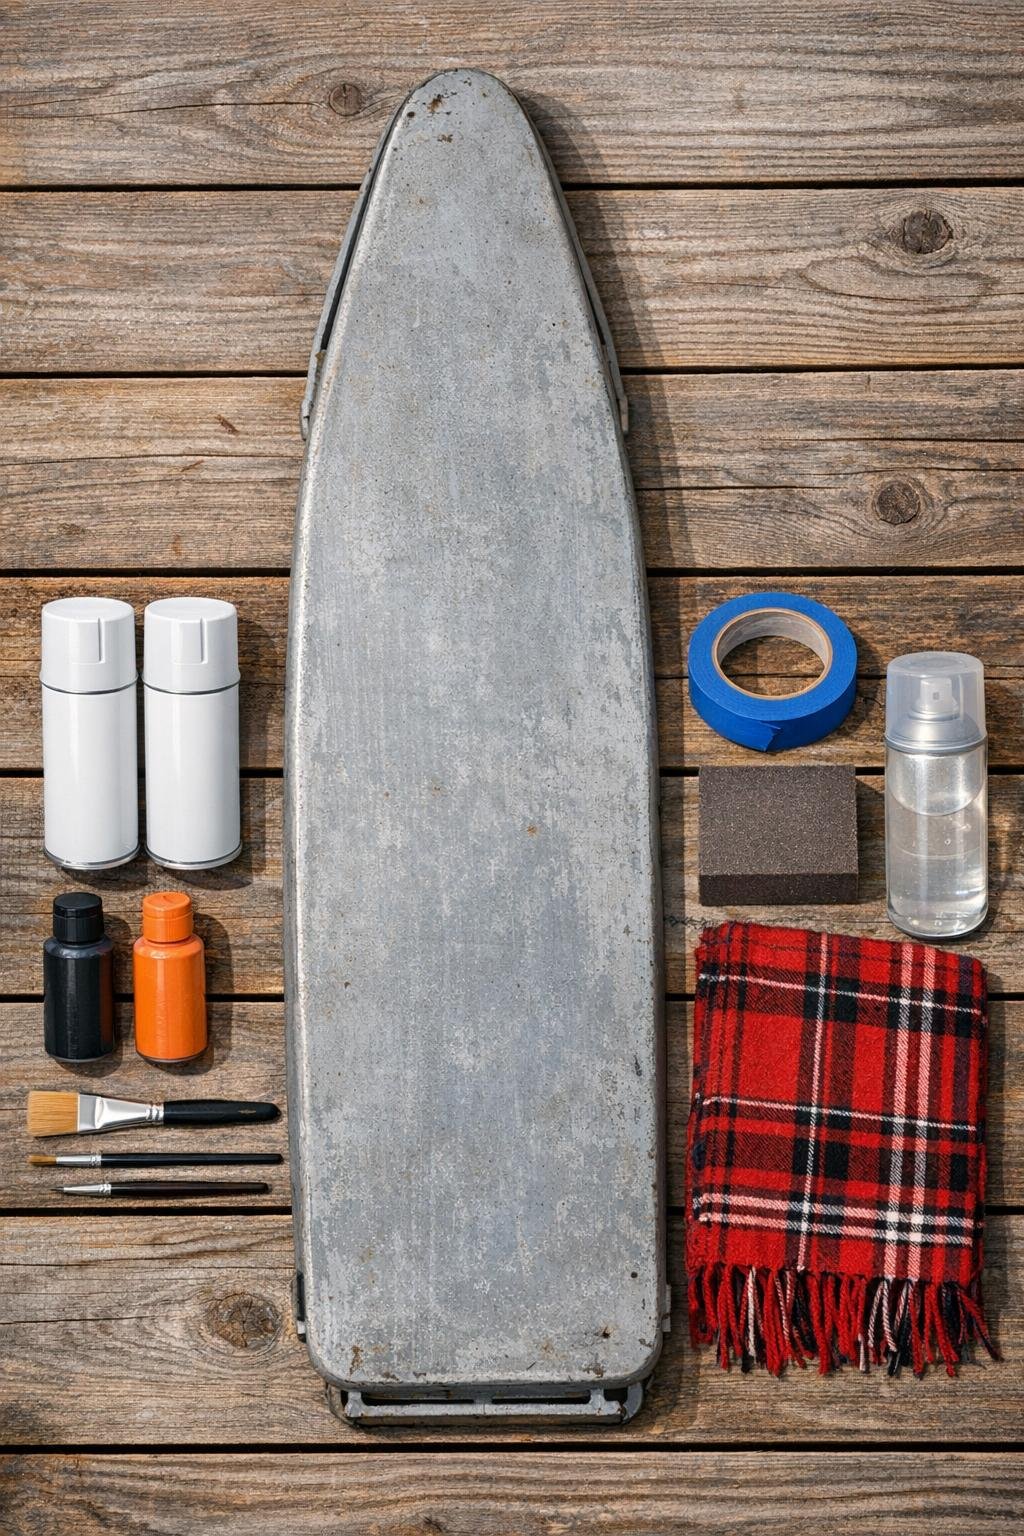
Materials
Instructions
1. Clean the ironing board well with warm soapy water, let it dry completely, and remove the fabric cover and pad so you are working with the bare board.
2. Fold the legs flat or remove them if your board allows it, then lightly sand the surface so the paint has a better grip and wipe away all dust.
3. Set the board on a drop cloth in a well-ventilated area and spray on the first light coat of white paint, keeping the can 8 to 10 inches away to avoid drips.
4. Let the first coat dry, then apply 2 more light coats of white spray paint until the board looks evenly covered and bright, including the edges and any visible side rim.
5. Once the white paint is fully dry, lay the board upright and plan the face so the wider rounded end becomes the head and upper body area.
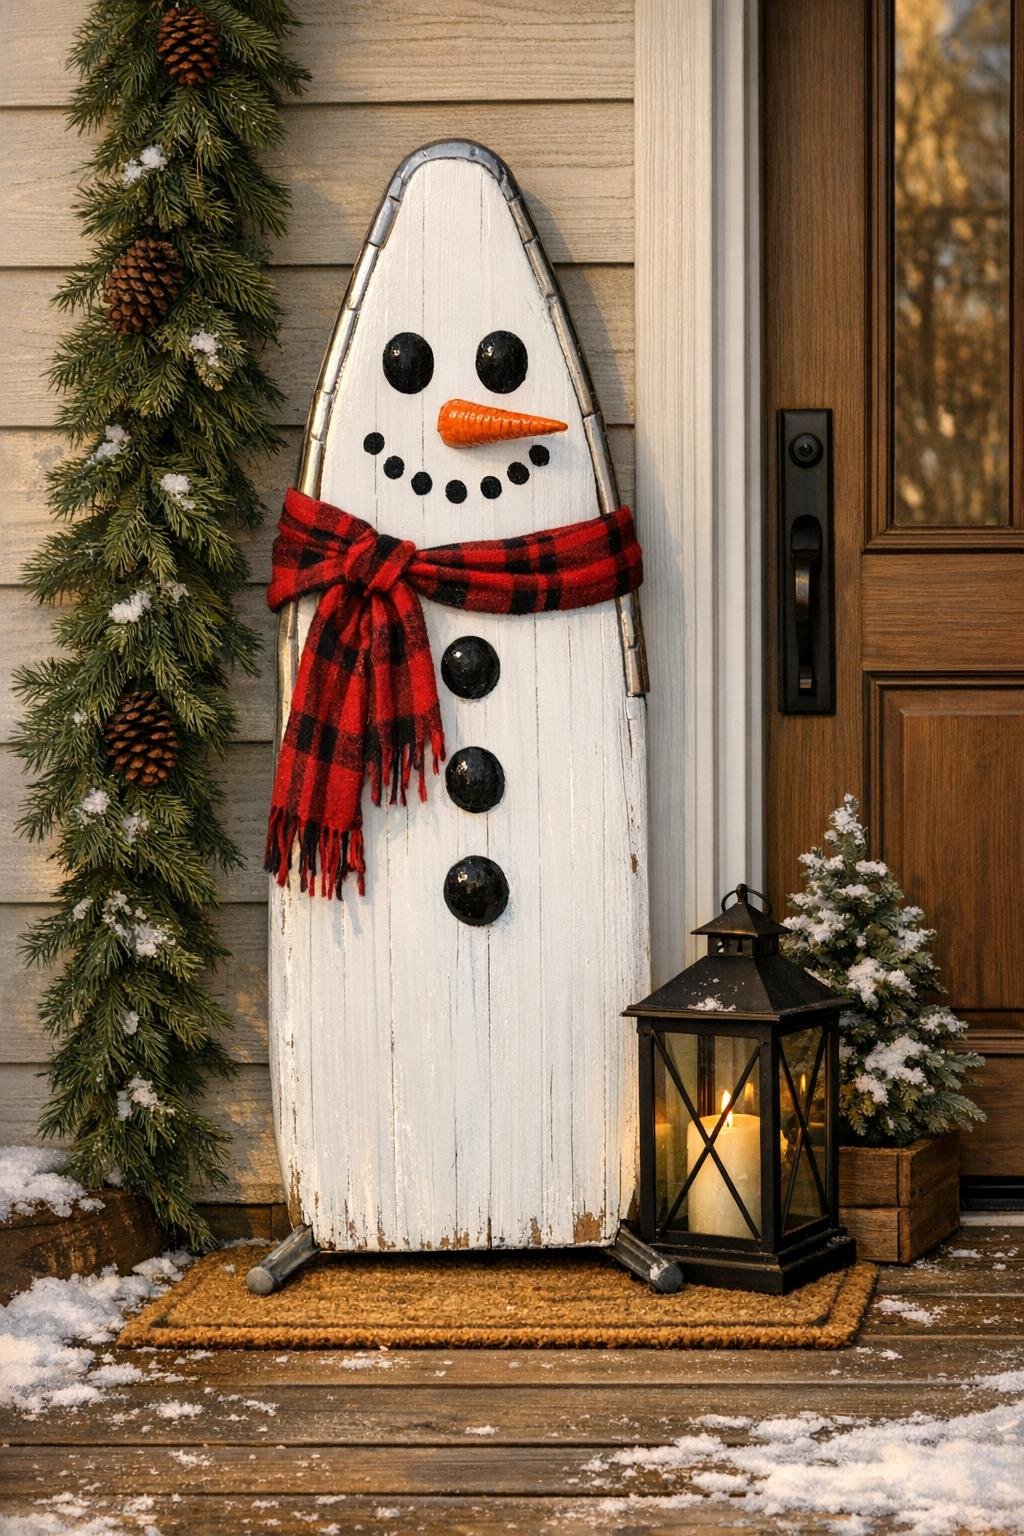
6. Use black paint and the detail brush to add two coal eyes near the top, then paint five to seven larger black dots down the center for a classic snowman smile and buttons.
7. Paint a long orange carrot nose pointing slightly to one side, starting between the eyes and extending outward enough to show up clearly from the street.
8. Let the painted details dry completely, then spray the whole front with a clear matte outdoor sealer to protect the finish from winter moisture.
9. Wrap the scarf around the narrow neck area just below the face, fluff the ends, and secure it on the back with twine, a staple, or a small screw if your porch gets windy.
10. Lean the finished piece by your front door, tuck it into a porch corner, or attach it to a wall or post so the friendly face sits at eye level and the scarf hangs naturally.
Variations & Tips
Scarf choice: A plaid scarf gives this project that old-fashioned winter-porch look, but a chunky knit scarf is lovely too if you want a softer, fuller finish.
Face style: If you like a sweeter expression, make the smile with slightly smaller dots and place the eyes a little wider apart. For a more playful look, angle the carrot nose upward.
Weather protection: If your porch is exposed to snow or blowing rain, add a second coat of clear sealer and use exterior-grade paint for the black and orange details.
More polish: I like to tuck a little sprig of faux evergreen or red berries into the scarf knot. It takes only a minute, but it makes the whole piece look finished and festive.
How to display it securely: On a windy porch, anchor the top lightly to a post or wall with removable hooks or wire. These tall pieces are easy to tip if they are only leaned in place.
Make it your own: You can add a painted black hat near the top if you want a more detailed design, but I find the simple face and scarf keep the ironing board shape charming and easy to recognize.