
I love a project that turns something ordinary into a holiday piece people immediately ask about, and this one does exactly that. With a simple foam cone, a pile of pinecones, and a little glue, you can make a festive decoration that looks rich and textured without needing a long supply list or any fancy crafting experience.
This is the kind of winter craft I like to do on a cold afternoon at the kitchen table while supper simmers in the background. It’s easy enough for beginners, but the finished result looks special and full, especially once you add the final snowy touch of white paint. If you want something cozy and handmade for a mantel, entry table, or holiday centerpiece, this is a good one.
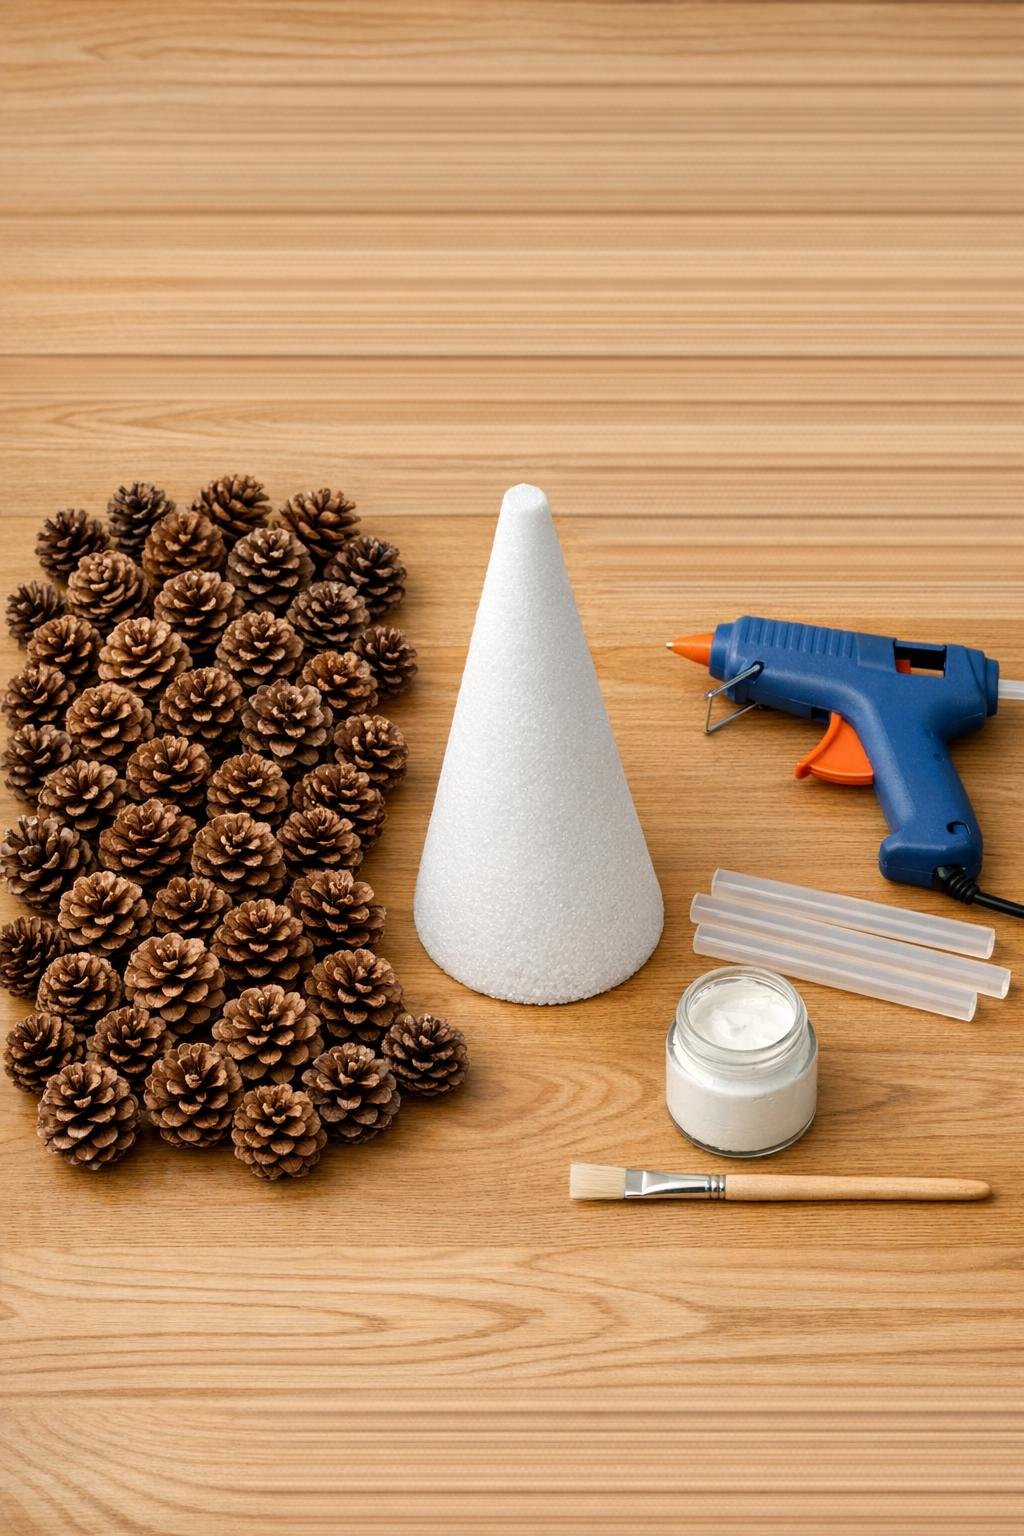
Materials
40 medium pinecones, about 2 to 3 inches long each
Instructions
1. Set your foam cone on a protected work surface and sort the pinecones by size, keeping the largest ones for the bottom and the smallest ones for the top.
2. If any pinecones have loose debris or extra stems, brush them off and trim only what keeps them from sitting flat against the cone.
3. Start at the bottom edge of the foam cone and hot glue the largest pinecones in a full ring, placing them close together with the tips pointing outward.
4. Build the second row just above the first, staggering the pinecones so they fill the gaps and create dense coverage.
5. Continue gluing pinecones upward in rows, working around the cone and adjusting sizes as needed so the shape stays nicely tapered and full.
6. Fill any visible open spots with smaller pinecones, tucking them in wherever the foam still shows.
7. Glue the smallest pinecones around the top section, then place one small pinecone upright at the tip to finish the tree shape cleanly.
8. Let the glue cool completely for several minutes so all the pinecones are firmly set before painting.
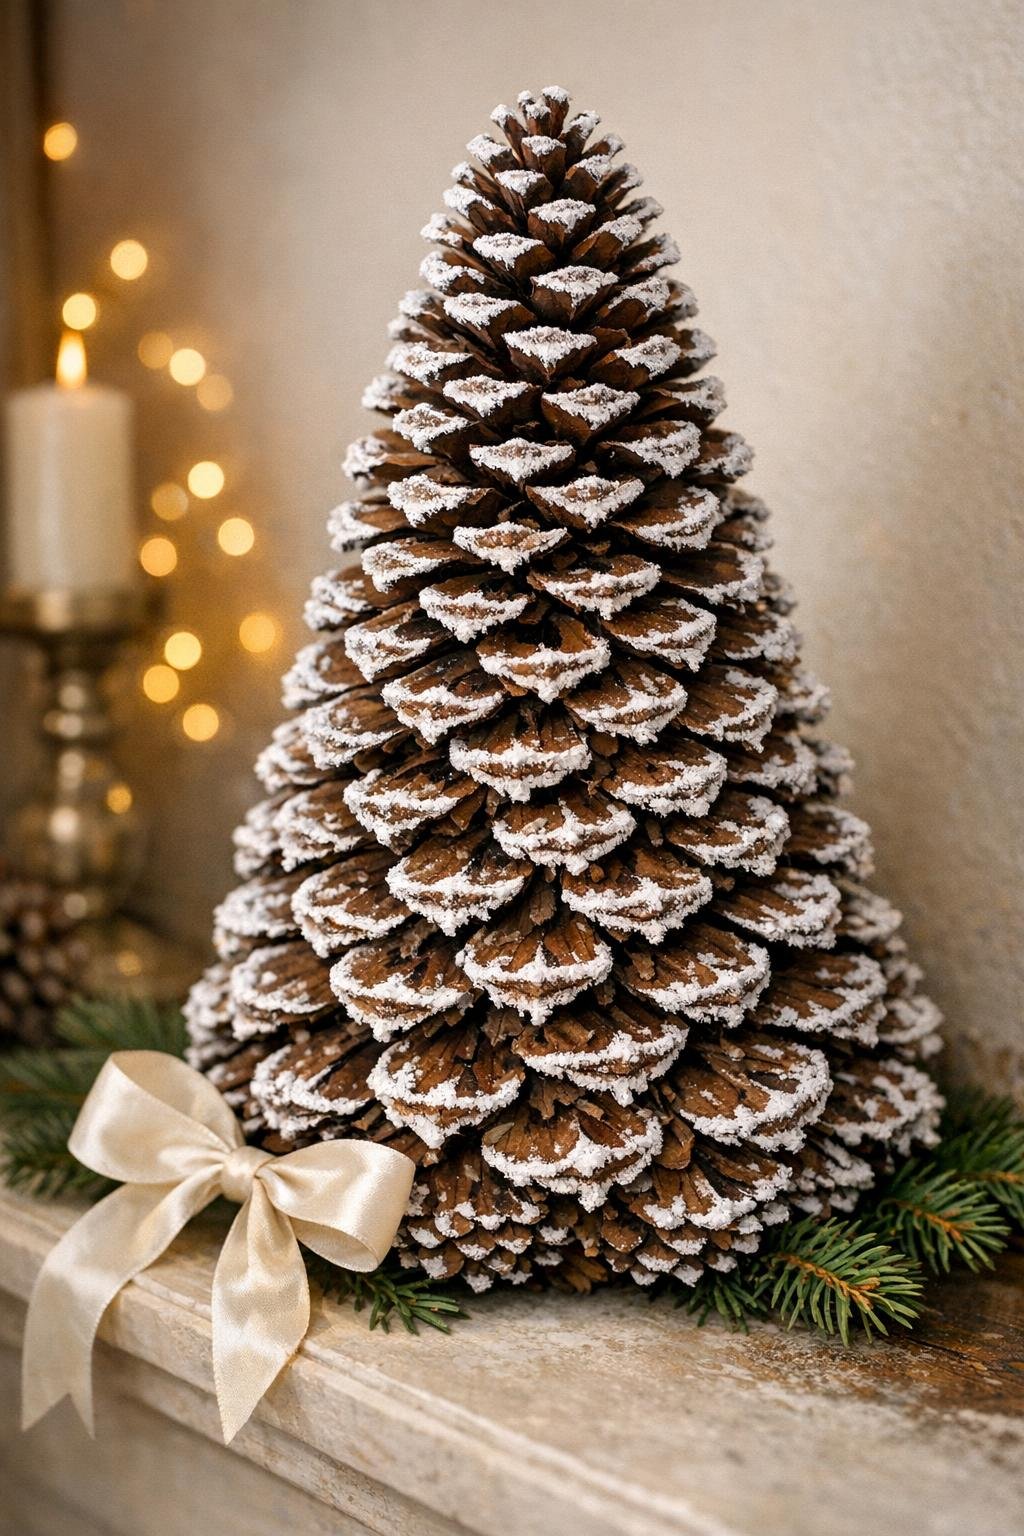
9. Dip the small brush lightly into white paint and dry-brush the edges of the pinecone scales to give the whole piece a soft snowy look.
10. Add a little more white paint to the outer tips near the top and outer edges if you want a fuller frosted finish, then let the tree dry completely before displaying.
Variations & Tips
For a fuller look: Use a few extra small pinecones if you have them. I always say it’s the same as topping a casserole properly—those little finishing bits make the whole thing look more generous.
If your pinecones are different sizes: That’s perfectly fine. Just keep the biggest ones low, medium ones in the middle, and the tiniest ones near the top so the tree keeps its shape.
For less mess: Lay down parchment paper before you start gluing and painting. It makes cleanup so much easier, especially if you’re crafting around kids or right on the kitchen table like I usually do.
For a brighter snowy finish: Add a second very light dry-brushed coat after the first one dries. It gives more contrast without hiding the pretty natural texture.
To match your holiday decor: You can keep it rustic with just the white paint, or tuck in a narrow ribbon bow at the base for a softer, dressed-up look.
For display: This looks especially pretty grouped with candles, a holiday tray, or a bowl of ornaments. If you’re decorating for a family gathering, making two in different heights turns it into a centerpiece that really feels complete.