
This is one of those projects that looks a little odd in the middle and then suddenly turns into something so good you want to make a whole batch. If you like easy weekend DIYs with a big payoff, this one checks every box: inexpensive supplies, almost no special tools, and a finish that looks far more high-end than the process would suggest.
I love projects like this for busy weeks because I can mix, pour, shape, and then let everything do its thing while I get back to normal life. The setup is simple, the hands-on time is short, and the final result has that collected fall-decor look without requiring any fancy crafting skills.
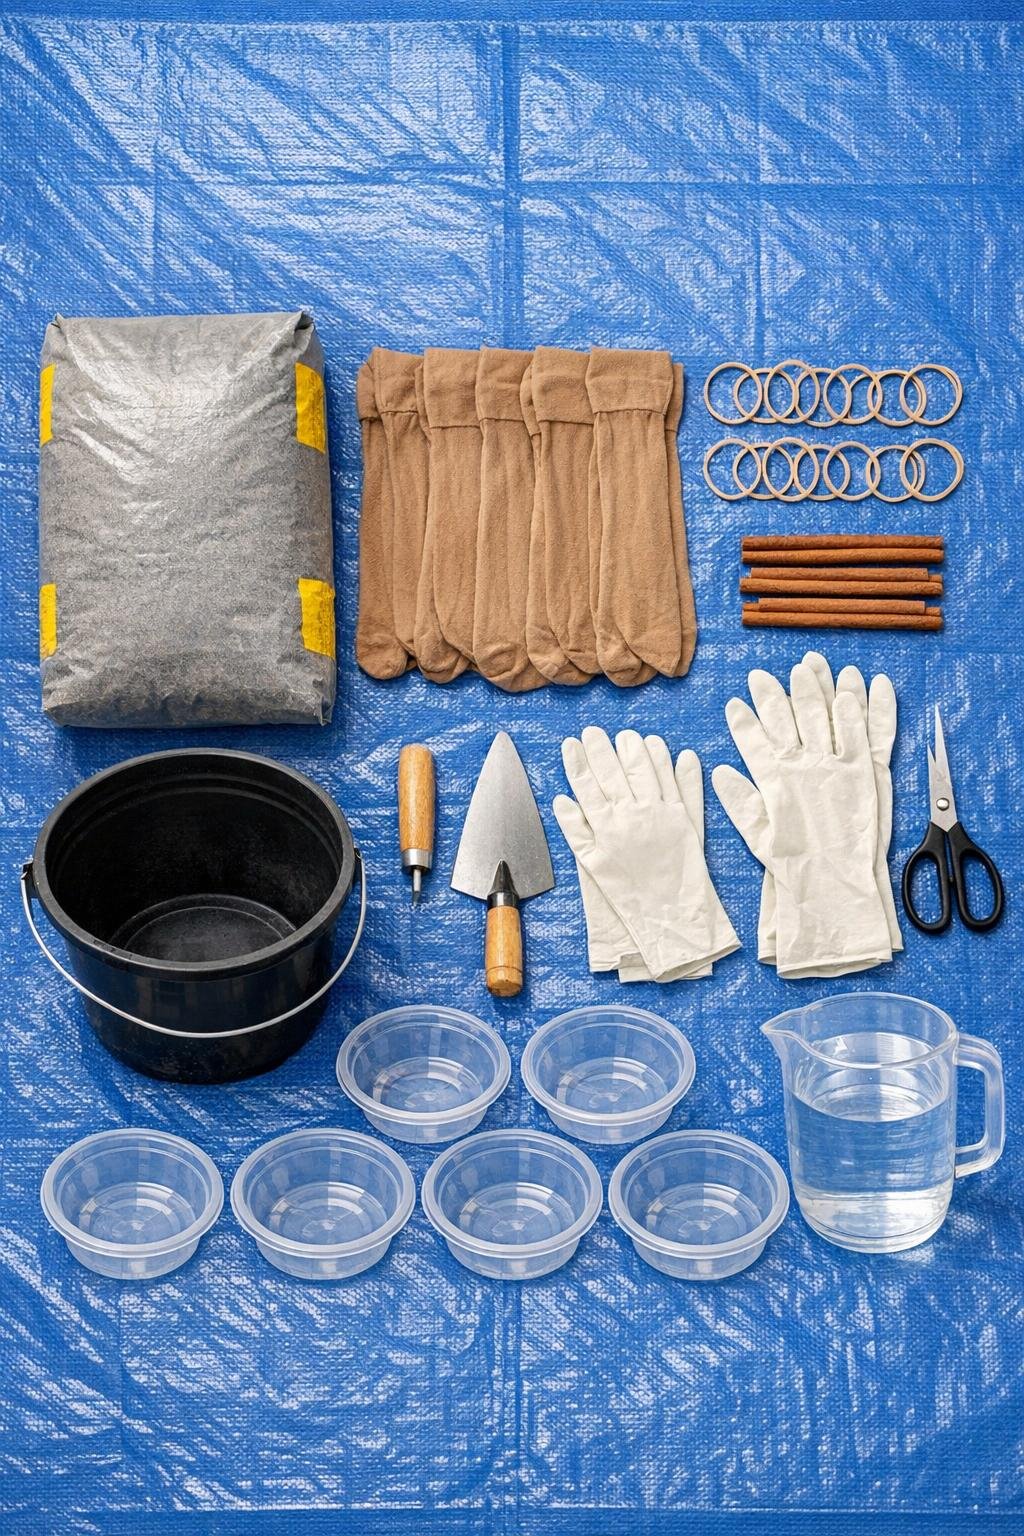
Materials
Instructions
1. Cover your work surface with the tarp, set out the bowls, and put on gloves because once the concrete is mixed, you will want to move fairly quickly.
2. Add the concrete mix to the bucket, then stir in water a little at a time until it reaches a thick brownie-batter consistency that is wet enough to pour but stiff enough to hold shape.
3. Open one knee-high stocking over a plastic bowl and use the old cup or trowel to scoop wet concrete into it until the filled section is roughly 5 to 7 inches across, depending on how large you want the finished pumpkin.
4. Twist the top of the stocking just above the concrete and secure it tightly with a rubber band, leaving a short gathered tail at the top.
5. Shape the filled stocking into a squat round form in the bowl, then wrap 3 more rubber bands evenly around it from top to bottom, crossing at different angles to create deep pumpkin-like ribs.
6. Press a cinnamon stick or short twig into the top center where the tied stocking gathers, making sure it sits upright and sinks in enough to stay put as the concrete cures.
7. Repeat with the remaining stockings, varying the amount of concrete slightly so you end up with a fuller, more interesting grouped display of different sizes.
8. Let the forms sit undisturbed in their bowls until fully hardened; quick-set concrete usually firms up fast, but for easy handling I like to leave them several hours or overnight.
9. Cut and peel away the nylon carefully with scissors once the concrete is completely cured, then remove the rubber bands to reveal the ribbed texture underneath.
10. Brush off any loose dust and trim or snap the stem to the length you like, then set the finished pieces together on a porch, entry table, or mantel for a simple but dramatic seasonal display.
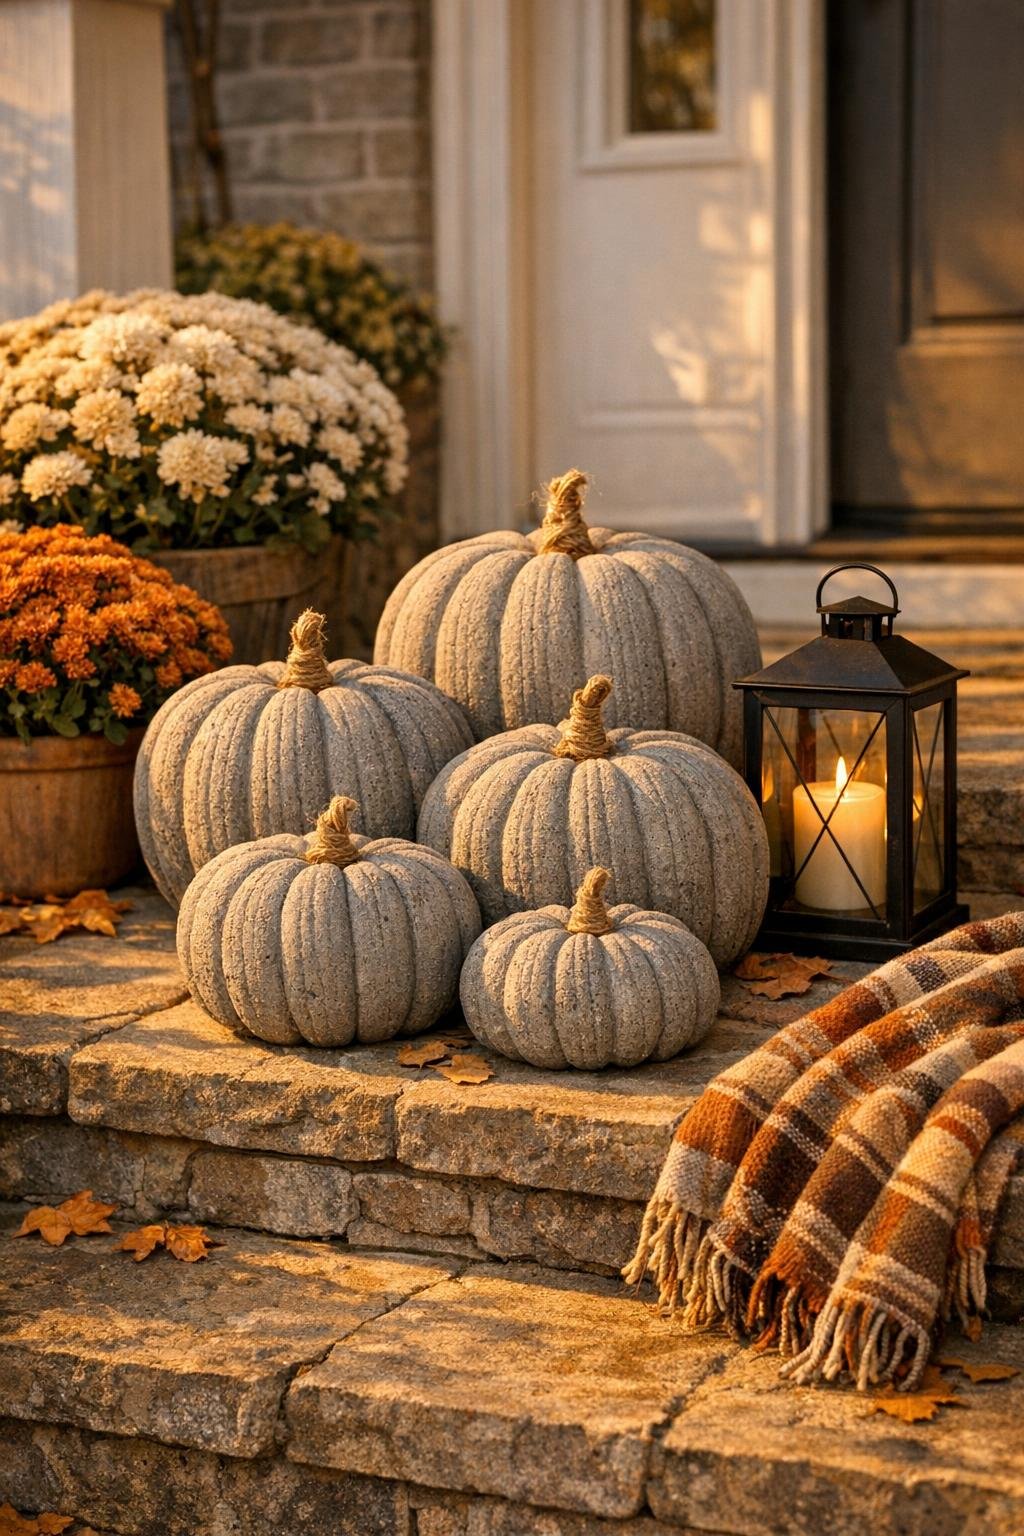
Variations & Tips
Size mix: Use less concrete in some stockings and more in others so your final arrangement feels layered and intentional instead of all one size. I always think grouped decor looks more expensive when the heights and widths vary a little.
Stem options: Cinnamon sticks give a neat, tidy look and smell nice at first, but short backyard twigs work beautifully too if you want a more natural finish.
Shape control: If your form looks too tall, gently press it lower and wider in the bowl before it sets. A squat shape reads more pumpkin-like and also tends to show the ribbing better.
Concrete consistency: If the mix is too runny, the form can slump and the ribs will soften; if it is too dry, it is hard to pack into the stocking. Aim for thick and scoopable, not soupy.
Indoor styling: These look especially pretty in a bowl on an entry table, lined up on a mantel, or tucked into a centerpiece with faux leaves and candles. Since they are heavy, I usually place them once and avoid moving them around too much.
Weather note: If you are displaying them outside, let them cure fully before setting them out in damp or chilly weather. Fully cured pieces hold up much better and keep their crisp ribbed detail.