
There are some projects that feel almost too simple for how pretty they turn out, and this is one of them. With a couple of inexpensive foam pumpkins, a pack of floral paper napkins, and a little decoupage glue, you can create a soft, layered fall piece that looks far more special than the supply list suggests.
I love crafts like this because they don’t ask for perfect cutting, fancy tools, or a big chunk of time. If you like easy seasonal decorating but still want something that feels collected and charming, this is the kind of afternoon project that delivers a lot of payoff without making a mess of your whole kitchen counter.
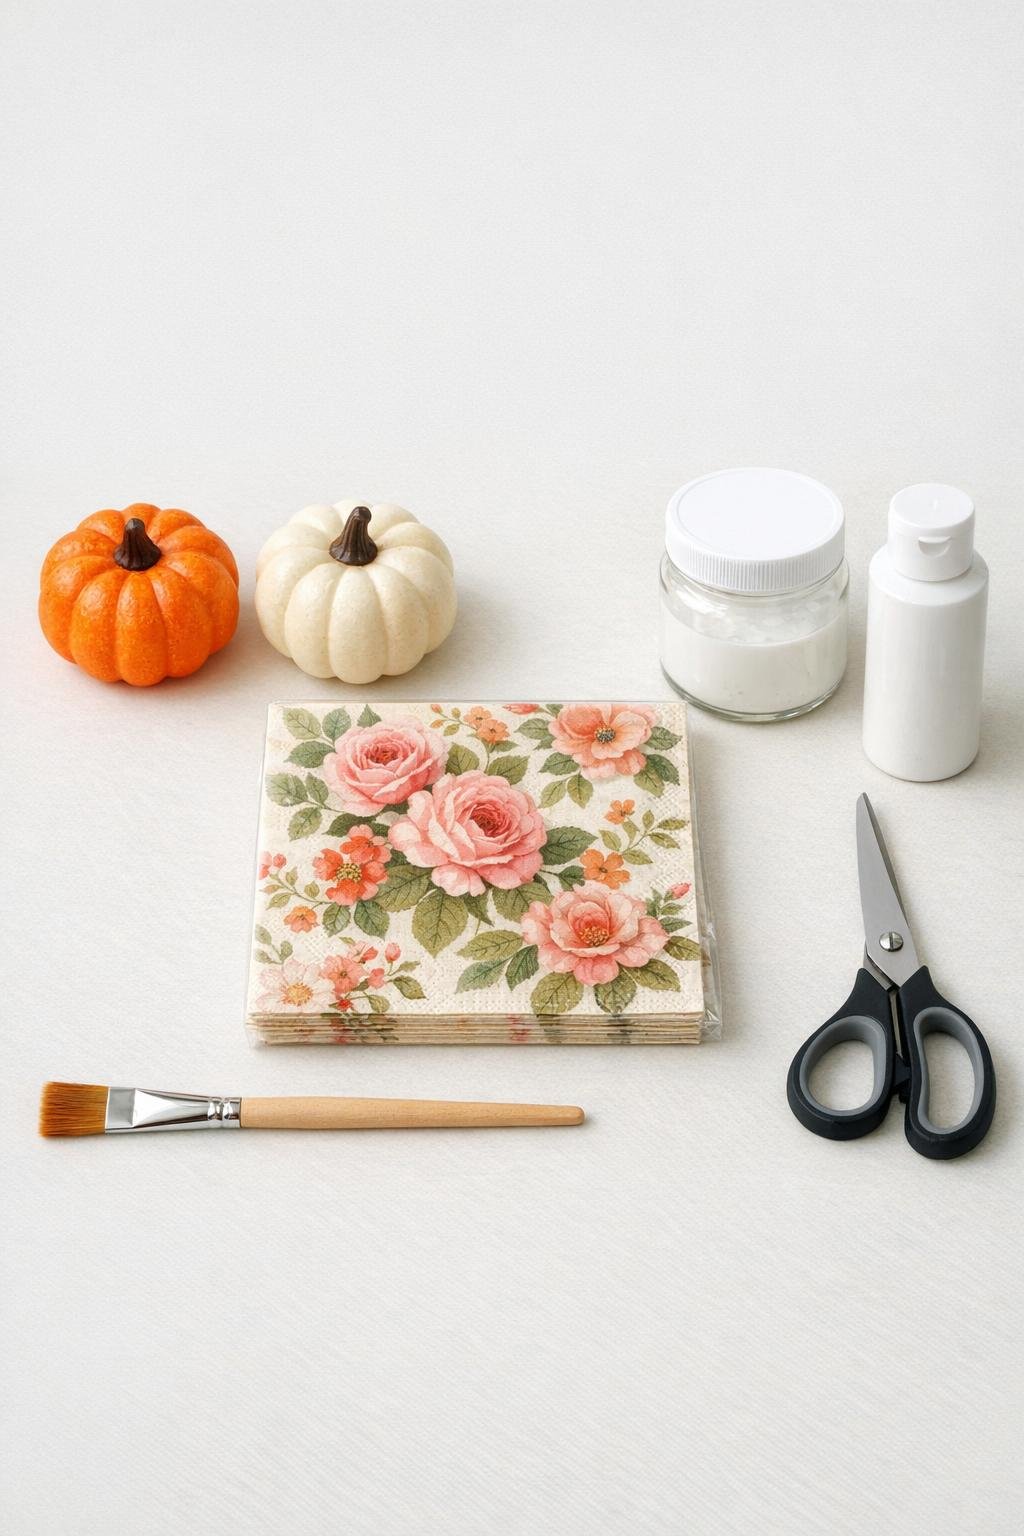
Materials
Instructions
1. Cover your work surface with wax paper or parchment, then set out the pumpkins, glue, brush, and napkins so everything is easy to reach.
2. Paint each foam pumpkin with a thin, even base coat of white acrylic paint, including down into the grooves, and let them dry completely.
3. Separate the printed layer of each paper napkin from the plain backing layers so you’re working with only the top decorative layer.
4. Cut or tear the napkins into pieces about 1 to 3 inches wide, keeping a mix of larger floral areas and smaller filler pieces for the curved spots.
5. Brush a light coat of decoupage glue onto one small section of the first pumpkin, about the size of your palm.
6. Lay one napkin piece onto the glued area and gently press it in place with your fingers, then use the damp brush to smooth from the center outward without scrubbing.
7. Add more napkin pieces, slightly overlapping the edges, until that section is covered; keep going around the pumpkin in small areas so the thin paper doesn’t tear or wrinkle too much.
8. Tuck smaller torn pieces into the grooves and around the top and bottom curves so the floral pattern looks full and continuous rather than patchy.
9. Repeat the same process on the second pumpkin, varying the placement of flower clusters so the pair looks coordinated but not identical.
10. Let both pumpkins dry for at least 30 to 45 minutes, then check for any lifted edges and glue them down with a little extra decoupage medium.
11. Brush a thin finishing coat of decoupage glue or clear matte sealer over each pumpkin to soften the edges of the napkin pieces and protect the surface.
12. Allow the pumpkins to dry fully before styling them, and add a second thin topcoat if you want an even smoother, more finished look.
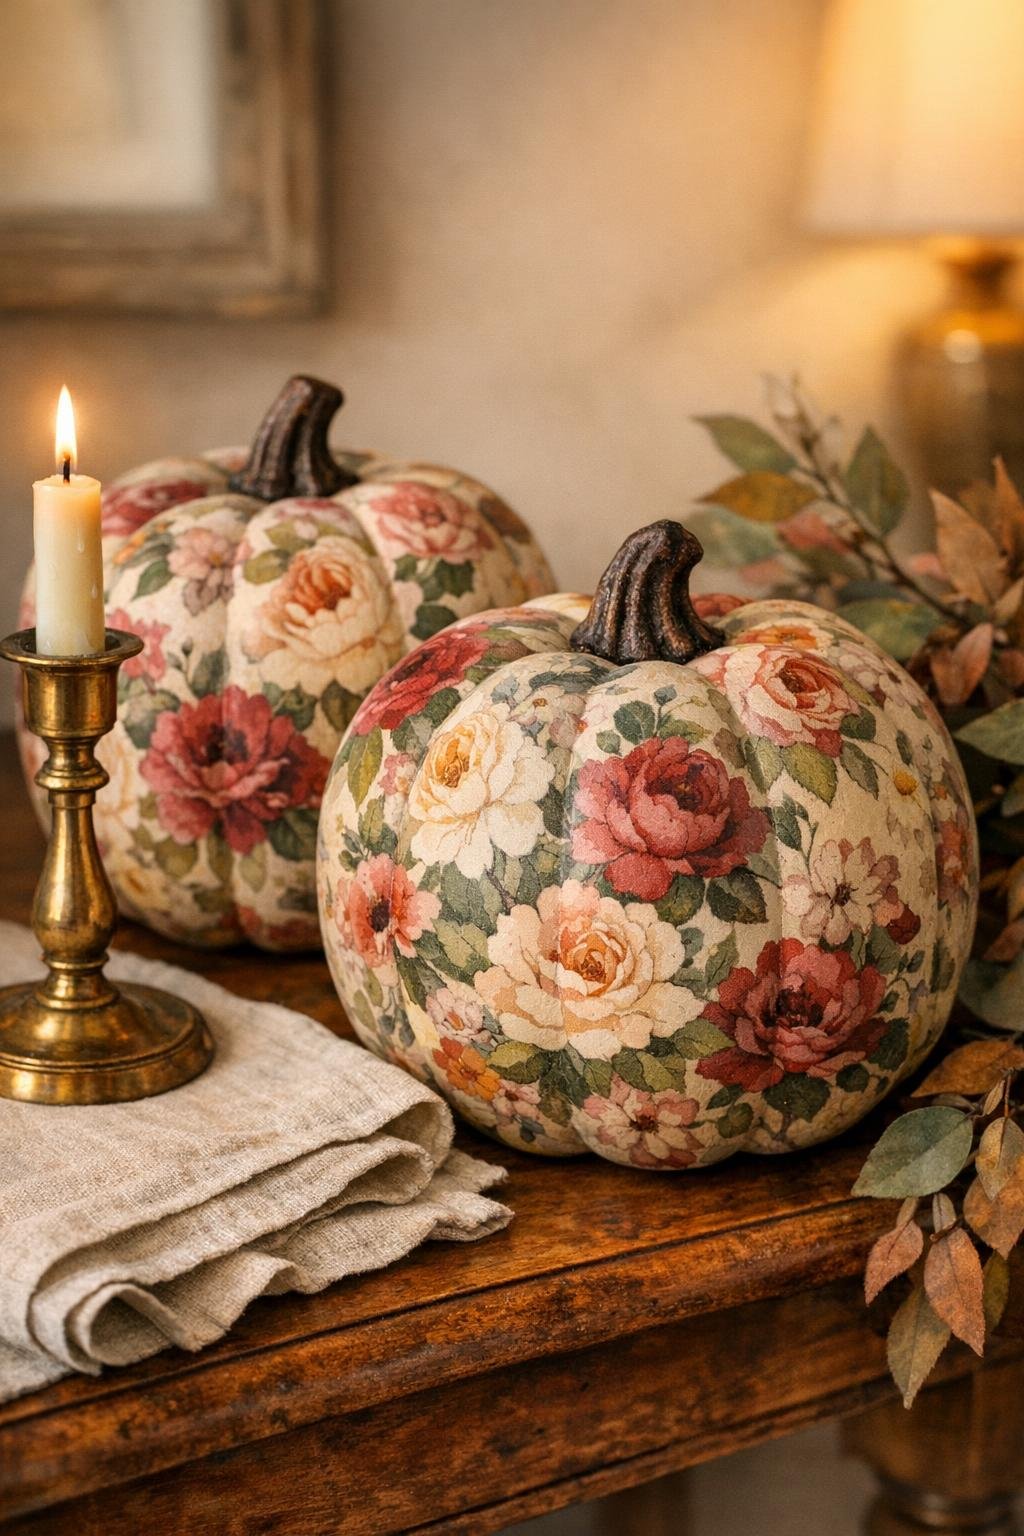
Variations & Tips
For a softer vintage look: Choose napkins with faded roses, tiny vines, or cream backgrounds instead of bold modern prints. Those gentler colors blend beautifully over the white base coat.
If wrinkles bother you: Work with smaller torn pieces instead of large cut sections. I’ve found that little bits settle into the pumpkin grooves much more easily, and once the whole surface is covered, the texture just looks charming.
For picky decorators: If someone in your house isn’t a “floral pumpkin” person, use plaid, toile, script, or tiny leaf-print napkins instead. The same method works, and you still get that layered decoupage finish.
To make the pair look polished: Keep both pumpkins in the same color family, then vary the flower placement and scale slightly. That makes them feel like a set without looking too matched.
For easier handling: Hold the pumpkin by the stem or rest it on a small cup while you work so you’re not touching fresh glue with your hands.
To style them at home: These look especially pretty on a mantel, dining table, coffee station, or entry table with a few candles, a wood tray, or some dried eucalyptus nearby.
Finish matters: A matte topcoat keeps the pumpkins looking more like collected decor and less like a shiny school craft, which is my favorite way to keep the final result feeling a little elevated.