
When my garlic bed is heading into the end of the season, I always want one last deep soak without wasting water across the whole surface. This simple watering spike does exactly that: it sends water down where the bulbs and roots can still use it, instead of letting it run off or evaporate. If you already have empty aluminum soup cans, this is one of those satisfyingly practical little garden projects that feels almost too clever for how easy it is.
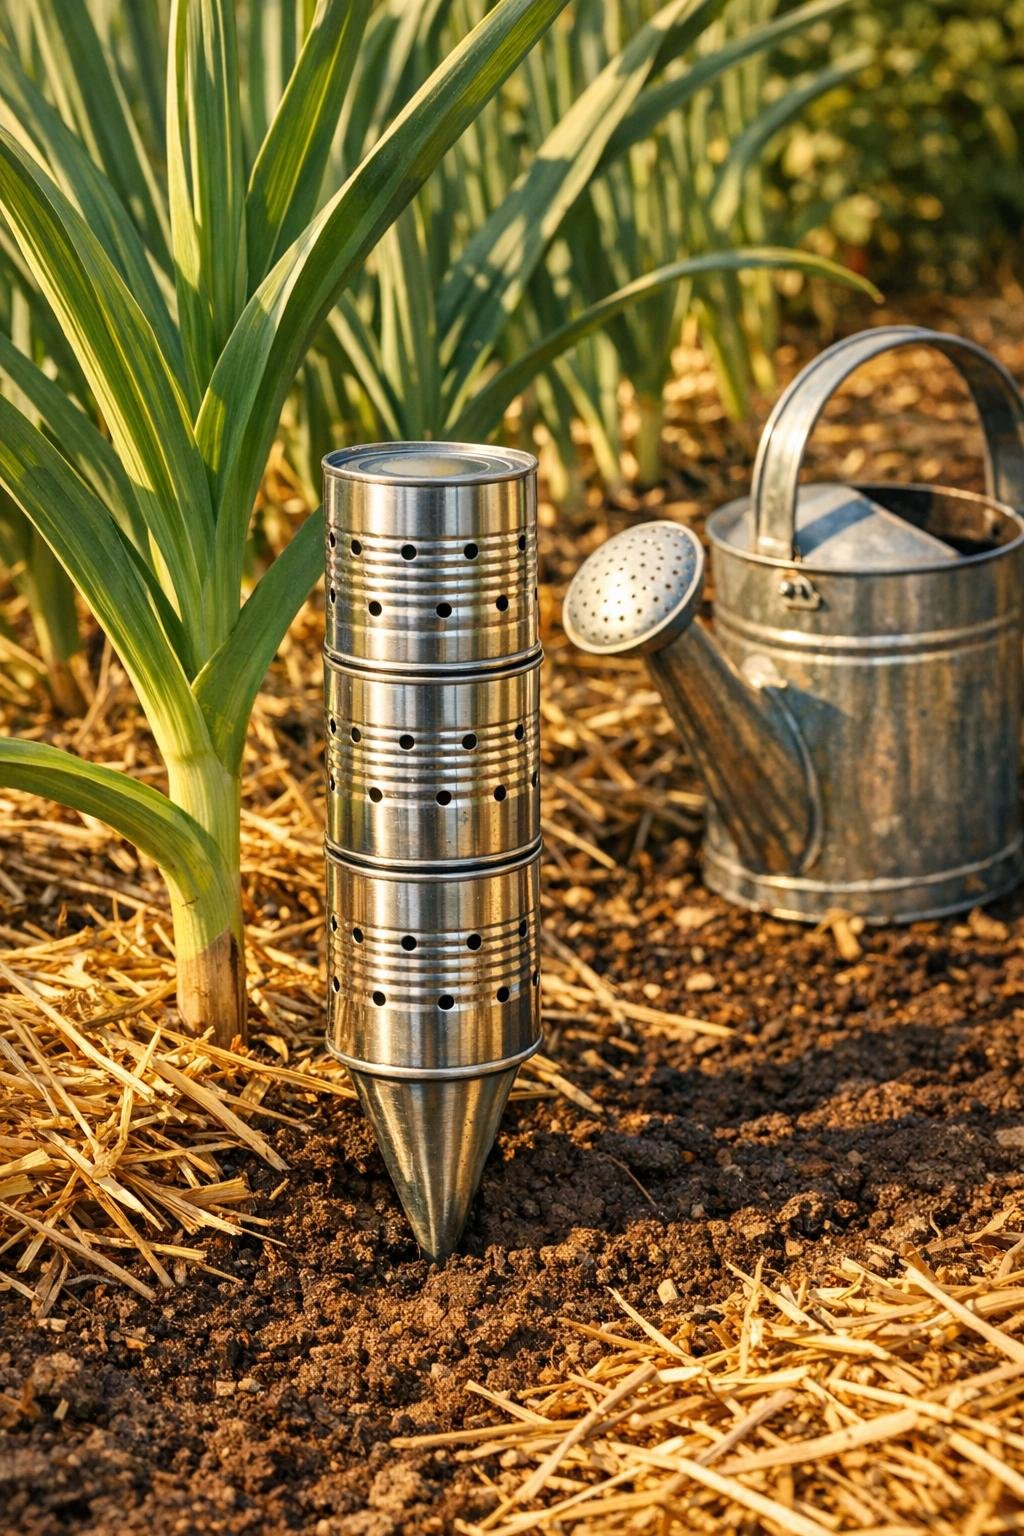
I designed this version with just three main dollar-store-style components: punched aluminum soup cans, a narrow plant stake, and a small gravel fill that helps the water move slowly instead of dumping all at once. The finished spike is sturdy, easy to place between garlic plants, and generous enough to water deeply. As someone who spends plenty of time in the kitchen and the garden, I love projects like this because they use simple household odds and ends in a way that genuinely improves the harvest.
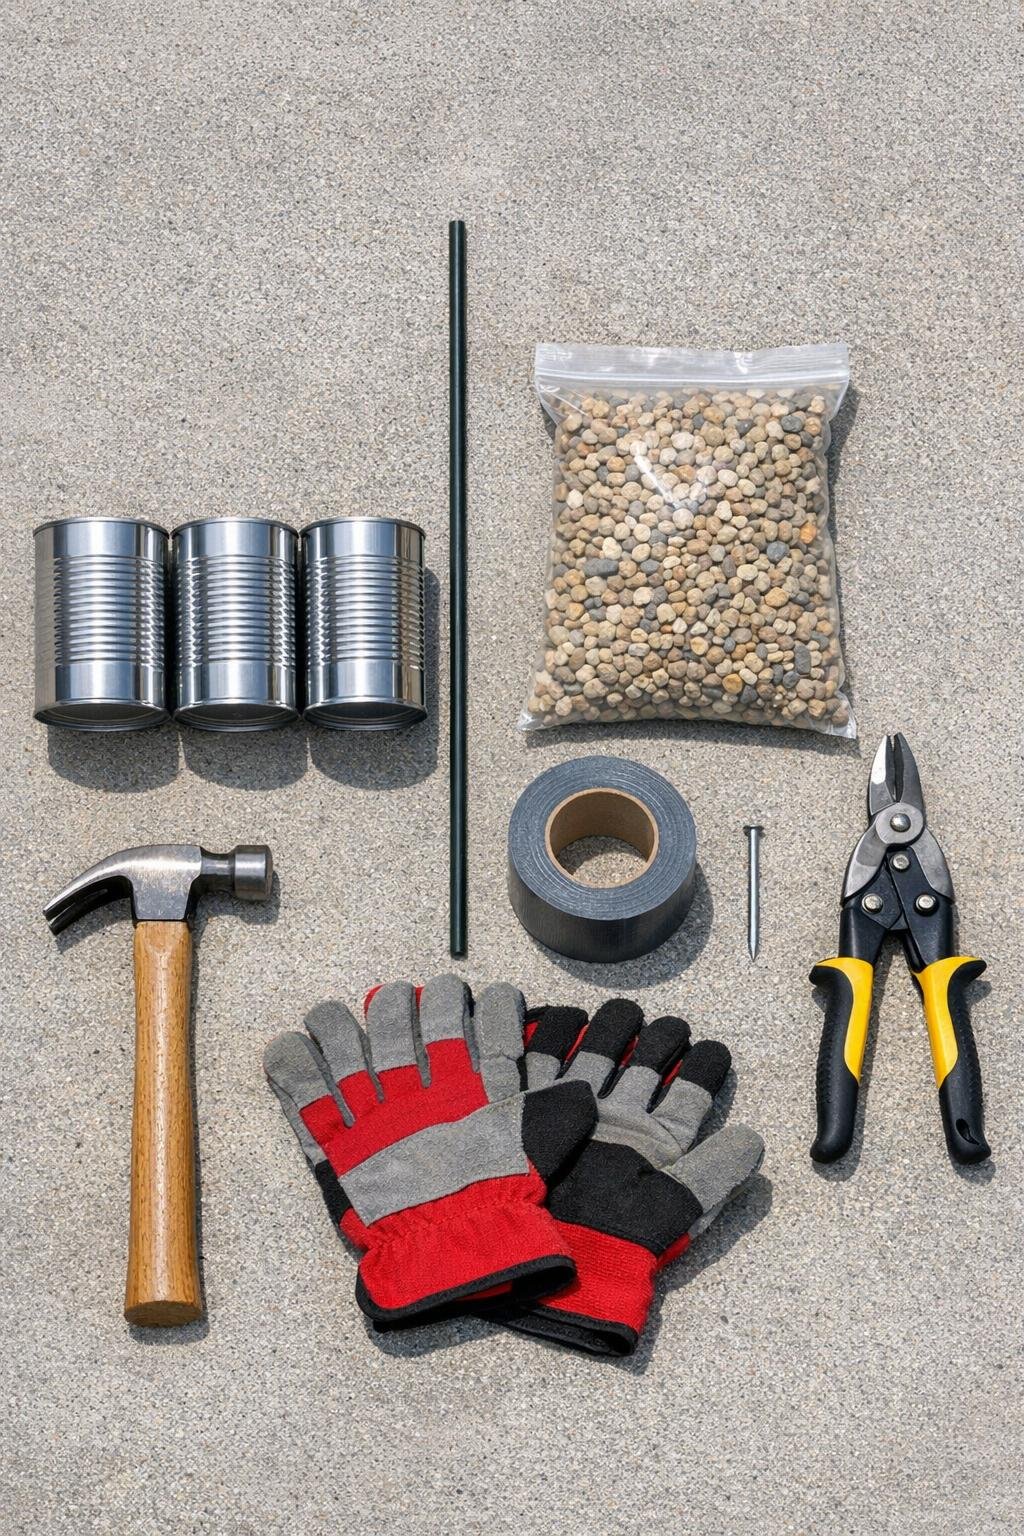
Materials
Instructions
1. Wash the three soup cans well, remove the paper labels, and smooth off any glue so the aluminum surfaces are clean and easy to work with.
2. Put on work gloves, then use the marker to draw a band of hole marks around the lower two-thirds of each can, spacing the marks about 1 inch apart.
3. Set a can on concrete or scrap wood and use the nail and hammer to punch holes on each mark, creating 12 to 16 holes per can around the sides and 4 holes in the bottom of each can.
4. Check every hole and trim or press down any sharp flaps with tin snips so the cans won’t snag your hands or catch on the stake during assembly.
5. Open the top of the first can fully if needed, then slide it onto the metal stake so the stake runs straight through the center from top to bottom.
6. Add the second and third cans onto the same stake, stacking them vertically to make one tall watering column with the bottom can sitting lowest and the top can open for filling.
7. Wrap a short band of waterproof tape at each can connection so the stack stays evenly spaced and doesn’t wobble, leaving all punched holes exposed.
8. Pour about 2/3 cup pea gravel into each can so the gravel fills the lower portion and helps slow the water flow while also adding weight and stability.
9. In the garlic bed, use a trowel to make a narrow hole 8 to 10 inches deep between plants, keeping the spot about 4 inches away from the nearest garlic stems.
10. Push the staked can stack into the hole until the lowest can is mostly below soil level and the top can remains several inches above the soil for easy filling.
11. Firm the soil back around the stake and the lower can so the spike stands upright and the aluminum cans stay visible and stable.
12. Fill the top can slowly with water and let it drain through the gravel and the punched side holes; refill two or three times for a thorough deep soak across the root zone.
Variations & Tips
For heavier soil: If your bed is mostly clay, punch a few extra holes in the bottom can and fill the top more slowly so the water has time to move sideways instead of backing up.
For sandy soil: Use slightly less gravel and water in smaller repeated fills; sandy beds drain fast, so two quick fills are often better than one big flood.
For a neater finish: You can wrap the exposed taped joints with aluminum tape for a cleaner look that still matches the silver cans and holds up well outdoors.
Placement tip: I like to install one spike for every 2 to 3 feet of garlic row, especially where the bed dries out fastest near edging or paths.
Cleaning and storage: At the end of the season, pull the spike, rinse out any soil or roots, and store it dry; because it’s aluminum, it stays light and easy to reuse.
Safety note: Freshly punched cans can be sharp, so I always keep gloves on until the edges are checked and flattened. It is a quick extra step, but it makes the project much more pleasant to handle.