
There’s something especially satisfying about a project that starts with the most ordinary household basics and turns into a giftable little accent in under half an hour. This one uses simple dollar store washcloths and rubber bands, but with a few small finishing touches, you get a soft winter decoration that looks far more charming than the humble supply list suggests.
I love projects like this when I want a quick seasonal make that doesn’t require special tools, sewing, or a big mess on the kitchen table. If you enjoy easy holiday crafts, need a cute hostess gift, or want something sweet to tuck into a bathroom basket or guest room, this is exactly the kind of project that delivers.
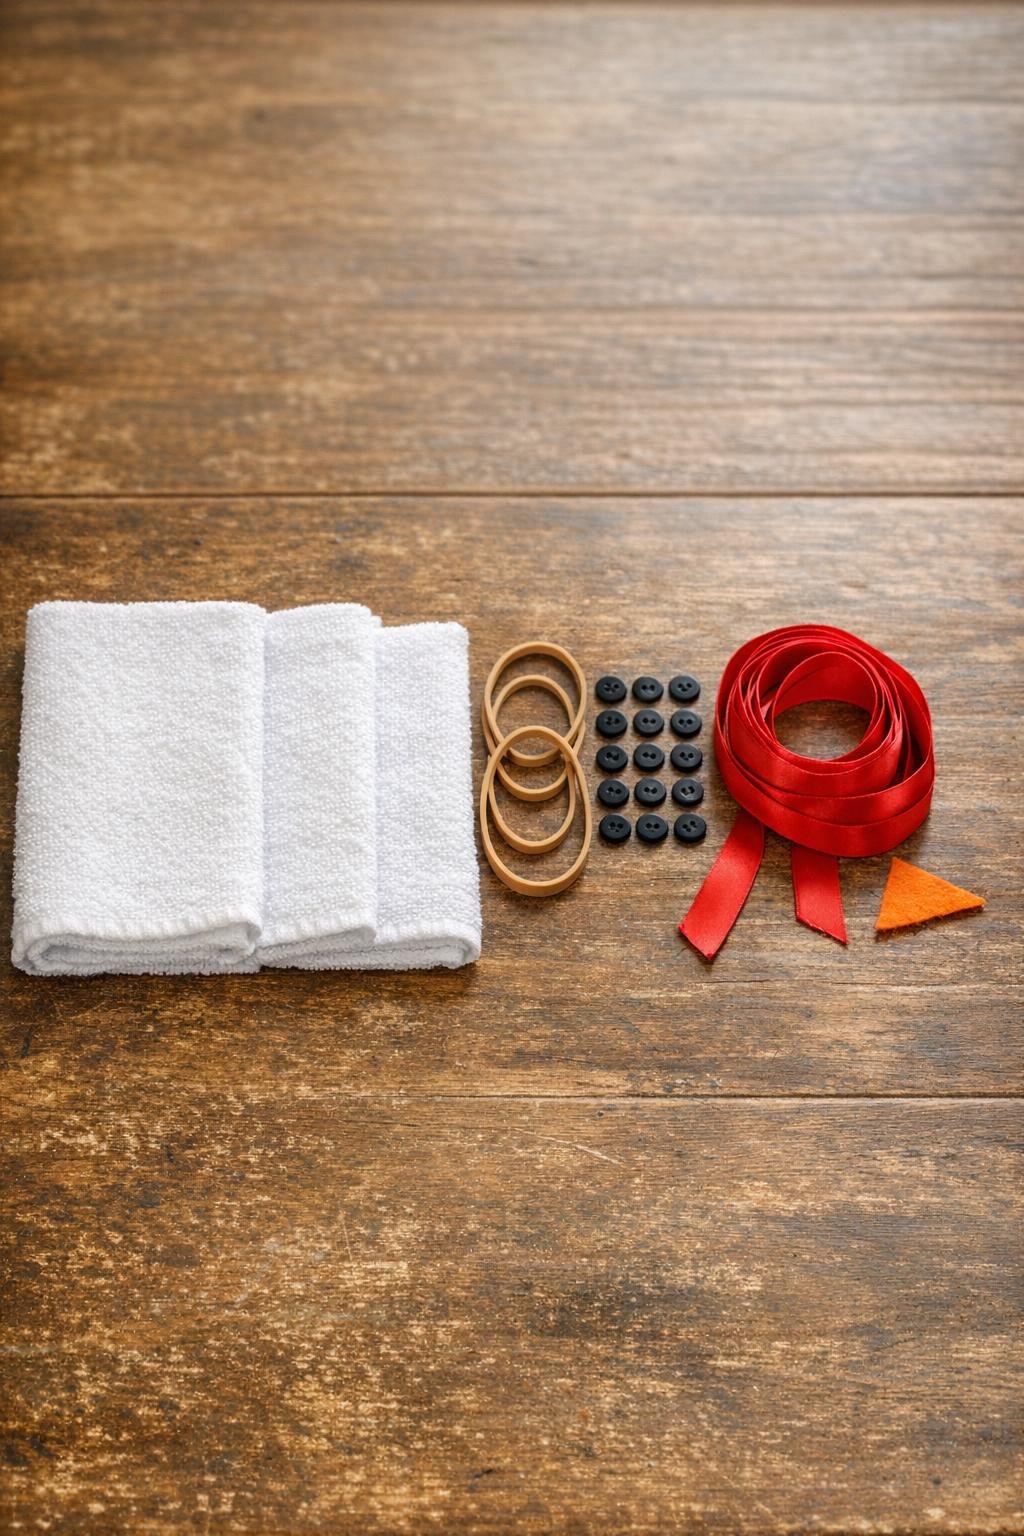
Materials
3 white cotton washcloths, standard 11 x 11-inch size
Instructions
1. Lay one washcloth flat like a diamond, then roll it tightly from one corner to the opposite corner into a plump tube. Wrap a rubber band around the center of the roll and twist until it sits snugly and holds the shape firmly.
2. Repeat with the other two washcloths so you have three matching rolled sections. Keep the rolls tight and about the same thickness so the finished piece stacks neatly and looks balanced.
3. Arrange the three rolled washcloths vertically from largest-looking to smallest-looking, overlapping them slightly so they form a three-part body. Rotate each roll until the rubber band is hidden toward the back or underside.
4. Add a narrow line of hot glue where the bottom roll overlaps the middle roll, then press them together for several seconds. Glue the top roll to the middle roll the same way, using just enough glue to secure them without soaking through the fabric.
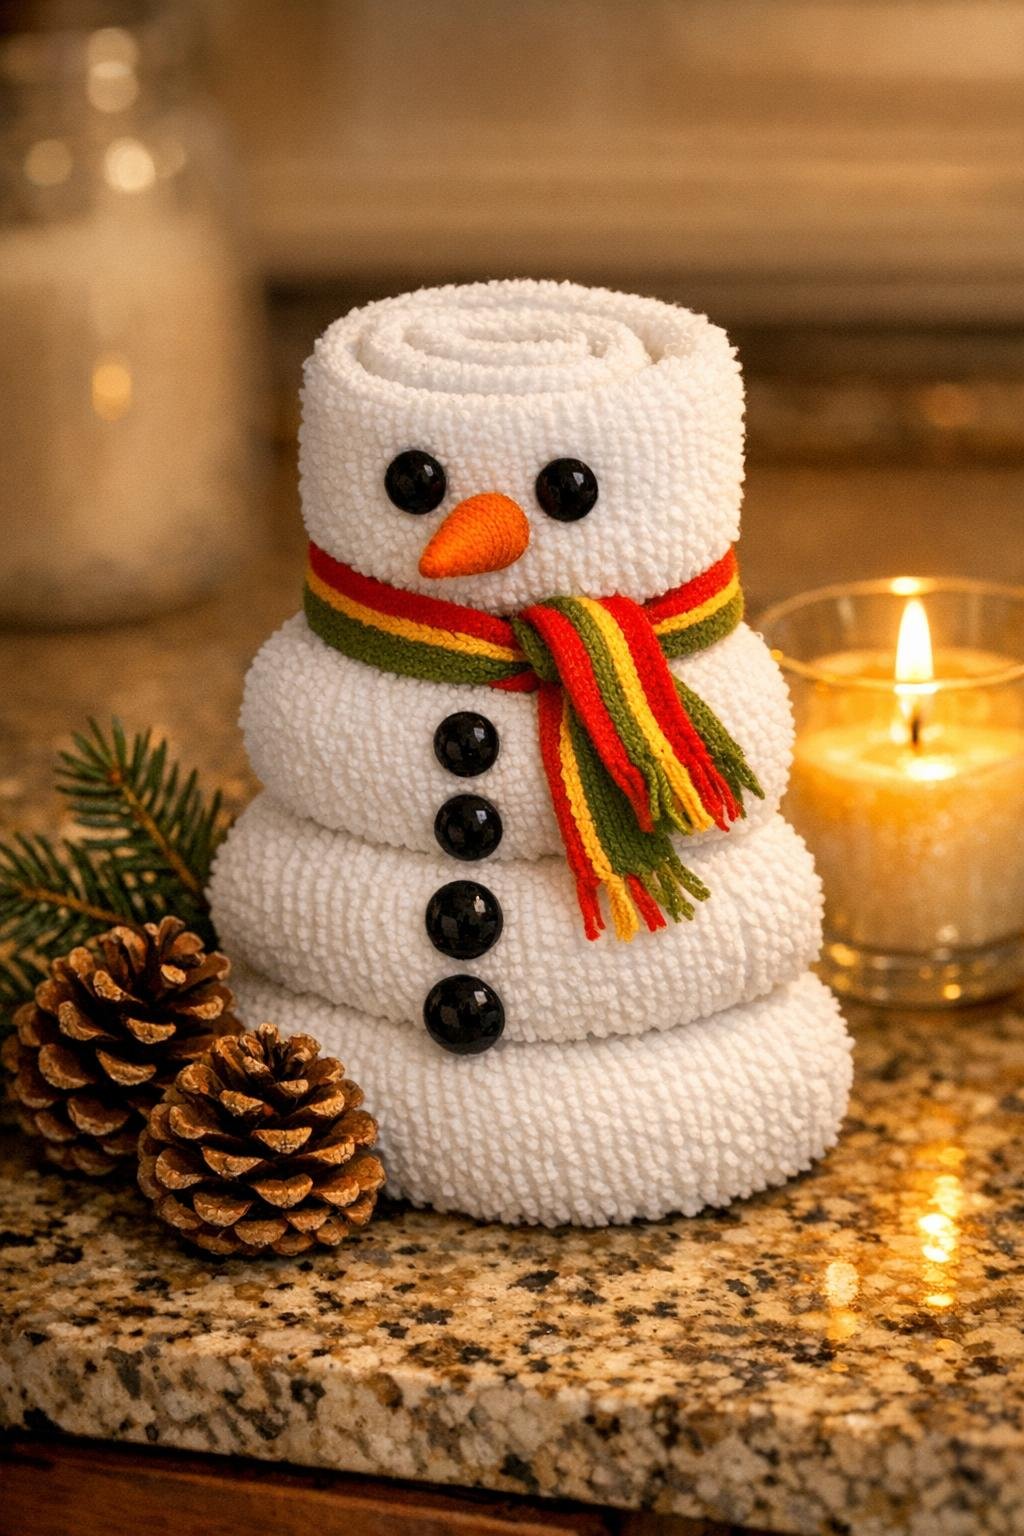
5. Cut the orange fabric scrap into a small triangle about 1 inch long for the nose. Fold the base under slightly if needed, then glue it to the center of the top roll so it points outward like a carrot.
6. Glue two black buttons above the nose for eyes, spacing them evenly. Add 4 buttons down the middle roll and 4 more down the bottom roll to create a full, decorative front rather than a sparse look.
7. Cut a 20-inch length of ribbon and tie it around the neck area between the top and middle rolls. Double-knot it, then trim the ends into neat angles or dovetails so it looks polished and intentional.
8. If you want a fuller finish, cut another 10- to 12-inch piece of ribbon and tie a small bow at the side of the scarf knot or at the top for display. Glue the bow lightly in place so it doesn’t shift.
9. Check the front and sides, then add a tiny dot of glue under any loose edge to keep each roll crisp and secure. Let everything cool completely before moving it so the stacked shape stays tidy.
Variations & Tips
Scarf color: Red is classic, but navy, buffalo check, silver, or green ribbon all work beautifully if you want the piece to match your holiday decor.
Button alternatives: If you don’t have buttons, use black felt circles, pom-poms, or even tiny dots of black fabric paint, though I prefer buttons because they give the front a nice dimensional finish.
No-sew gift idea: I like pairing one of these with a hand soap, lotion, or bath salts for an easy winter hostess gift. Since the base is made from washcloths, it feels practical as well as decorative.
Keep the rolls tight: The tighter you roll each washcloth, the cleaner and more defined the final shape will be. In my kitchen, I think of it a bit like rolling filled cabbage or shaping a jelly roll cake: a snug start gives you the best finished form.
Use low glue carefully: Add glue in small amounts and press briefly so the washcloths stay soft and neat instead of stiff. Too much glue can sink into the fabric and make the front look lumpy.
Make it freestanding: If your bottom roll wants to shift, flatten the back side of that roll slightly with your hands before gluing the stack together. That tiny adjustment helps it sit more securely on a shelf, counter, or bathroom tray.