
I love a project that looks a little questionable in the middle and then suddenly comes together at the very end. This one absolutely lives in that category. You start with plain foam pumpkins and a messy layer of loose hot-glue scribbles, and for a while it feels like you may have made a mistake. Then paint and wax do their work, the surface gains depth, and the whole thing starts reading like something far richer and more finished than the humble supply list suggests.
This is a good project for anyone who wants high visual payoff without complicated carving, specialty tools, or perfect precision. If you can drag a glue gun in wavy lines and dry-brush paint, you can make these. As someone who spends plenty of time thinking about texture in food as well as in home projects, I find this finish especially satisfying because the layers are what make it believable.
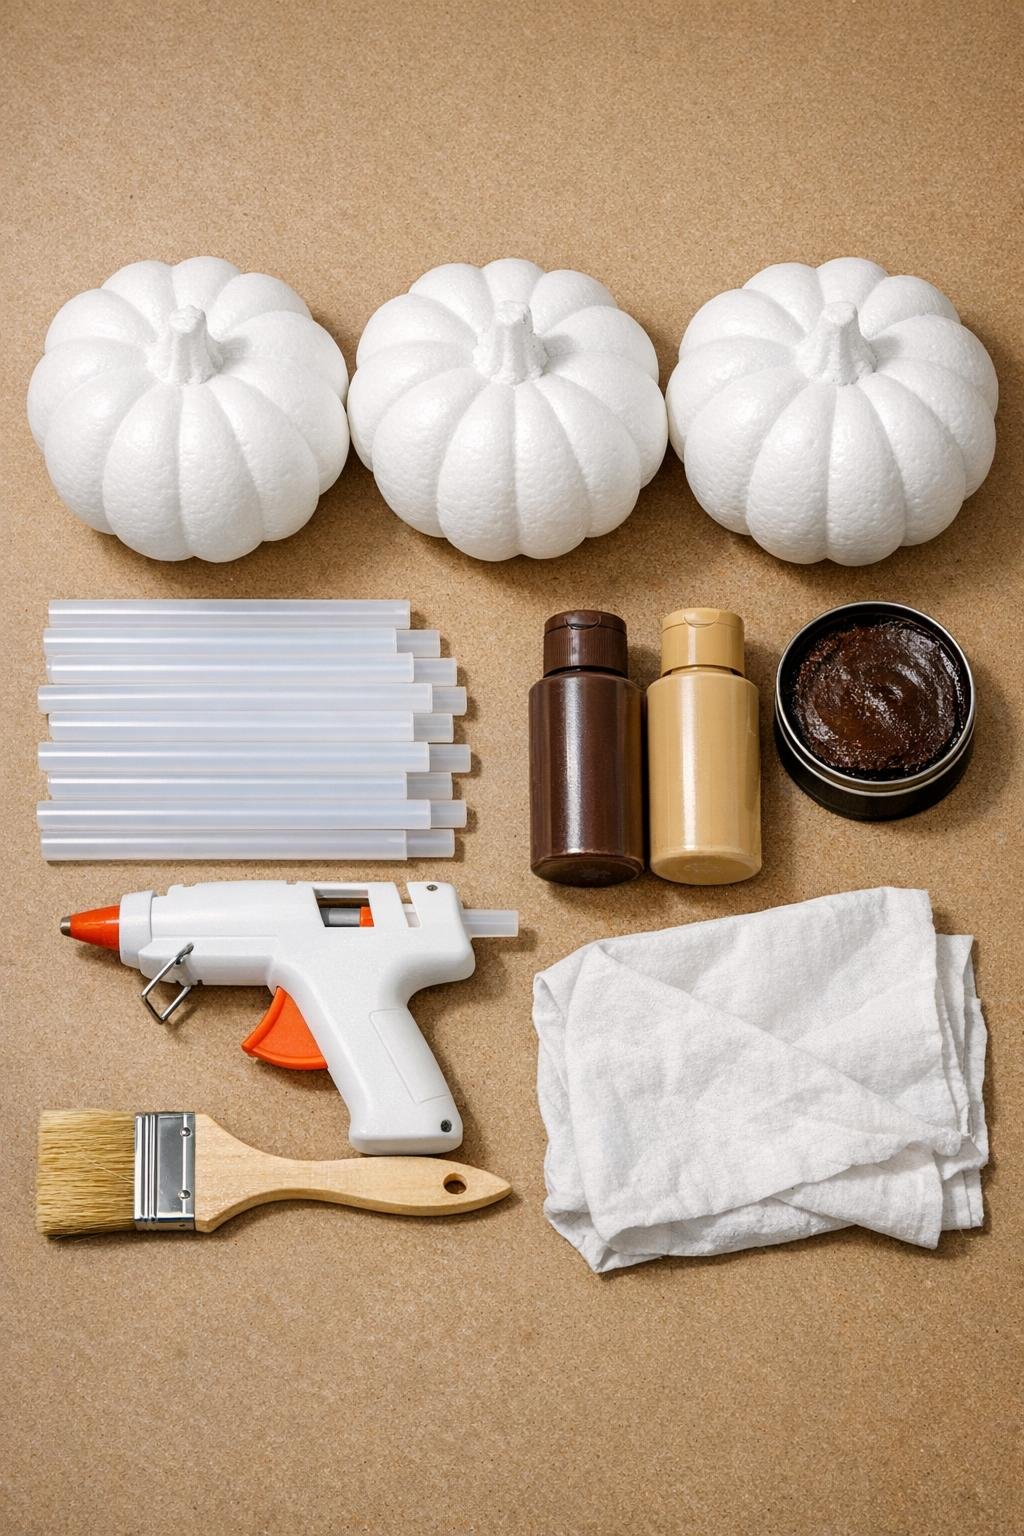
1. Set up your work surface and plug in the glue gun so it gets fully hot before you begin. Keep the pumpkins clean and dry so the glue grabs evenly.
2. Starting at the top of the first pumpkin, drag the hot glue in loose, continuous squiggles around the surface, following the pumpkin’s curve but not trying to make perfect lines. Leave very little bare foam showing so the texture looks generous and carved rather than sparse.
3. Continue covering the first pumpkin all the way around, then repeat on the other two pumpkins. Let the glue overlap here and there and vary the direction slightly to mimic irregular carved wood grain.
4. Allow all three pumpkins to cool completely for 10 to 15 minutes before painting. Check for thin strings of cooled glue and pull them away with your fingers.
5. Brush brown acrylic paint over one pumpkin at a time, working it into every groove and around the stem. Don’t worry if it looks flat at first; the goal is full, solid coverage over both foam and glue.
6. Paint all three pumpkins brown and let them dry until the surface is no longer tacky, about 20 to 30 minutes. If any white foam still peeks through, add a quick second coat just in those spots.
7. Dip the dry chip brush lightly into tan acrylic paint, then wipe most of it off before dry-brushing across the raised glue texture. Skim the brush over the high points so the tan catches the ridges and leaves the deeper grooves dark.
8. Build the tan gradually on all three pumpkins until the surface looks like aged wood with lighter grain on top and darker recesses underneath. Use a lighter hand around the stems so they stay naturally shaded.
9. Rub a small amount of dark wax or brown shoe polish over one pumpkin with the rag, pushing it into the grooves and softening the contrast between brown and tan. Wipe back the excess from the raised areas so the dark color stays mostly in the low spots.
10. Finish all three pumpkins the same way, adding a little more wax anywhere you want extra depth or age. Let them sit for at least 30 minutes, then buff gently with a clean area of the rag for a soft, polished finish.
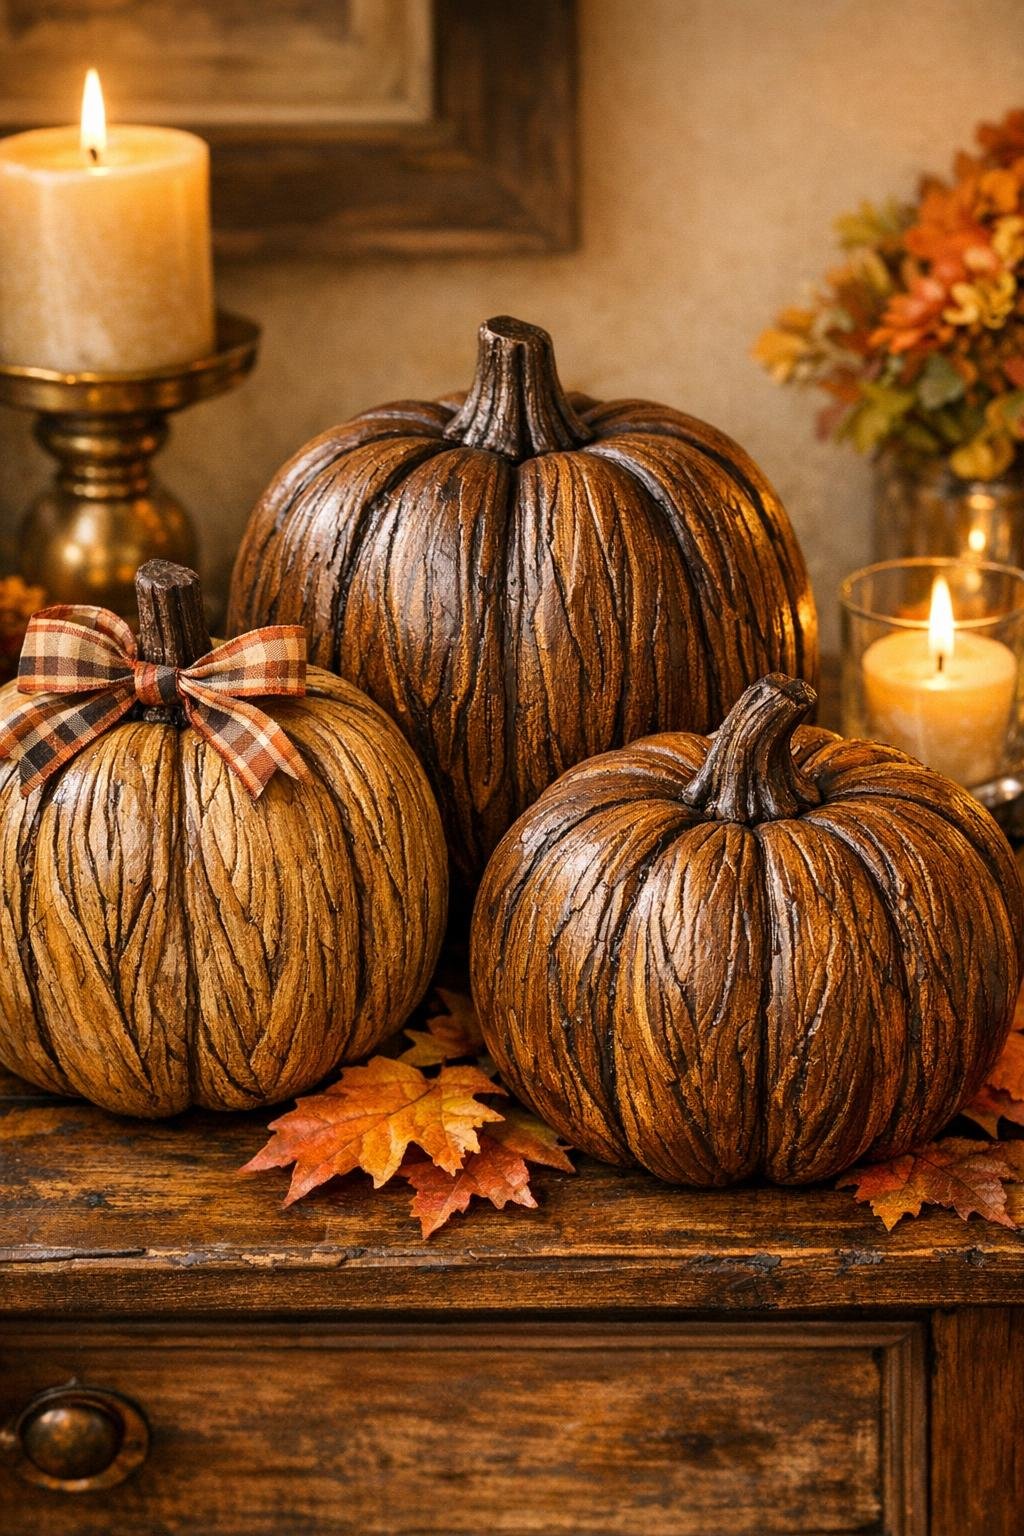
For deeper texture: Make some of your glue lines thicker and let a few of them branch or loop back on themselves. That irregularity is what keeps the finish from looking too uniform.
If the paint grabs too heavily: Wipe more tan paint off the brush before dry-brushing. I treat it a bit like toasting spices in a pan—you can always add more, but it is harder to undo too much all at once.
For a lighter driftwood look: Use less brown, more tan, and a gentler wax coat. The same texture pattern works beautifully if you want a softer, more bleached finish.
For darker antique pumpkins: Add a second rub of wax after the first one sets for a few minutes. Concentrate the extra dark color near the grooves, top, and base to make the shape feel more dimensional.
On stems: If your pumpkin stems look too plain, dry-brush them with a little tan after the brown base coat so they blend with the faux wood body instead of standing out.
Display tip: These look best grouped rather than scattered one by one. Nesting the three together on a tray, mantel, or entry table makes the carved texture read from across the room.