
There are a few craft tricks that still make me feel like I’m getting away with something, and this is one of them. You start with nothing more glamorous than wax paper and a pile of hot glue, and somewhere along the way that tangle of lines turns into a piece that looks like it came out of a little old Halloween shop on the town square. It’s inexpensive, wonderfully forgiving, and just right for anyone who wants a big seasonal payoff without fussing over fancy tools.
I’m especially fond of projects like this because they remind me of the make-do decorating I grew up around—where a little ingenuity and a steady hand could dress up a whole porch. If you enjoy easy holiday crafts, spooky mantel pieces, or handmade party decorations that look far more complicated than they are, this one is a good afternoon project. The best part is that the messiest stage is exactly what makes it work.
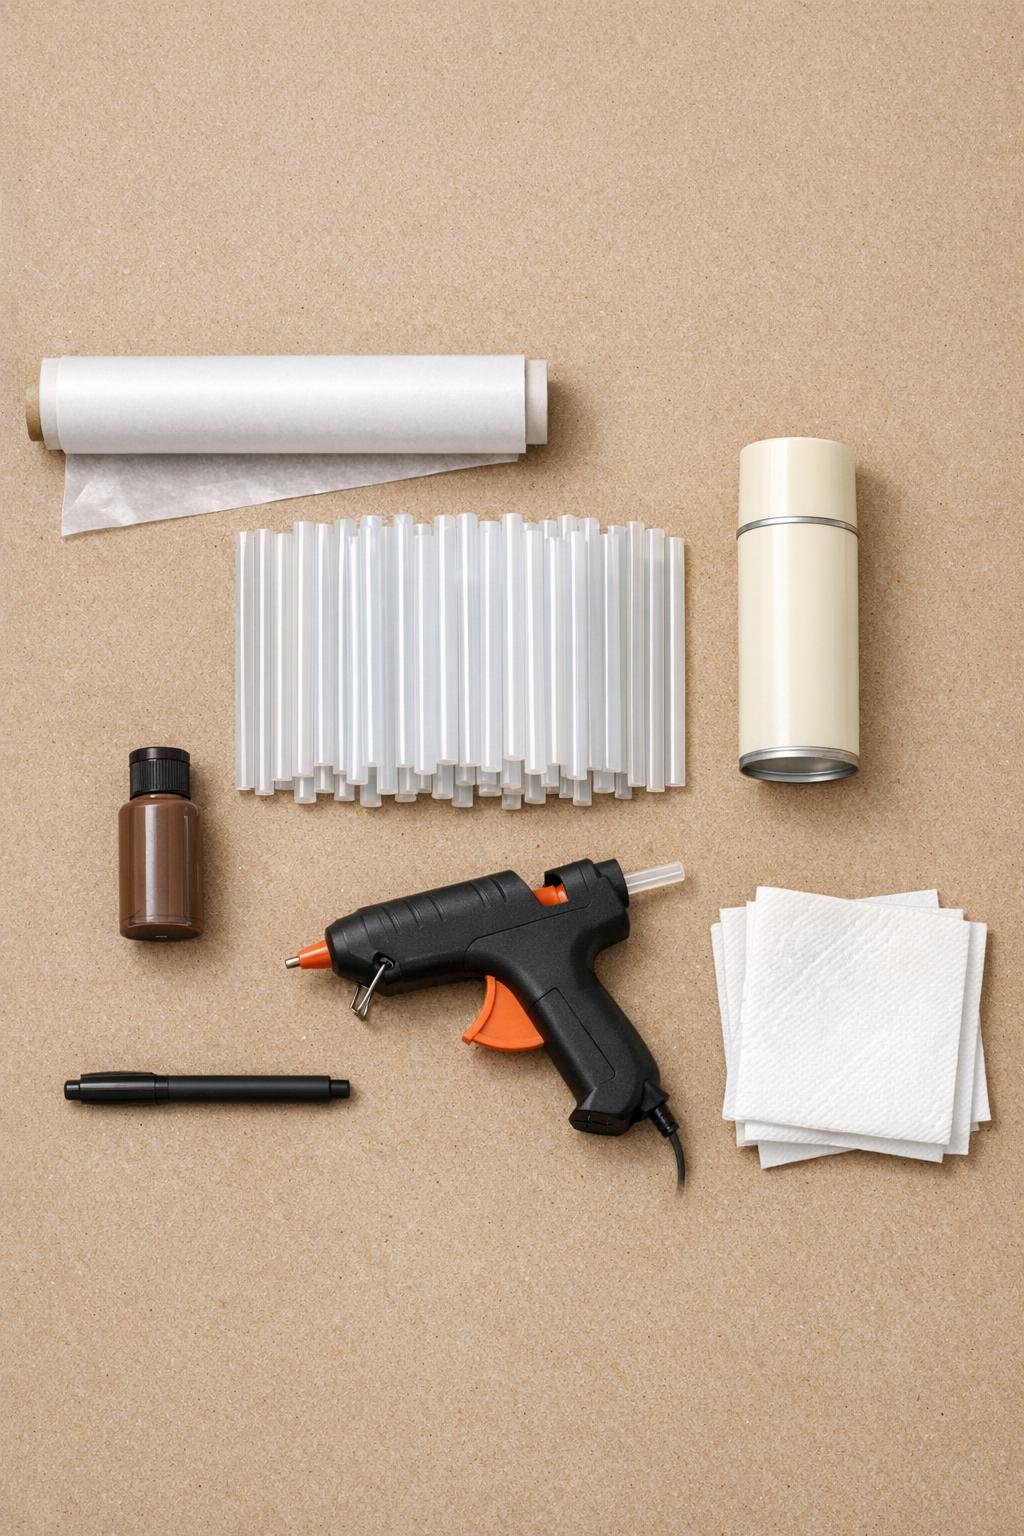
Materials
1 roll wax paper, with at least 2 sheets about 12 x 16 inches each
Instructions
1. Cut two sheets of wax paper to about 12 x 16 inches, then slide your skeleton hand template underneath the first sheet so the outline shows through clearly.
2. Trace over the hand shape on the wax paper with your marker, including each finger bone and the wider palm area, keeping the lines bold enough to see through glue strings.
3. Heat the glue gun fully, then start laying hot glue directly over the traced finger bones in long, slightly wavy lines, building each finger with generous coverage instead of thin single strands.
4. Fill in the palm and wrist with loose scribbles of hot glue, connecting every section so the whole hand becomes one sturdy piece; I like to add extra loops at the knuckles and wrist so it won’t tear when lifted.
5. Go back over the entire shape with a second pass of glue anywhere it looks too open, especially along finger edges, because the finished hand needs enough thickness to hold together once peeled off.
6. Let the glue cool completely for 5 to 10 minutes, then gently peel the hand off the wax paper from the wrist end, pulling slowly so the fingers stay intact.
7. Repeat the same process for a second hand, flipping the template if needed so you end up with a left and a right hand rather than two of the same side.
8. Set both glue hands on cardboard in a well-ventilated area and spray them with a light first coat of ivory or bone paint, holding the can about 8 to 10 inches away.
9. Add a second coat of spray paint after the first is dry to the touch, making sure to catch the sides and all those raised glue ridges so the hands read as solid bone instead of shiny plastic.
10. Squeeze a little brown acrylic paint onto a paper towel, then rub a thin amount over the painted hands, pushing color into creases and thicker glue lines to create an aged, timeworn look.
11. Wipe back the high spots with a clean area of the paper towel before the brown paint dries, leaving the darker color mainly in the low areas like old bones with a bit of history on them.
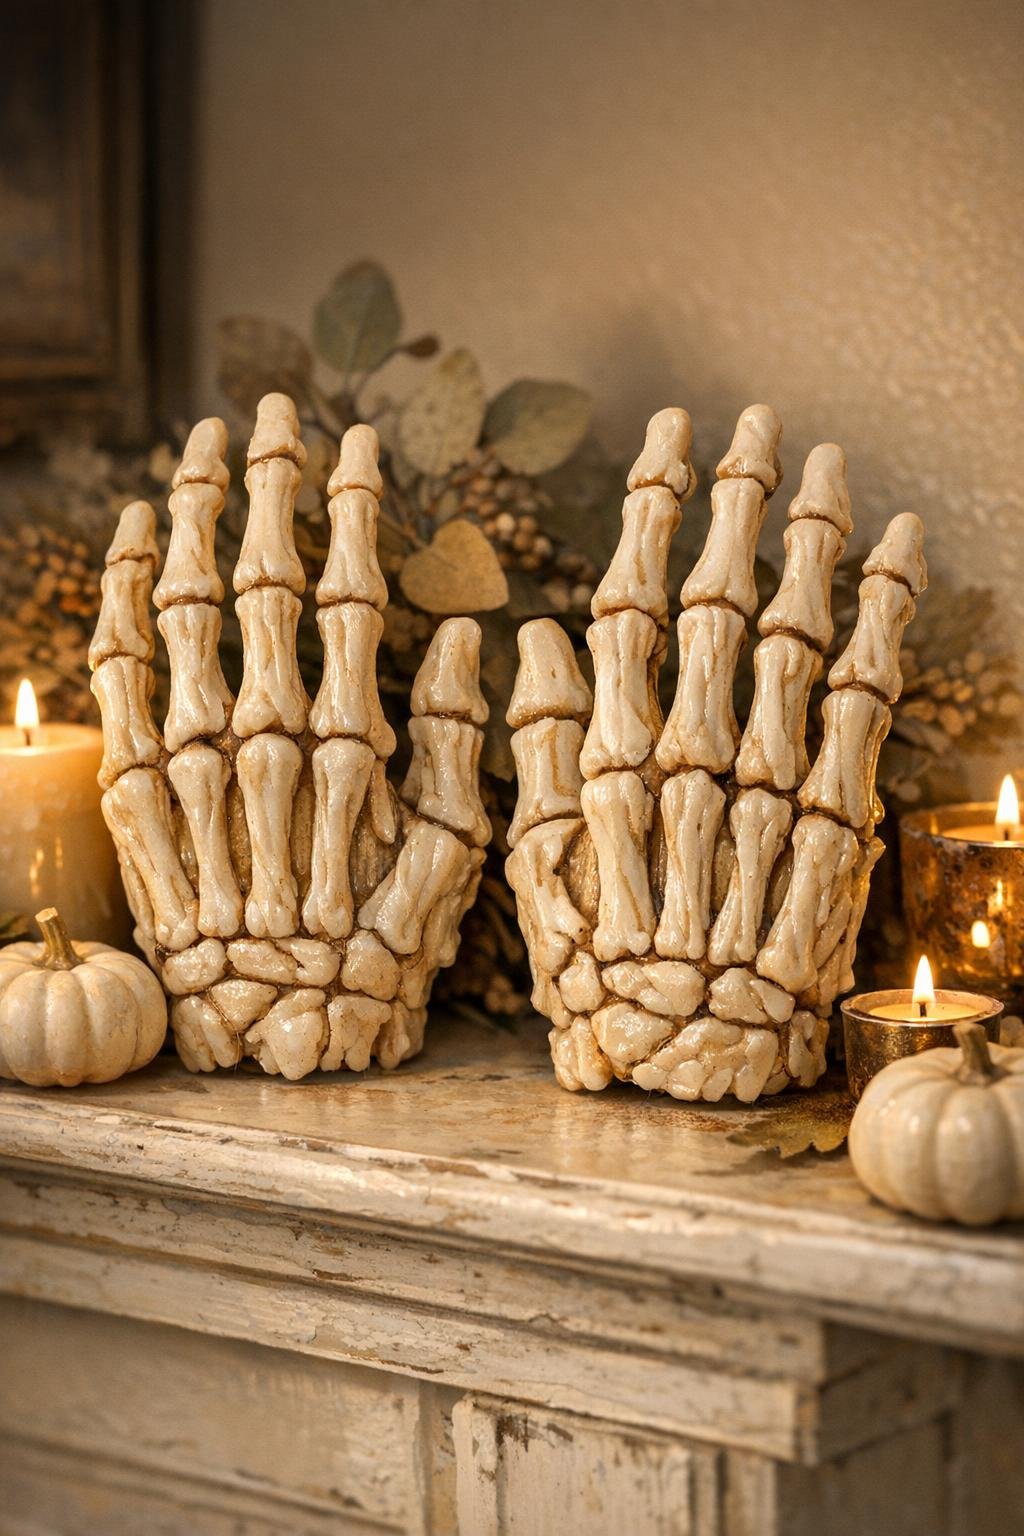
12. Let the hands dry fully, then bend the fingers very slightly if needed for pose, using slow pressure only; once dry, they’re ready to tuck into a wreath, perch on a mantel, or sprawl across a Halloween table.
Variations & Tips
For extra strength: If your first glue layer looks stringy or fragile, don’t be shy about adding more. A dense web of glue is what makes these hands peel up cleanly and survive storage from one Halloween to the next.
For a spookier finish: Use a little more brown paint around the knuckles, wrist, and between each finger bone. That touch of shadow gives the hands depth and makes the details show up beautifully in lamplight.
For easier tracing: Print a skeleton hand image at the exact size you want instead of drawing one freehand. I’ve learned over the years that a simple template saves time and gives you a more balanced pair.
For decorating: These look especially good tucked into a wreath, wired onto a front-door arrangement, or laid across a snack table for a party. Because they’re lightweight, they’re easy to attach with floral wire, twine, or another dab of hot glue.
For cleaner peeling: Let the glue cool all the way before lifting it from the wax paper. If it still feels warm, it can stretch out of shape, and patience here saves a lot of mending later.
For storage: Stack the hands flat between sheets of wax paper in a shallow box so the painted finish stays nice. I tuck mine in with the autumn decorations, and they come out ready to go the next year.