
I’ve always had a soft spot for projects that turn the plainest household castoff into something you’d gladly hang up and admire, and this crochet wall hanging does exactly that. We’re taking a large white plastic cat litter jug, cutting 12 even slots around it, and using those openings like a sturdy frame for cotton yarn so the jug becomes the backbone of a textured, farmhouse-style hanging with real body and presence.
It’s a good project for anyone who can manage basic crochet stitches and doesn’t mind a little clever improvising. I love crafts like this because they remind me of the way folks around here have always made do and made things pretty at the same time—using what was on hand, adding a bit of patience, and ending up with something warmer and lovelier than you’d expect.
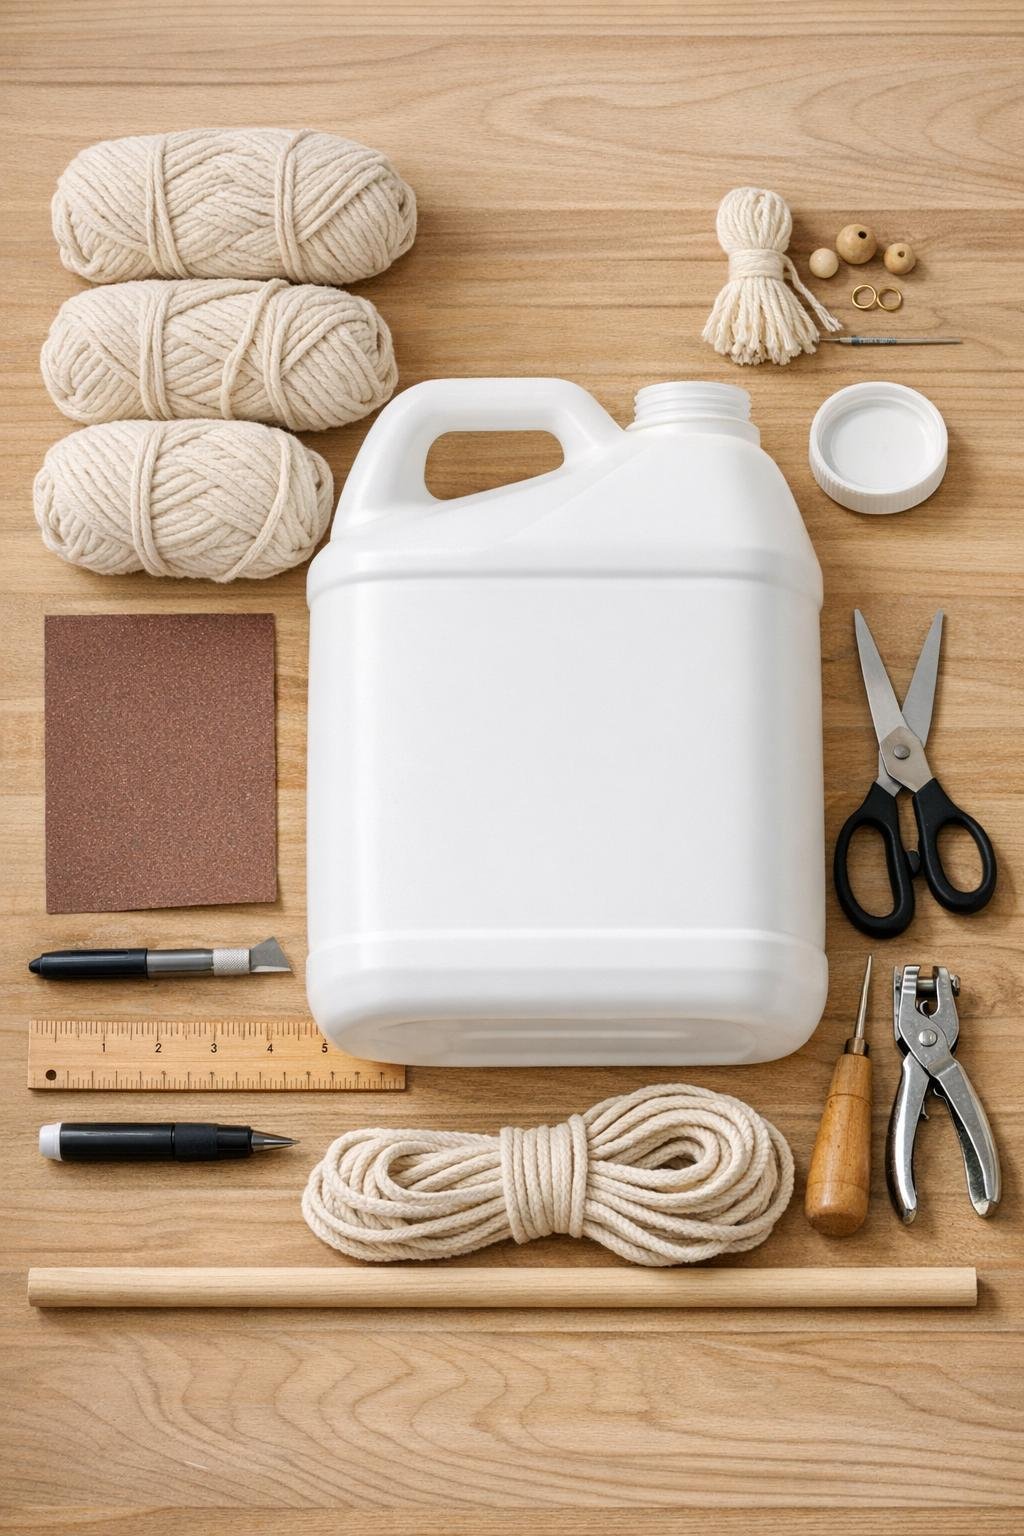
Materials
Instructions
1. Wash the cat litter jug thoroughly with hot soapy water, remove any label residue, and let it dry completely. Cut away the top and handle area so you’re left with an open, smooth-sided cylinder about 10 to 12 inches tall.
2. Trim the top and bottom edges evenly with scissors or a craft knife, then sand all cut edges until they feel smooth to the touch. This is worth taking slowly, because cotton yarn catches on every rough spot.
3. Measure around the jug and mark 12 evenly spaced vertical slots, each about 3/8 inch wide and 4 inches tall, starting 1 1/2 inches below the top edge. Keep the slots centered and aligned so the finished crocheting looks balanced all the way around.
4. Cut out the 12 slots carefully with the craft knife, then sand the inside edges of every opening. Punch a small hole near each top corner of the jug if you want extra anchoring points for the dowel and hanging cord later.
5. Join the cream cotton yarn at one slot and work single crochet stitches through the slot opening, wrapping over the plastic edge as you go to blanket the rim of each slot. Cover all 12 slot edges this way so the white plastic begins to soften visually and the yarn has a neat finished base.
6. Crochet a chain long enough to span from one slot to the next with a slight dip, then anchor it into the next covered slot with a slip stitch. Repeat all the way around the jug to create the first row of soft arches across the openings.
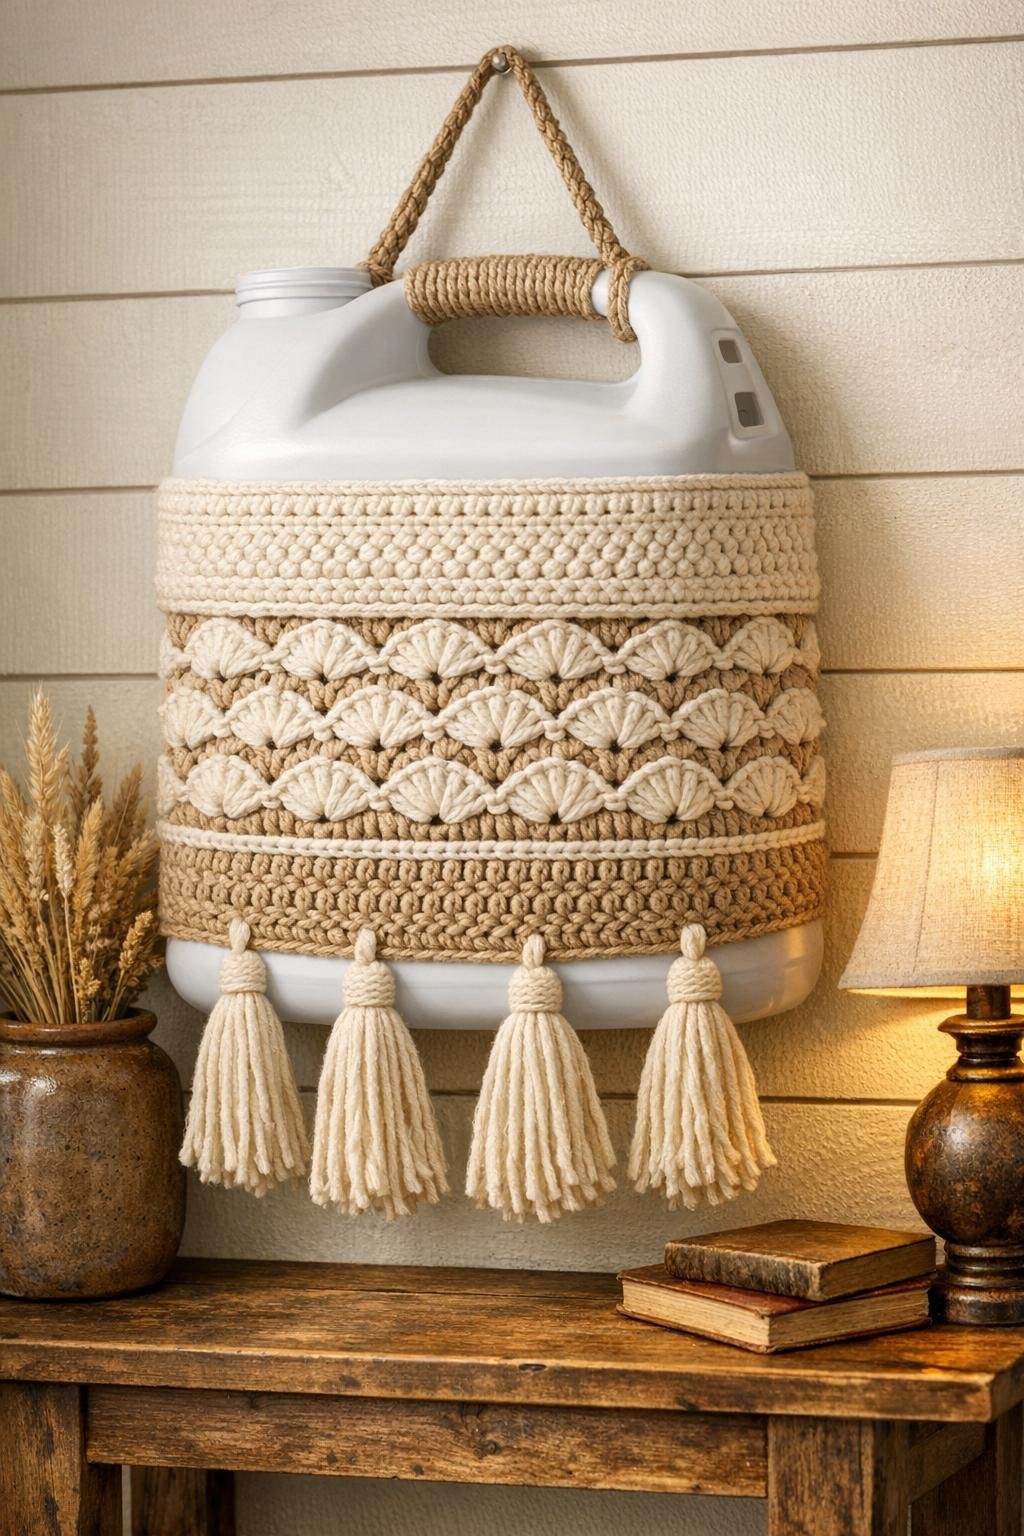
7. Work a second decorative row into those arches using 3 double crochets, 1 chain, and 3 more double crochets in each arch for a shell pattern. This gives the wall hanging the full, generous texture that makes it read as art instead of just a clever reuse project.
8. Continue adding rows of crochet below the first shells by working into the previous row and spanning each slot opening until the central band looks dense and lacy. Use the natural cotton yarn for every third row or for a few accent shells if you want a striped, heirloom look.
9. Crochet a separate edging strip long enough to wrap around the top rim of the jug, then stitch or glue it neatly in place to cover the cut edge. Repeat for the bottom rim so the piece looks finished from every angle.
10. Make 12 tassels, combining cream and natural yarn for a fuller look, and attach one at the lower edge of each slot section or at every other shell point depending on how full you want the fringe. Trim them to an even 5 inches so they swing nicely without looking scraggly.
11. Slide the wooden dowel through the top interior of the jug, using the punched holes or the open sides to secure it in position with cotton cord. Tie the 24-inch cord to both ends of the dowel to form a hanging loop, making sure the piece hangs level.
12. Weave in all yarn ends with a tapestry needle, add a dot of craft glue on any stubborn knots, and give the crochet a gentle hand-shape so the arches and tassels fall evenly. Hang it where soft light can catch the texture and the humble jug shape still peeks through just enough to tell the story.
Variations & Tips
Softer color palette: If cream feels too plain, use oatmeal, soft sage, or dusty blue cotton yarn for a gentler country look. I’d still keep at least one neutral shade in the mix so the texture stays the star.
Stitch choice: Shells give this piece a lovely old-fashioned fullness, but granny clusters or simple mesh work beautifully too. Just keep the pattern substantial enough that the jug looks intentionally dressed rather than barely covered.
Cutting tip: Mark all 12 slots before cutting any of them. I learned long ago, whether I’m piecing a quilt block or laying out a pie crust, that even spacing at the beginning saves a world of fussing later.
Make it sturdier: If your plastic feels a little flimsy after cutting, leave a wider uncut band near the top and bottom edges. That extra structure helps the wall hanging keep its shape once the yarn adds weight.
Fringe finish: For a fuller, more dramatic bottom edge, attach two tassels per section instead of one. A generous fringe makes the project feel complete and gives it that pleasing movement when it’s hanging.
Best place to display it: This looks especially nice in a craft room, hallway, mudroom, or kitchen nook where handmade things belong. Mine would be right at home near an old basket and a crock, the sort of corner that always seems to hold a little family history.