
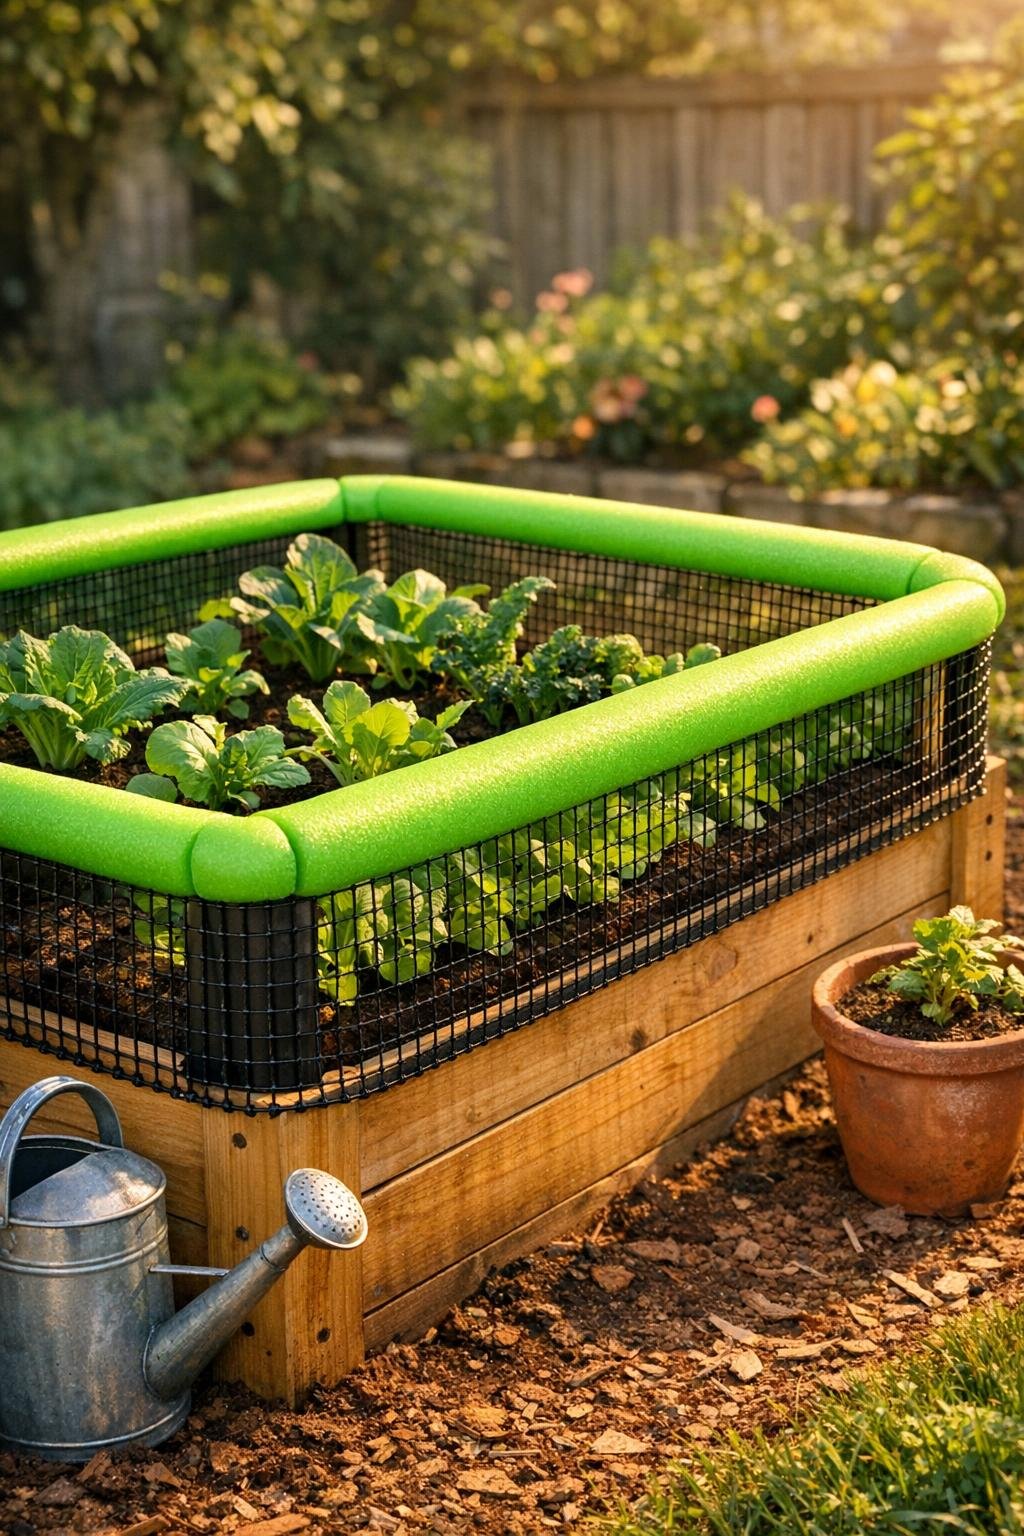
When I’m trying to stretch the garden season without building anything complicated, this is exactly the kind of project I reach for. This easy insulating collar slips right over the top edge of a raised bed to soften early frost, protect tender stems from cold contact, and make the whole bed look surprisingly neat and finished at the same time.
What I love most is that it uses just two main materials: a bright green foam pool noodle and a roll of simple garden netting. The noodle creates a soft insulated rim, and the netting turns it into a practical collar that stands up around the bed instead of looking like a temporary fix. If you want a quick, affordable project that helps in the garden and looks tidy enough for the neighbors to notice, this one is a keeper.
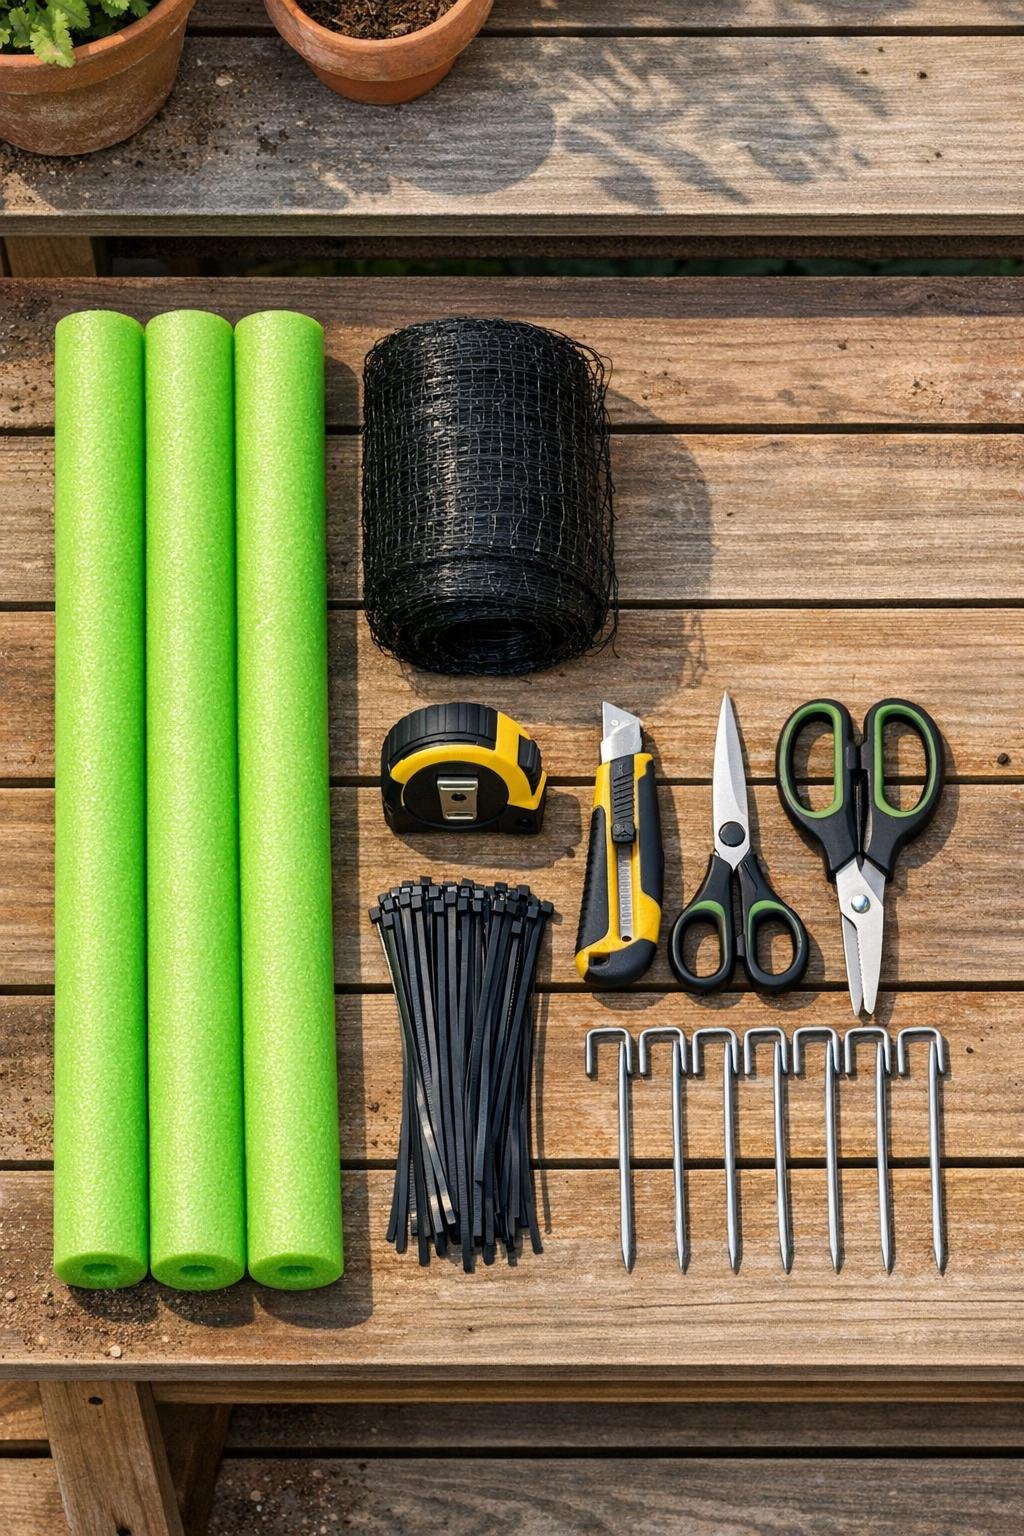
Materials
Instructions
1. Measure the outside perimeter of your raised bed and write it down so you know how many noodle sections and how much netting you need.
2. Slice each bright green pool noodle lengthwise from end to end, cutting through one side only so it can open and clamp over the top edge of the bed.
3. Press the slit noodle pieces over the top edge of the raised bed, fitting them snugly around the full rim and trimming the last piece so the corners and ends meet neatly.
4. Cut a strip of garden netting long enough to wrap all the way around the bed with 4 to 6 inches of overlap, and keep the height at about 18 to 24 inches so it forms a useful frost buffer.
5. Stand the netting upright around the outside of the bed, with the lower edge touching the ground and the upper edge rising above the noodle-covered rim.
6. Zip tie the top edge of the netting to the pool noodle every 8 to 10 inches, pulling each tie snug so the collar stands evenly without sagging.
7. Overlap the netting ends by one square or about 4 inches, then secure that seam with 3 more zip ties from top to bottom.
8. Anchor the bottom of the netting to the ground with garden stakes, spacing them every 12 to 18 inches so wind cannot push the collar away from the bed.
9. Check the full collar for gaps, especially at corners, and add extra zip ties or a short trimmed noodle piece anywhere the top edge needs fuller coverage.
10. For a cleaner finished look, rotate the noodle slits toward the inside of the bed and snip the zip tie tails flush so the collar looks polished from the yard.
Variations & Tips
For extra-cold nights: Clip a lightweight frost cloth or old sheet over the bed in the evening, letting the noodle-padded rim protect the fabric from rough wood edges.
For picky-looking corners: If a corner looks uneven, cut a short diagonal notch in the underside of the noodle so it bends more smoothly without buckling.
For taller crops: Use a 24-inch-high strip of netting for lettuce, herbs, and seedlings, or go closer to 30 inches if you want more buffer around young kale, chard, or bushy starts.
For windy yards: Add a few more ground stakes than you think you need. In my Midwestern yard, a little extra anchoring saves me from chasing garden projects across the grass.
For a tidier finish: Black zip ties almost disappear against black netting, and trimming every tail flush makes the whole project look much more store-bought.
Best use: This collar works especially well in early spring and early fall when the cold is light and brief, and you want a little insulation without hauling out a full cold frame.