
There are some projects that look fussy and expensive when they’re finished, and then there are the ones that come from the most ordinary things sitting right in the recycling pile. This is one of those. When I first started soaking cardboard egg cartons for fall decorating, I’ll admit I was mostly curious, but the texture that develops from softened paper pulp is something truly special.
If you like easy autumn crafts with a handmade, old-world feel, this one is for you. It’s simple enough for a quiet afternoon at the kitchen counter, but the finished result has that weighty, timeworn charm I always love to bring into the house once the weather turns cool.
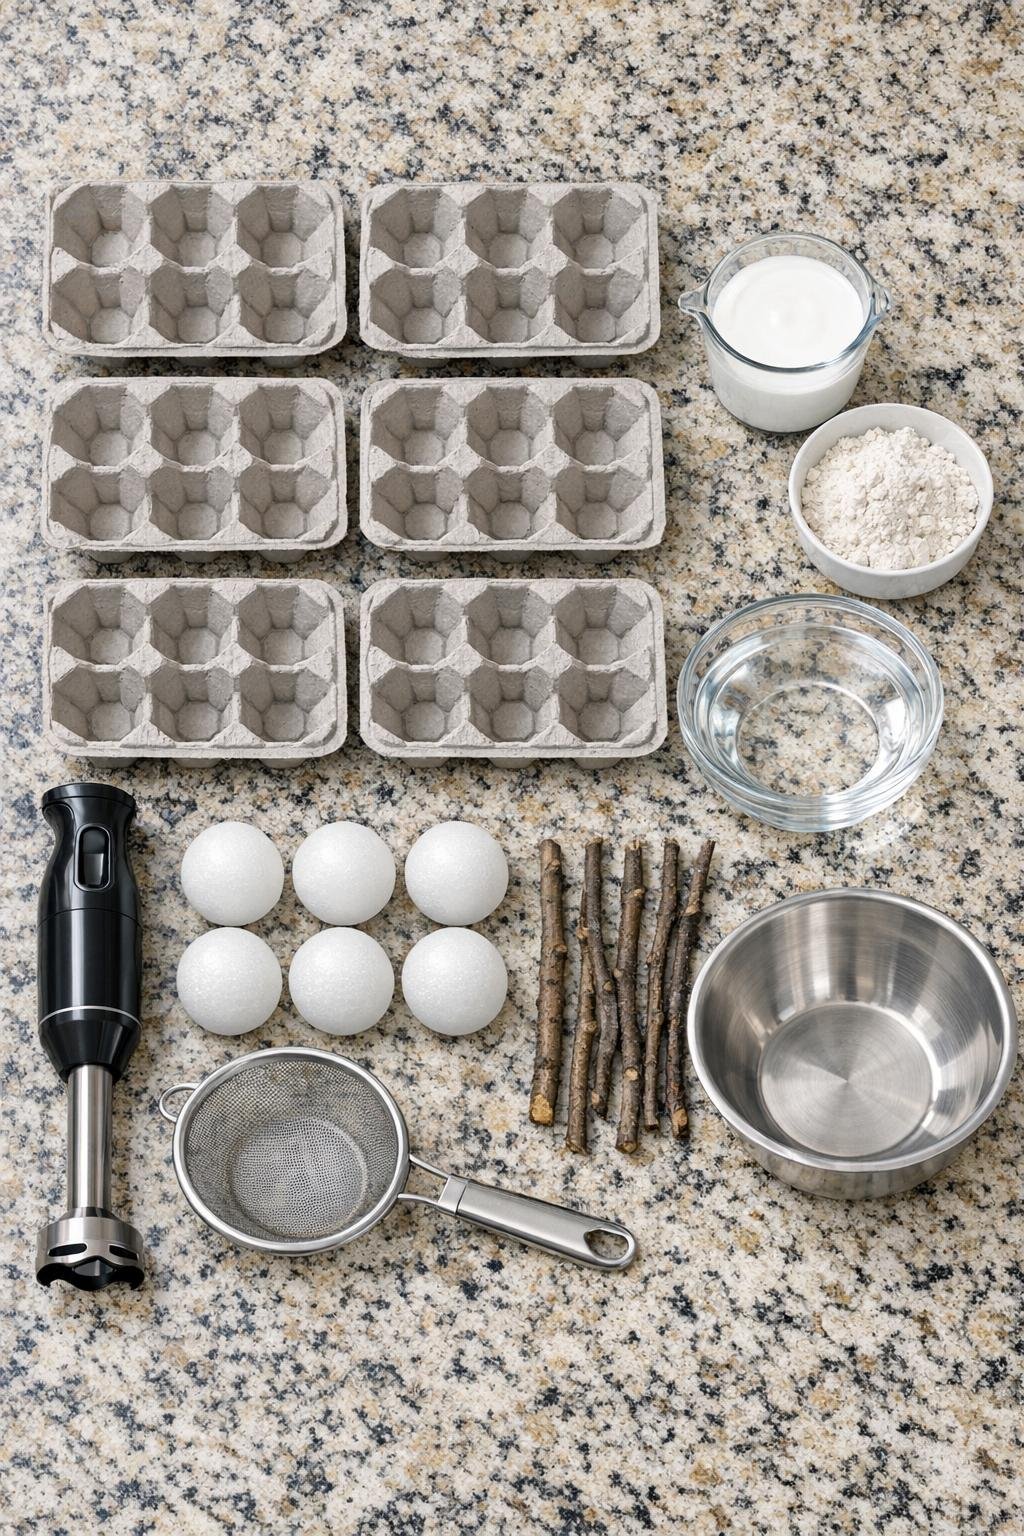
Materials
Instructions
1. Tear the 6 cardboard egg cartons into small pieces and place them in the glass dish, then pour in hot water until the cardboard is fully submerged. Let the pieces soak for 30 to 45 minutes, until they look darkened and very soft.
2. Transfer the soaked cardboard and some of the soaking water to a blender, working in batches if needed, and blend until it becomes a thick, oatmeal-like pulp. If you are using a stick blender, blend right in a deep bowl until no large pieces remain.
3. Pour the pulp into a strainer and press out as much water as you can, then squeeze handfuls in an old towel or paper towels until the pulp is damp but not dripping. This step gives you a mixture that will hold its shape instead of sliding off the forms.
4. Place the drained pulp in the mixing bowl and stir in 1 cup of white school glue and 1/2 cup of flour until it forms a moldable paste. Add up to 2 tablespoons of water only if the mixture feels crumbly rather than spreadable.
5. Set out the 6 small foam or balloon forms on parchment paper, then press a thick layer of pulp mixture over each one. Cover each form with about 1/2 inch of pulp, leaving no bare spots so the finished pumpkins look full and substantial.
6. Shape each covered form into a pumpkin by pressing gentle vertical grooves from top to bottom with your fingers or the back of a spoon. Don’t smooth them too much; those ridges and little imperfections are what make them look aged and natural.
7. Push a twig into the top center of each pumpkin while the pulp is still wet, then pinch the area around the stem so it looks tucked in and realistic. If any spots crack, just pat on a little extra pulp and blend it in.
8. Let the pumpkins dry completely for 24 to 48 hours, turning them once halfway through if needed so all sides can firm up. They should feel hard and lightweight when they’re fully dry.
9. For a more weathered finish, lightly brush on a thin mix of brown, black, and white acrylic paint, then wipe most of it back off with a rag. This settles color into the texture and gives the surface a soft stone-like look without hiding the paper pulp character.
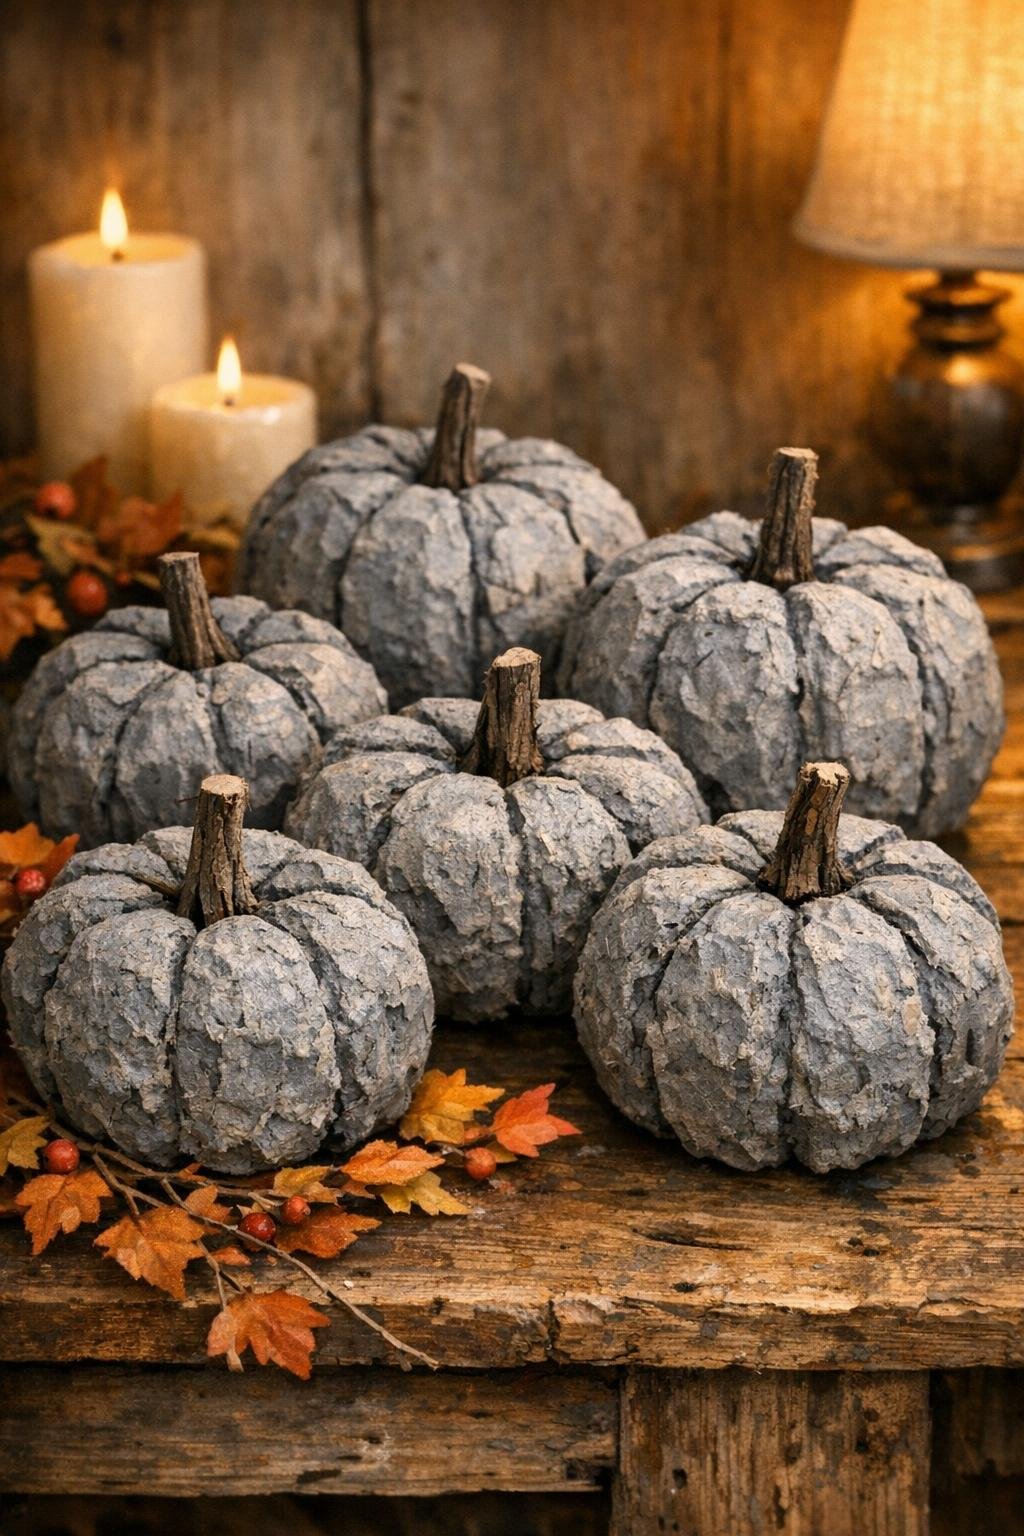
10. Seal with a light matte topcoat if you want extra durability, then let everything dry and arrange the pumpkins in a bowl, on a mantel, or down the center of a table. Grouped together, they have the richest look and really show off all that beautiful texture.
Variations & Tips
For a fuller display: I like to make all six and cluster them tightly instead of scattering them around. A generous grouped arrangement always looks more finished and intentional.
If you use balloons: Keep them on the smaller side and let the pulp shell dry very thoroughly before popping and removing the balloon. That gives you a lightweight hollow pumpkin.
For a deeper stone finish: Use more than one dry-brushed layer of paint, letting each layer catch only the high spots. Gray first, then a touch of brown or black in the creases, gives the nicest old-garden texture.
For smoother shaping: Wet your fingertips lightly with water when forming the grooves. Just a little moisture helps the pulp press neatly without sticking to your hands.
Where to display them: These are especially pretty on a mantel, sideboard, or holiday table where the texture can be seen up close. I’d just avoid open porches or damp weather, since paper crafts keep best indoors.
Make-ahead advice: I often do the soaking and blending one day, then shape the pumpkins the next morning. Breaking it into two short sessions makes the project feel easy and pleasant instead of messy.