
There’s something deeply satisfying about taking the most ordinary dollar-store supplies and coaxing them into something that looks far more special than the price tag suggests. This project starts with clear plastic spoons and hot glue, and with a little sparkle and layering, you end up with a finished piece that catches the light in the prettiest way. It’s simple enough for a relaxed afternoon of crafting, but the payoff feels festive and polished.
I especially like projects like this during the holiday season, when I want ornaments that look full and decorative without requiring specialty tools or a long supply list. If you enjoy easy crafts with a little bit of drama at the end, this one is a lovely fit.
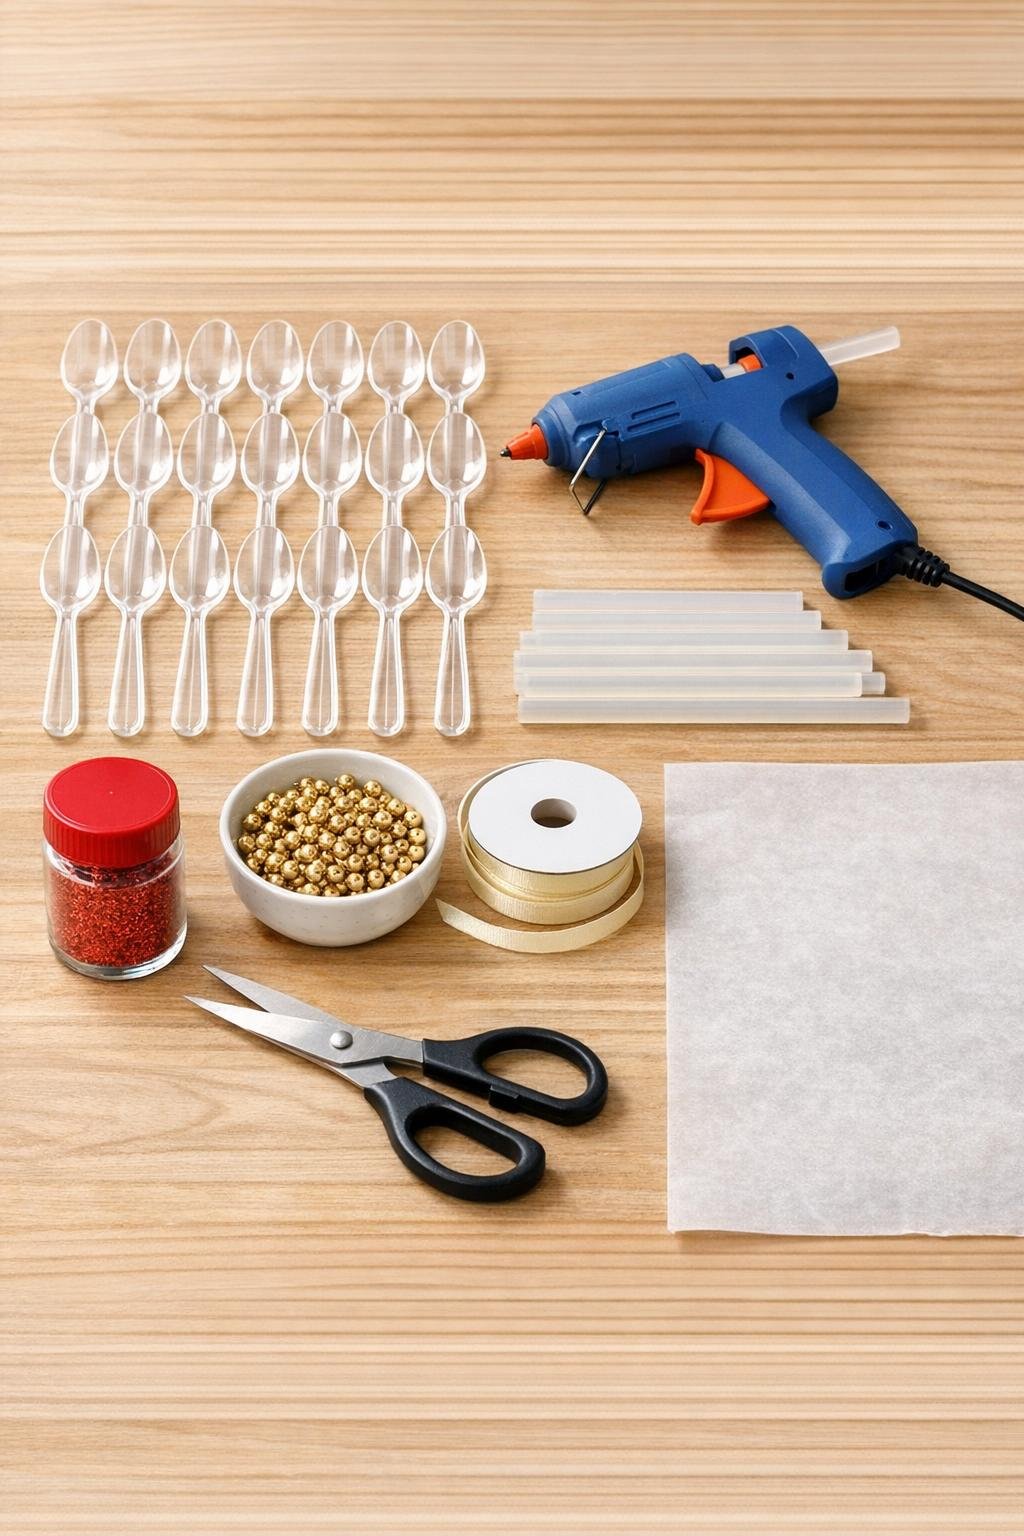
Materials
Instructions
1. Cover your work surface with the parchment paper and plug in the glue gun. Set all 24 spoons bowl-side up in rows so you can fill them assembly-line style.
2. Squeeze hot glue into the bowl of each spoon, filling the rounded area almost to the rim in an even layer. Work slowly so the glue settles clear and smooth rather than lumpy.
3. While the glue is still hot, sprinkle red glitter generously over each filled spoon so the entire glue surface is coated. Let the spoons cool completely for 10 to 15 minutes.
4. Once the glue is firm, trim off all 24 spoon handles with sharp scissors, cutting as close to the bowl as possible without cracking the plastic. These rounded spoon bowls will become your petals.
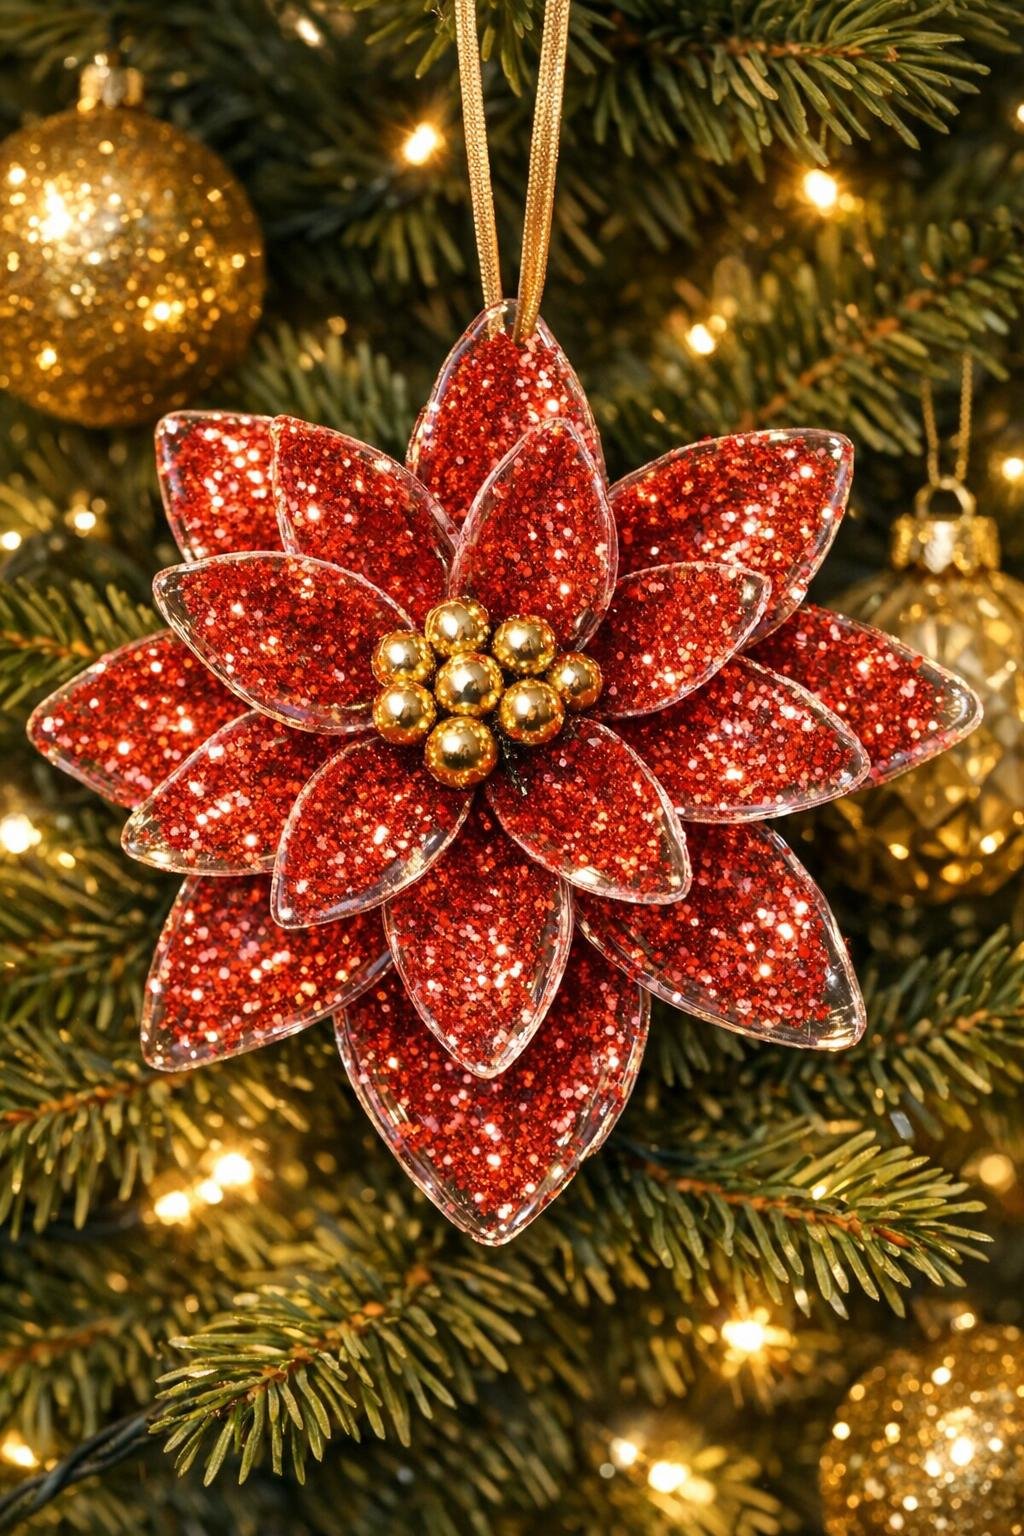
5. Arrange 8 spoon bowls in a circle with the pointed ends meeting in the center and the curved sides facing outward. Add a generous dot of hot glue where the edges touch and press them together to form the bottom flower layer.
6. Make a second ring with 8 more spoon bowls, staggering them between the first layer’s petals for a fuller look. Glue this layer directly on top of the first.
7. Use the final 8 spoon bowls to create a smaller top layer, tucking them slightly upright toward the center so the flower looks dimensional. Glue each petal securely and hold for a few seconds until set.
8. Glue 12 gold beads in a tight cluster at the center of the flower to create a rich focal point. If any glitter looks loose, tap off the extra before adding the beads.
9. Cut a 7-inch length of ribbon, fold it into a loop, and glue the ends firmly to the back of the ornament. Add one more spoon bowl or an extra blob of hot glue over the ribbon ends on the back if you want extra support.
10. Let the whole piece cool completely, then check every layer and add small dots of glue anywhere a petal edge feels loose. Hang it where it can catch the light and show off the translucent sparkle.
Variations & Tips
Color swap: Use iridescent glitter for an icy look, or try deep pink, silver, or gold glitter if you want the same ornament shape in a different holiday palette.
Better sparkle coverage: For the richest finish, sprinkle the glitter heavily while the glue is still very hot, then gently press it with the back of a clean spoon so it bonds into the surface.
Neater cutting: If your spoons crack when you trim them, snip the handles off in two cuts instead of one, taking away most of the handle first and then trimming close to the bowl.
Stronger ornament backing: If the ornament will hang on a tree branch that gets bumped often, glue a small felt circle or extra trimmed spoon piece over the ribbon ends on the back for reinforcement.
Make a matching set: I like making three at a time and varying the center bead color slightly. Grouped together on a tree, wreath, or wrapped gift, they look far more elaborate than the effort involved.