
There are some projects that feel almost too simple to be worth fussing over, and then they surprise you. This one starts with the plainest little supplies from the dollar store, the sort of things I’ve tossed in a basket a hundred times, and turns them into something soft, wintry, and far more charming than you’d expect from such humble beginnings.
I’m especially fond of crafts like this in the cold months, when I want a house to feel cozy without dragging out a dozen complicated steps. If you like easy projects with a big payoff, this is the kind of afternoon craft that lets you settle in, plug in the glue gun, and make something that looks full and polished by the time the coffee’s gone warm beside you.
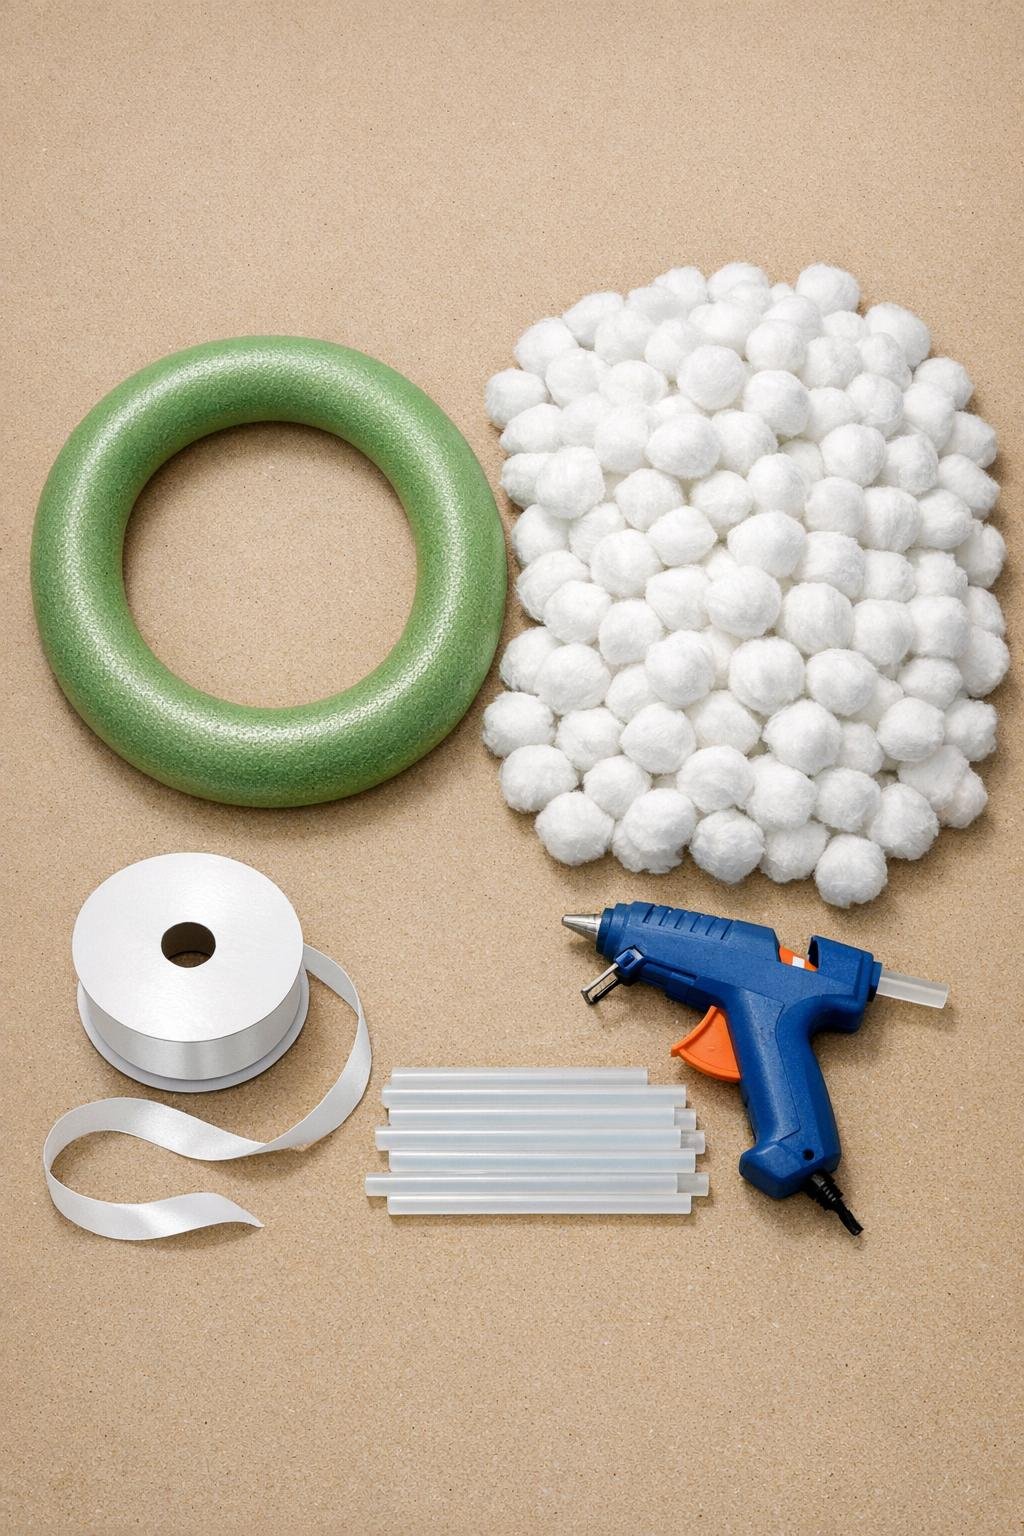
Materials
1 green foam wreath form, 12 inches across and 2 inches thick
Instructions
1. Set your wreath form flat on the table, plug in the glue gun, and cut a 24-inch length of ribbon for hanging later so everything is ready before you start gluing.
2. Add a small dab of hot glue to one cotton ball and press it onto the outer edge of the wreath, then hold it for 3 to 5 seconds until it grabs.
3. Keep gluing cotton balls tightly side by side all the way around the outer edge, packing them close so the green foam doesn’t peek through.
4. Fill the inner edge next, tucking each cotton ball slightly against the first row so the wreath starts to look rounded instead of flat.
5. Cover the top center area of the wreath form, gluing the cotton balls in staggered rows rather than straight lines to keep the surface full and natural.
6. Turn the wreath a little as you work and keep adding cotton balls anywhere you still see shadows, gaps, or bits of green; by the end, the full 300 should make a thick, cloudlike ring.
7. Stand back and inspect the wreath from the front and both sides, then glue extra cotton balls into any thin spots so the shape looks evenly puffed all the way around.
8. Loop the ribbon, knot or glue the ends together, and secure it to the back top of the wreath with a generous bead of hot glue so it can hang neatly.
9. Cut another 18 to 24 inches of ribbon, tie a simple bow, and glue it at the top or bottom of the wreath for a clean finished touch.

Variations & Tips
Add sparkle: If you want a little more winter shine, lightly dust the finished cotton surface with fine iridescent craft glitter while the last bits of glue are still tacky in a few spots.
Use pearl pins for detail: White pearl-head pins tucked here and there between the cotton balls can give the wreath a lovely icy look without changing the soft snowball effect.
Choose the right ribbon: I like white for a clean snowy finish, but velvet red, silver, or soft blue ribbon can make it feel more Christmas-like or more winter-long, depending on where you plan to hang it.
Hang it indoors if it’s damp: Cotton balls can absorb moisture, so this wreath does best on an interior door, over a mantel, or on a covered porch where it will stay dry.
Work in sections: When I make wreaths like this, I find it easiest to divide the ring in my mind into quarters and finish one section at a time; that keeps the coverage even and prevents bald spots.
Make it extra full: If your cotton balls are on the smaller side, keep another small bag nearby and don’t be shy about adding 25 to 50 more; the prettiest result comes from generous coverage, not perfect counting.