
I love a craft that looks a little odd halfway through and then suddenly turns a corner into something surprisingly beautiful. This one starts with one of those inexpensive white foam pumpkins and a roll of masking tape, and it turns into a rich, textured fall piece that looks far more high-end than the supply list would suggest. It’s quick, budget-friendly, and very forgiving, which is honestly my favorite combination after a long workday.
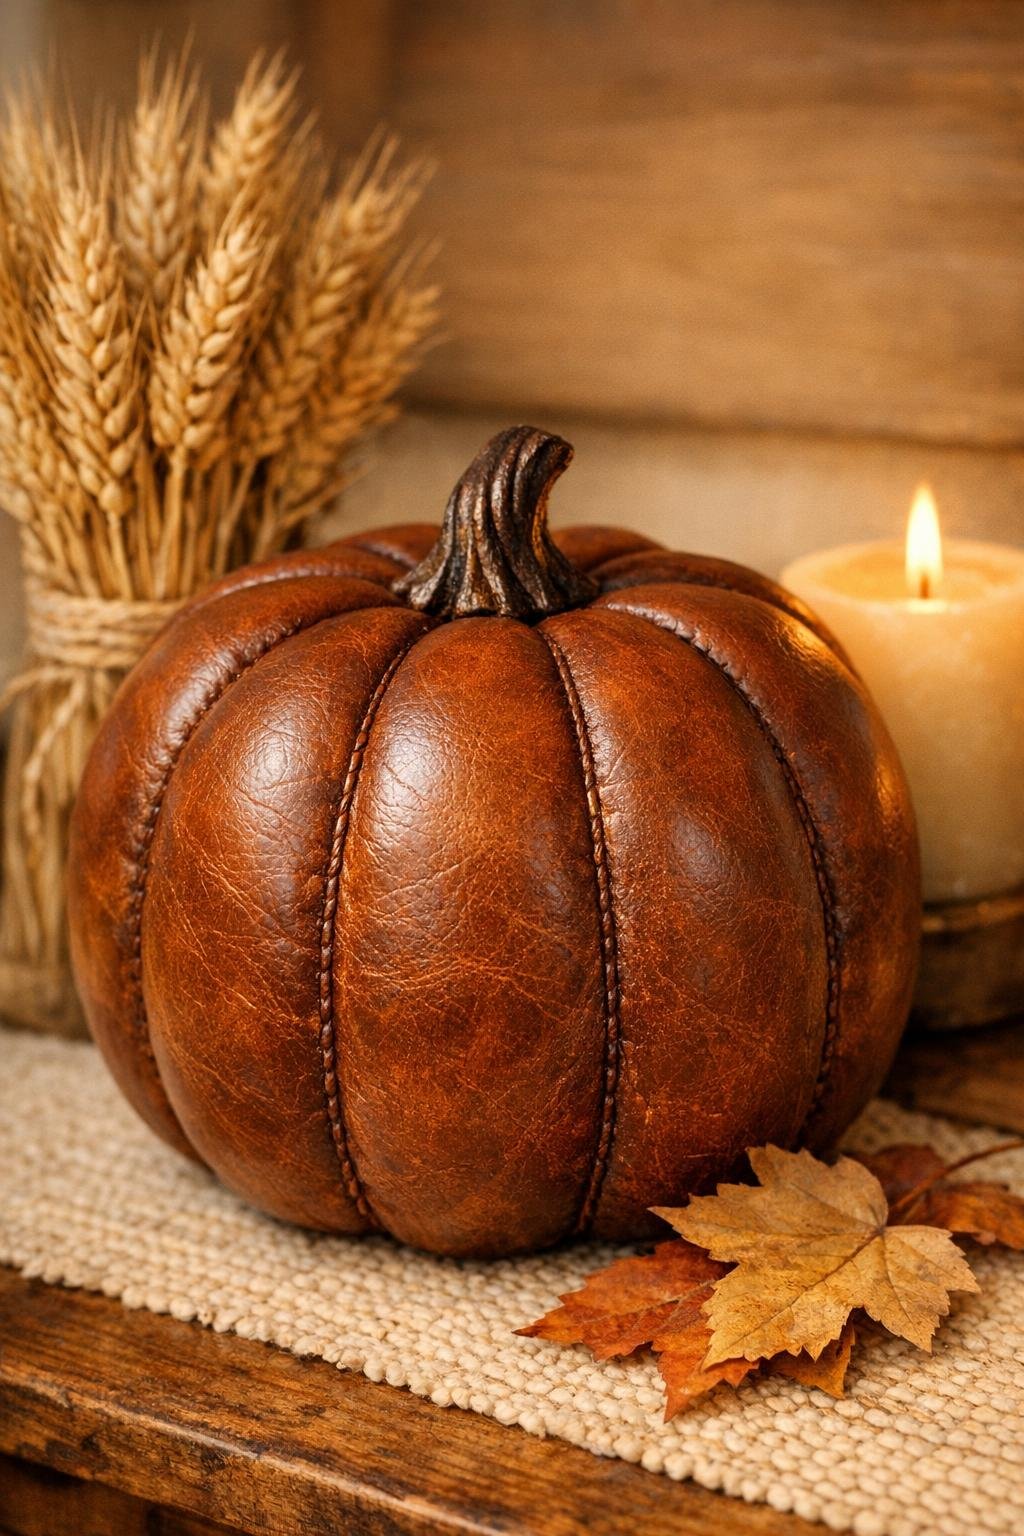
If you want an easy seasonal project with a big payoff, this is a great one. The torn tape adds natural texture, the brown finish settles into all the overlap, and the final result has that warm, worn-in harvest feel that works on an entry table, mantel, or kitchen island all season long.
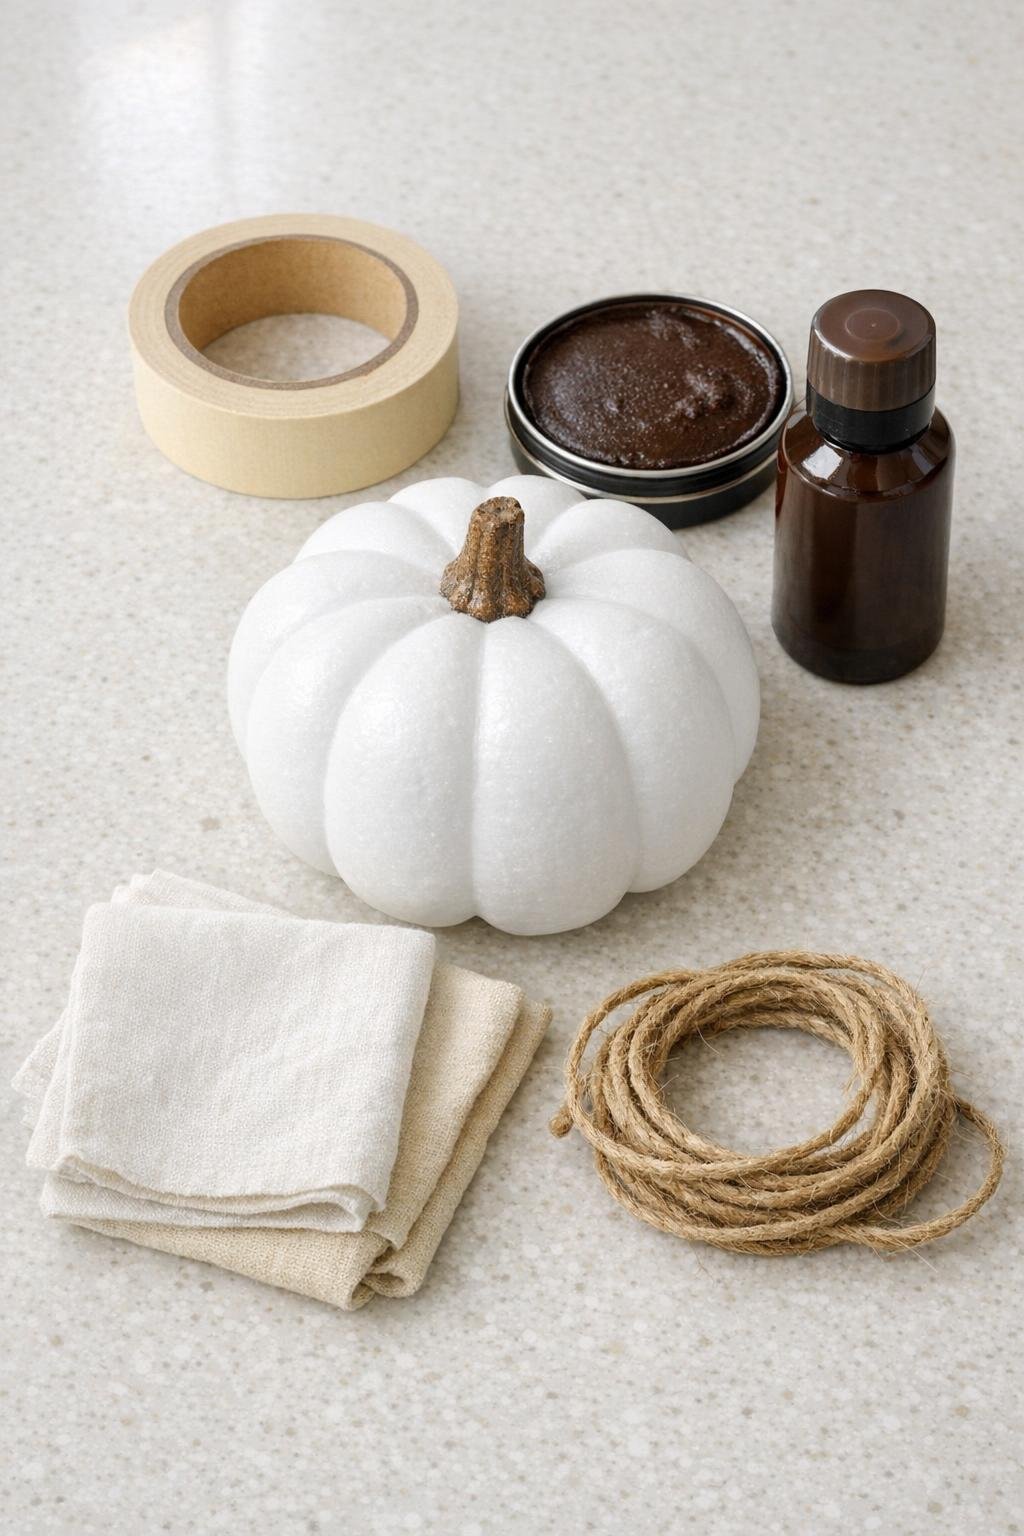
Materials
1 white foam pumpkin, about 7 to 9 inches wide
Instructions
1. Set your pumpkin on a protected work surface and remove any tags or stickers so the tape can stick smoothly.
2. Tear the masking tape into uneven pieces about 2 to 4 inches long; I like mixing smaller and larger pieces because it gives the surface a more natural, worn texture.
3. Press the first torn pieces onto the pumpkin, starting near the top and slightly overlapping each piece so no white foam shows through.
4. Continue covering the entire pumpkin with overlapping tape, smoothing lightly with your fingers as you go but leaving the torn edges and slight ridges visible for texture.
5. Wrap tape over the bottom edge and around the top opening as needed so the whole pumpkin looks evenly covered from all angles.
6. If your stem is removable, take it out, wrap it with a narrow strip of masking tape, and press the seam flat; if it stays attached, just tape around it as neatly as you can.
7. Rub brown shoe polish over a small section of the taped pumpkin with a rag, working it into the seams and overlaps right away.
8. Wipe back the excess with your second rag before it dries too much, leaving the darker color in the creases so the texture stands out.
9. Repeat around the entire pumpkin until the finish is even, then add a little extra polish in random spots if you want deeper, aged-looking variation.
10. Let the pumpkin sit for 15 to 20 minutes, then buff it gently with a clean area of your rag to soften any streaks and give it a mellow sheen.
11. Wrap the twine tightly around the base of the stem 4 to 5 times, tie a secure knot, and trim the ends for a simple finished accent.
12. Check for any light spots, touch them up with a bit more polish if needed, and let the whole pumpkin dry completely before displaying it.
Variations & Tips
Deeper Leather Look: Use a second light coat of brown shoe polish after the first coat dries if you want a darker, more distressed finish with extra depth in the tape seams.
Color Variation: Dark tan, chestnut, or even black-brown polish all work here; I tend to lean warm brown because it feels the most classic for fall decorating in my house.
Twine Upgrade: Add a small twine bow or a short loop for a slightly more dressed-up look if you’re styling the pumpkin on a mantel or centerpiece tray.
Work in Sections: Don’t polish the whole pumpkin at once. I get the best results when I finish one small area at a time so I can wipe it back before it gets too dry.
Best Display Spots: This looks especially pretty mixed with wood tones, candles, and a few natural elements like acorns, wheat, or dried eucalyptus for a warm harvest setup that doesn’t feel fussy.
Budget Tip: Make a set in two or three sizes if your dollar store has them. Grouped together, they look much more substantial, and the layered finish really stands out when the sizes vary.