
There are some projects that feel almost suspiciously simple, and this is one of them. You start with those bright little dollar store pumpkins, add nothing fancier than masking tape and a bit of brown polish or wax, and somehow end up with a rich, textured finish that looks warm, aged, and much more expensive than it has any right to.
I love this kind of craft for busy weeks because it gives that big fall decorating payoff without needing a full afternoon or a giant supply haul. If you like easy seasonal projects, rental-friendly decorating, or just transforming inexpensive basics into something that looks styled on purpose, this one is incredibly satisfying.
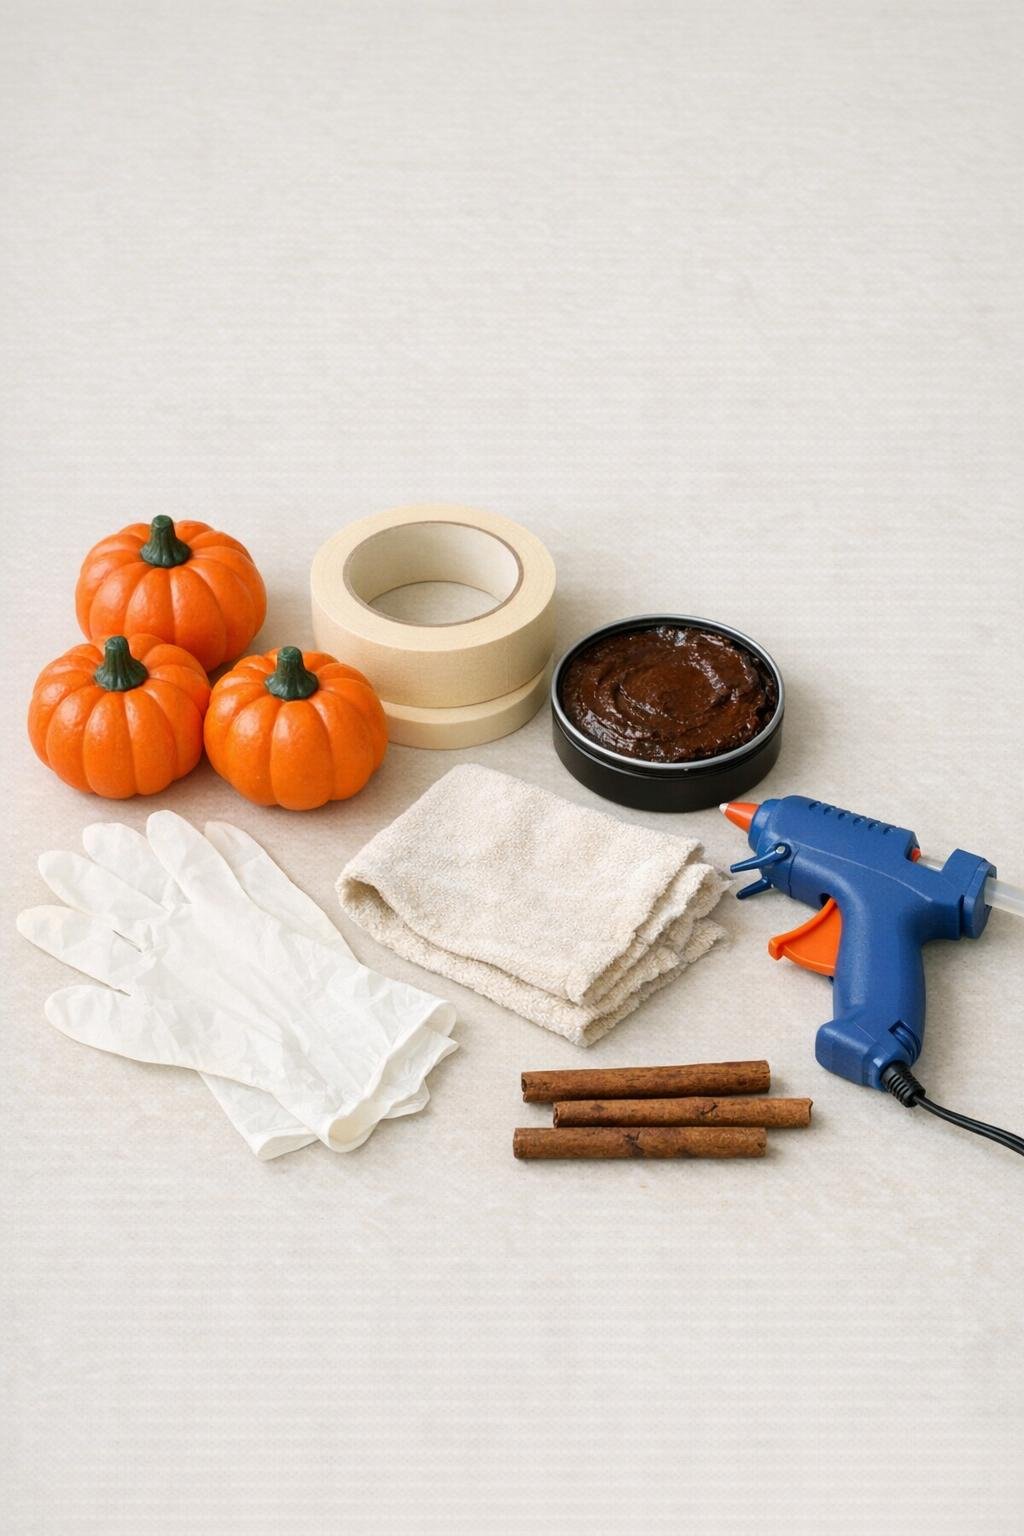
Materials
Instructions
1. Wipe each pumpkin clean and dry so the tape sticks well, then remove any tags, bows, or loose decorative pieces. If the original stem feels flimsy or overly shiny, twist it off now so you can replace it later.
2. Tear the masking tape into uneven pieces about 1 to 3 inches long instead of cutting straight strips. The torn edges are what create that soft, organic surface that makes the finish look more like worn leather than craft tape.
3. Press the first pieces onto one pumpkin, overlapping them slightly and following the natural curve from top to bottom. Leave no orange showing, and smooth each piece with your fingertips so it hugs the ridges and dips of the pumpkin.
4. Keep wrapping the pumpkin in torn tape pieces until the entire surface is covered, including around the top opening and lower bottom edge. Add an extra small layer over any slick or raised spots so the texture stays nicely crinkled and dimensional.
5. Repeat the same torn-and-overlap method on the remaining two pumpkins, varying the direction of a few pieces for a more natural finish. I like to work assembly-line style here because by the third pumpkin, you stop overthinking it and the texture actually gets better.
6. Put on disposable gloves and rub a small amount of brown shoe polish or dark furniture wax onto the rag. Start buffing it over one taped pumpkin, pushing the color into the seams and torn edges first, then sweeping it across the raised areas.
7. Keep layering and buffing until the pumpkin looks evenly rich but still dimensional, with darker color settling into the creases. If it gets too dark in one spot, use a clean section of the rag to wipe back the excess and reveal more of the tape texture underneath.
8. Finish the other two pumpkins the same way, adjusting the amount of polish or wax so the set has slightly varied tones from medium caramel brown to deep chestnut. That little bit of variation makes them look collected and styled, not too matchy.
9. If you removed the original stems, hot glue one cinnamon stick or twig into the top center of each pumpkin. Hold each one in place for a few seconds, then add a tiny extra bead of glue around the base if needed for stability.
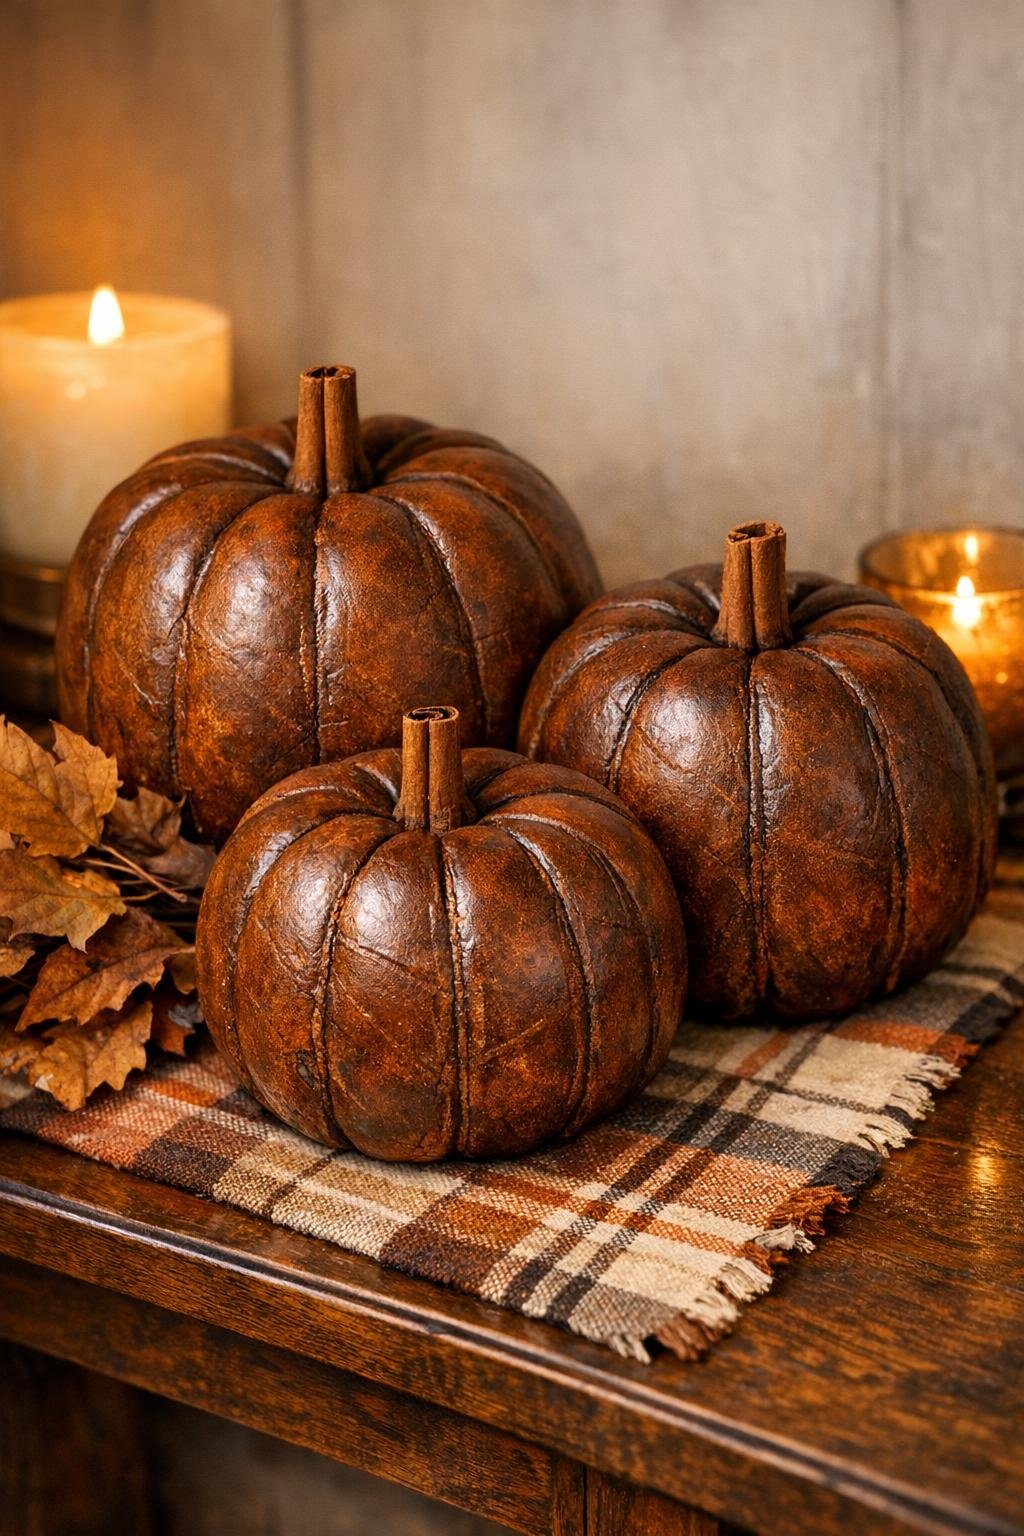
10. Let the finish sit for 20 to 30 minutes, then give each pumpkin a final light buff with a clean part of the rag. Once dry, cluster all three together so the different sizes, tones, and textures really show off the effect.
Variations & Tips
Use foam or plastic: Both work well, but plastic gives a slightly smoother, firmer result while foam tends to grab the tape faster. If you use foam, press gently so you do not dent the surface.
Try mixed brown tones: For the most realistic aged finish, use a little more wax in the grooves and a lighter buff on the high spots. That contrast is what gives the pumpkins their depth.
Don’t make the tape pieces too perfect: I know it is tempting to tear neat little matching strips, but the irregular pieces are the secret. Messier edges create the best faux leather look.
Swap the stems: Cinnamon sticks add instant charm and a subtle fall feel, but small backyard twigs work beautifully too. Choose stems with a little thickness so they feel proportionate to the pumpkin.
Style them in a group: These look best in a cluster of three on a mantel, console, dining table, or open shelf. I usually tuck them next to a candle and a little greenery because it makes the whole setup feel finished in about thirty seconds.
Keep them indoors: Since the finish is made with tape and polish or wax, these are best for covered indoor decorating rather than a wet porch. They hold up nicely through the season if kept dry.