
I love a garden shortcut that uses what we already have in the shed, and this old-school slug barrier is one of those practical little fixes that still earns its keep. By cutting the bottoms off metal coffee cans and pairing them with two simple garden basics, you can make sturdy collars that protect tender fall seedlings right where slugs do their worst.
This project is especially good for cool-weather beds with lettuce, spinach, kale, pansies, or young brassicas that seem to get chewed overnight. I like it because it is quick, inexpensive, and easy to set up in one afternoon, but the finished bed still looks neat and intentional instead of patched together.
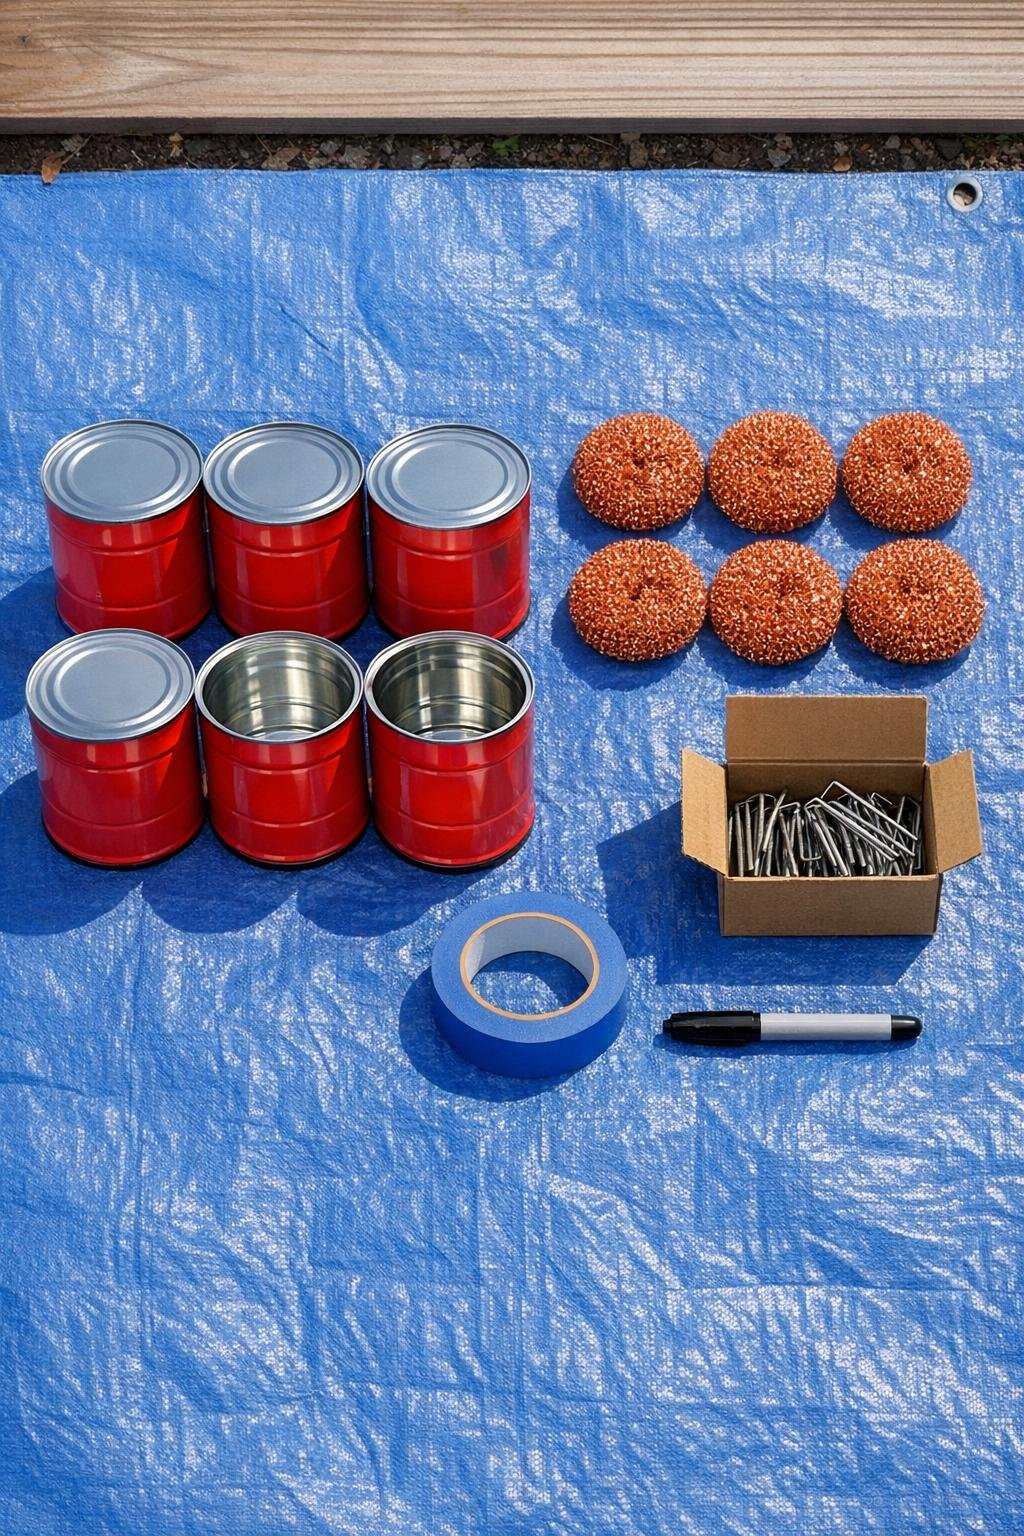
1. Wash and dry the coffee cans, then remove any plastic lids and peel away loose paper labels so you are working with clean bare metal.
2. Wrap a band of painter’s tape around each can about 1/2 inch above the bottom seam to use as an easy cutting guide.
3. Using tin snips, cut carefully around the taped line and remove the bottom from each can so you create an open-ended metal cylinder.
4. Check the lower cut edge and bend in any tiny burrs with pliers; if an edge feels rough, crimp it slightly inward so it will sit safely in the soil.
5. Choose the plants that need protection most and set one can collar around each transplant, centering the stem so it has room to grow.
6. Press each collar 1 to 2 inches into the soil, leaving 4 to 5 inches above the soil line so slugs cannot easily climb over and drop inside.
7. Push four landscape staples around the outside base of each collar at even intervals to pin it snugly to the bed and close little gaps at the soil surface.
8. Stretch one copper scrub pad into a loose rope and wrap it around the outside top rim of each collar, overlapping the ends so there is no break in the copper ring.
9. Tuck the copper lightly in place so it grips the rim without sagging into the plant, keeping the foliage inside the collar and off the metal sides if possible.
10. Water the bed gently at soil level, then check after dark or the next morning to be sure the collars are still seated firmly and the copper rings are continuous.
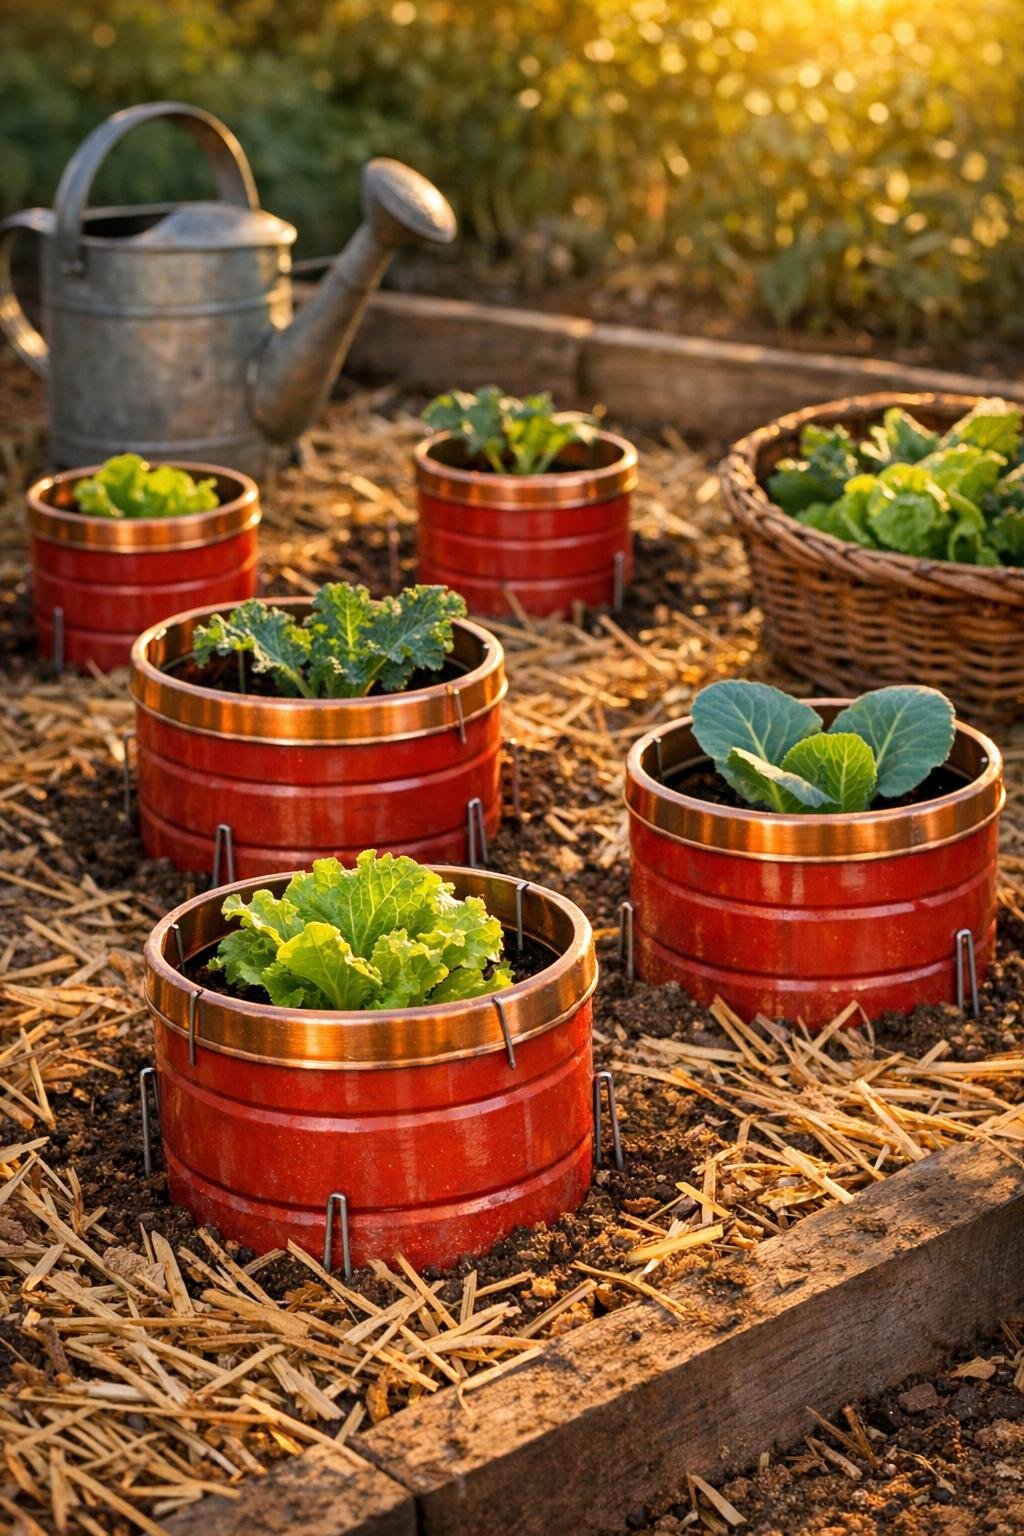
For bigger plants: Use the largest coffee cans you have for broccoli, cabbage, or sturdy fall flowers so the leaves have breathing room inside the collar.
For tiny starts: If you are protecting very small lettuce or spinach seedlings, press the collars a little deeper at first so the opening feels cozier and the stems are not exposed at the soil line.
Keep it effective: This works best when the bed is weeded and mulched lightly, because slugs love cool hiding spots right next to tender stems.
After rain: I always walk the bed after a soaking rain and press the collars back down if the soil has loosened; that two-minute check saves a lot of leaf damage.
For picky-looking beds: If you want the garden to look more polished, turn all the label seams to the back and space the collars evenly in straight rows so the bed feels organized instead of improvised.
Season-to-season use: At the end of the crop, rinse the collars, let them dry fully, and store them nested in the shed so they are ready for the next round of transplants.