
There’s something so satisfying about taking a simple household object and turning it into a piece that looks right at home in a cozy living room. This candle cluster tray starts with an upturned wooden picture frame, and with just a few pillar candles and a handful of finishing touches, it becomes a warm, polished centerpiece that adds height, glow, and a bit of old-fashioned charm without taking up much space.
I’m especially fond of projects like this for small rooms, because they make a corner or coffee table feel thoughtfully styled instead of crowded. It reminds me of how we used to “make do” with what we had, only now we call it decorating. If you want a centerpiece that feels substantial, elegant, and easy to move when you need the table back, this is a lovely little afternoon project.
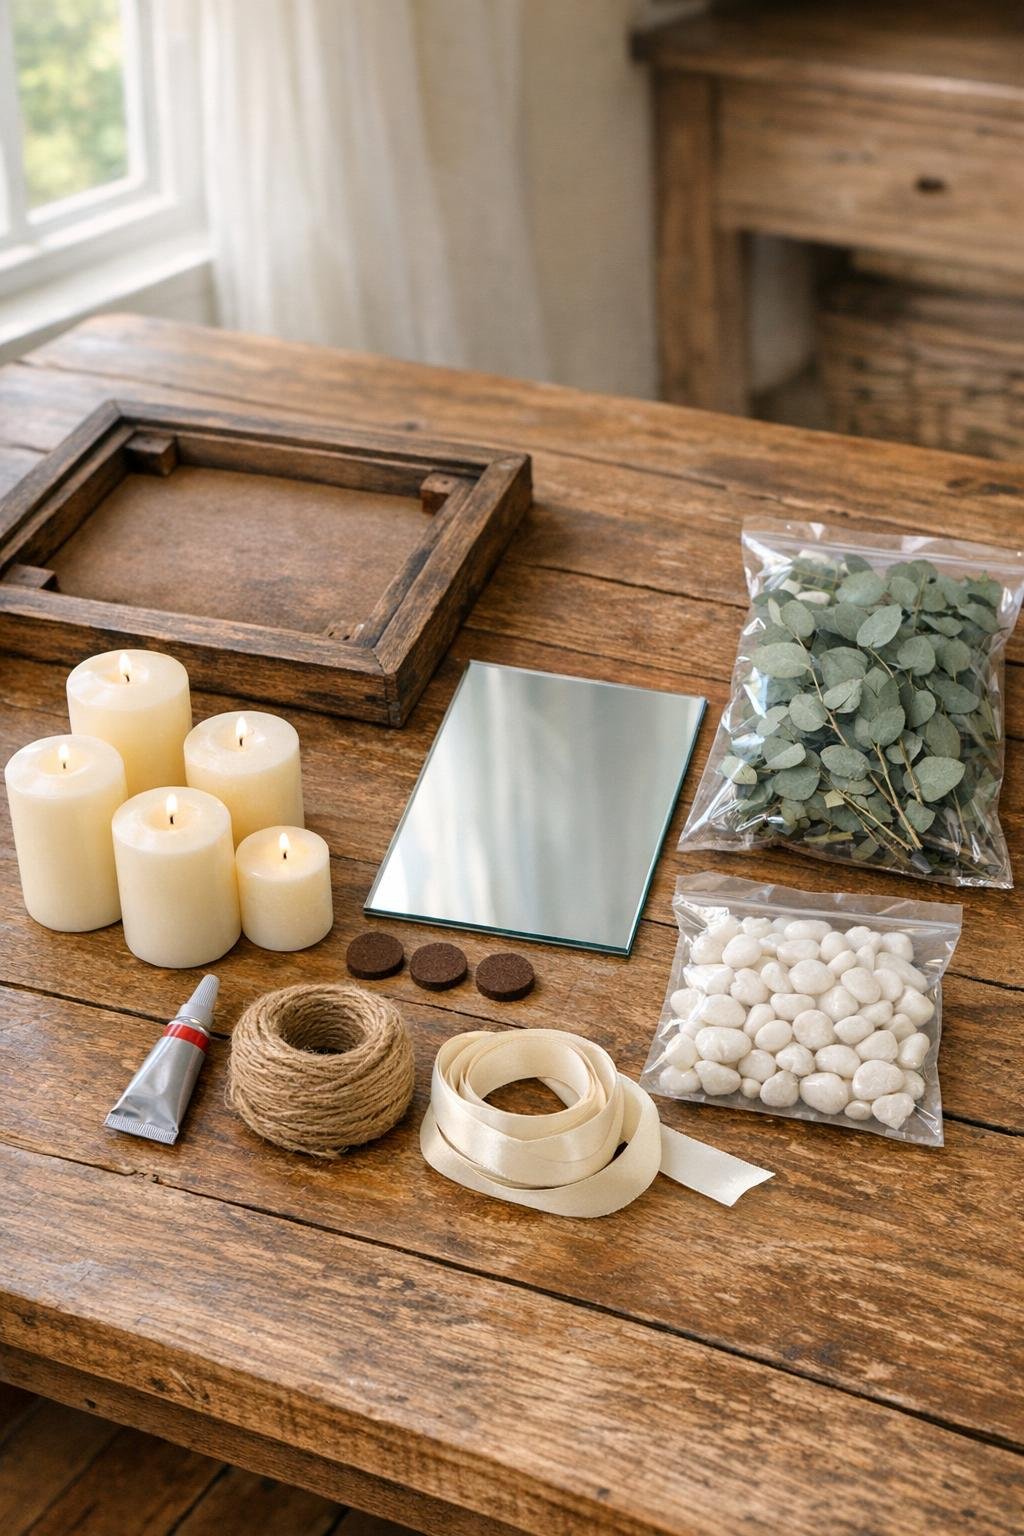
Materials
1 rustic wooden picture frame, 11 x 14 inches, at least 1 inch deep
Instructions
1. Turn the wooden picture frame upside down so the back side becomes the raised tray edge, then wipe it clean and make sure it sits flat and steady on your table.
2. Set the glass or mirror panel into the frame opening so you have a smooth base inside the tray, then secure it with a thin bead of craft glue if it shifts at all.
3. Press one felt pad onto each bottom corner of the frame so the finished tray won’t scratch your coffee table, console, or shelf.
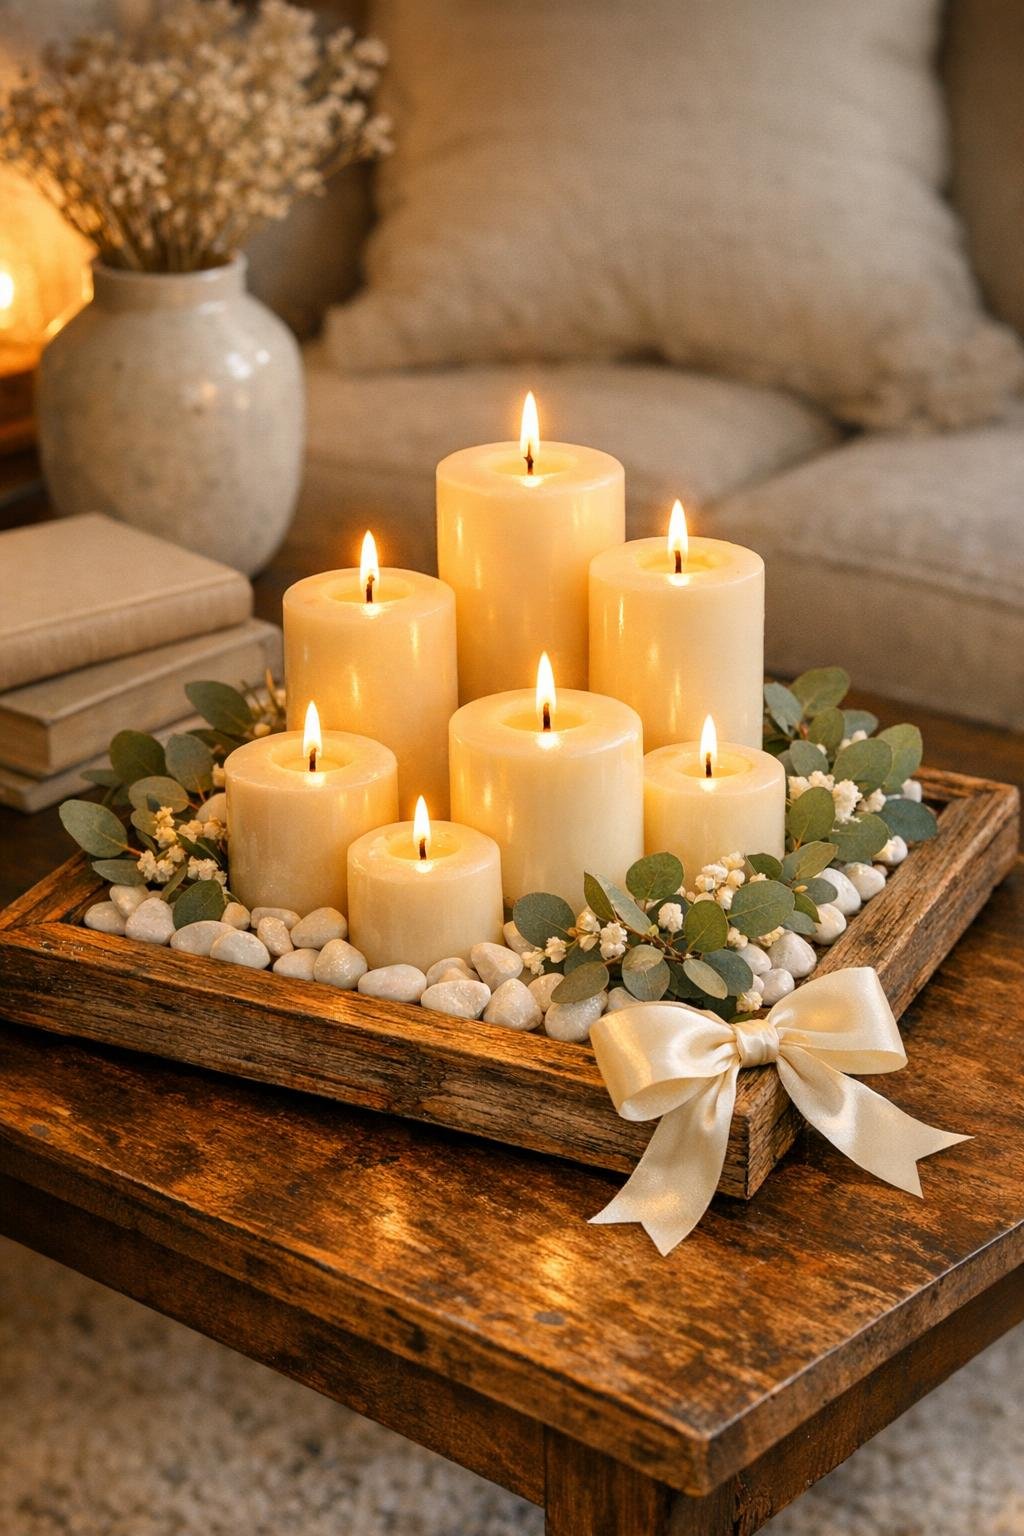
4. Arrange the five pillar candles on the glass base with the tallest candle in the center, the medium candles diagonally beside it, and the shortest candles toward the front corners for a full clustered look.
5. Pour the white decorative pebbles around the candles, filling the gaps generously until the base looks full and finished but the candle sides are still mostly visible.
6. Tuck short eucalyptus sprigs between the candles and along the inner frame edge, spacing them evenly so the greenery softens the arrangement without covering the wood or glass.
7. Wrap the ivory ribbon once around one corner of the frame and tie a soft bow, then bind the center of the bow with a short piece of jute twine for a simple rustic finish.
8. Set the tray in the center of your coffee table, side table, or mantel and make small adjustments so the candles feel evenly spaced and the greenery looks full from every angle.
Variations & Tips
For a safer glow: If you’d rather not light real candles in a small room, use five battery-operated pillar candles in the same sizes. You’ll still get that clustered look, and the mirror or glass base will reflect the light beautifully.
For a fuller centerpiece: Add two more short pillar candles, 3 inches tall, if your frame is wider than 11 x 14 inches. I always say a centerpiece should look generous enough to hold its own in the room.
For a more farmhouse finish: Skip the ribbon and wrap jute twine around two opposite corners of the frame. That gives it a plainer, more homespun look that suits rustic furniture especially well.
For seasonal changes: Swap the eucalyptus for pine clippings in winter, faux lamb’s ear in spring, or tiny dried flowers in summer. This same base is wonderfully adaptable, which is handy when you like to refresh a room without starting over.
To keep it steady: If the candles slide at all on the glass, add a pea-sized dot of removable museum putty under each one. It holds them in place nicely but still lets you rearrange later.
To protect the frame: If you plan to burn the candles often, use dripless pillars and never leave them unattended. A pretty project is only a good idea when it’s a safe one too, and that’s the kind of wisdom age teaches you for free.