
I’m always looking for ways to make my kitchen work a little harder without spending a fortune, and this spice drawer organizer is exactly my kind of project. It uses small glass baby food jars tucked into a shallow cardboard gift box lid to create a neat, grab-and-go spice station that slides right into a drawer. It’s simple, practical, and surprisingly polished once everything is labeled and lined up.
If your spice cabinet has turned into the usual avalanche of mismatched bottles, this is such a satisfying fix. I love projects like this because they feel doable on a weeknight after dinner, and the result makes everyday cooking easier right away.
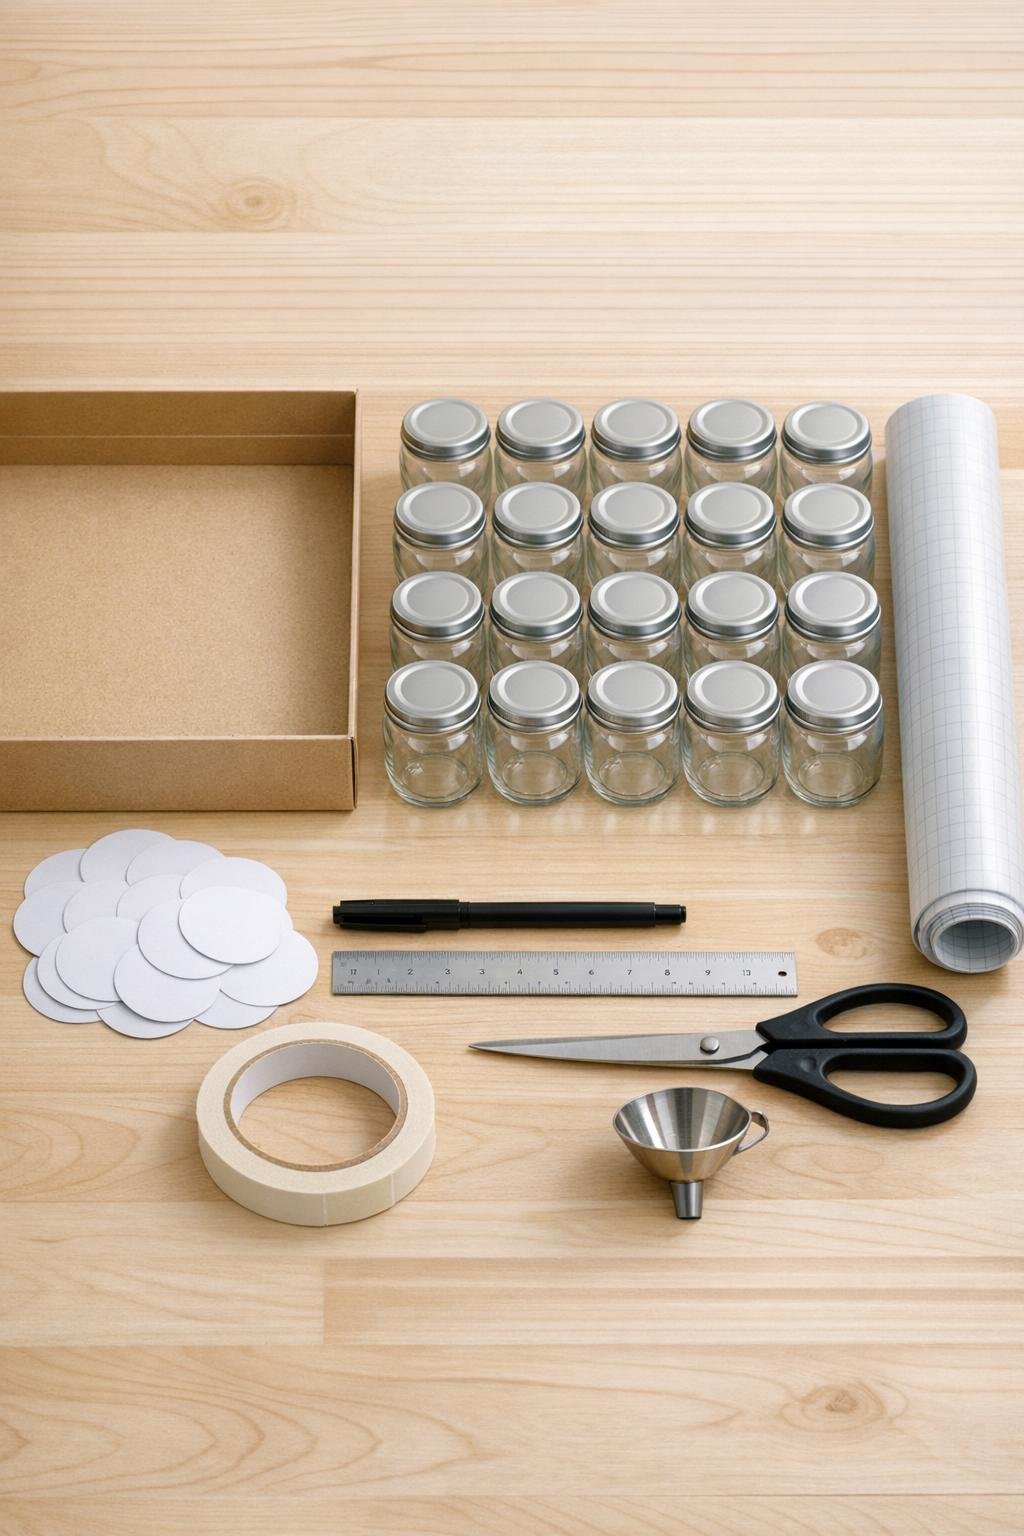
Materials
1 shallow kraft cardboard gift box lid, about 12 x 9 x 1 1/2 inches
Instructions
1. Wash and dry the baby food jars and lids thoroughly, then wipe out the gift box lid so the inside surface is clean and dust-free.
2. Measure the inside of the box lid and trim the shelf liner or cork liner to fit the bottom snugly without buckling at the edges.
3. Secure the liner to the bottom of the lid with strips of double-sided tape at the corners and center so the jars will not slide around when the drawer opens.
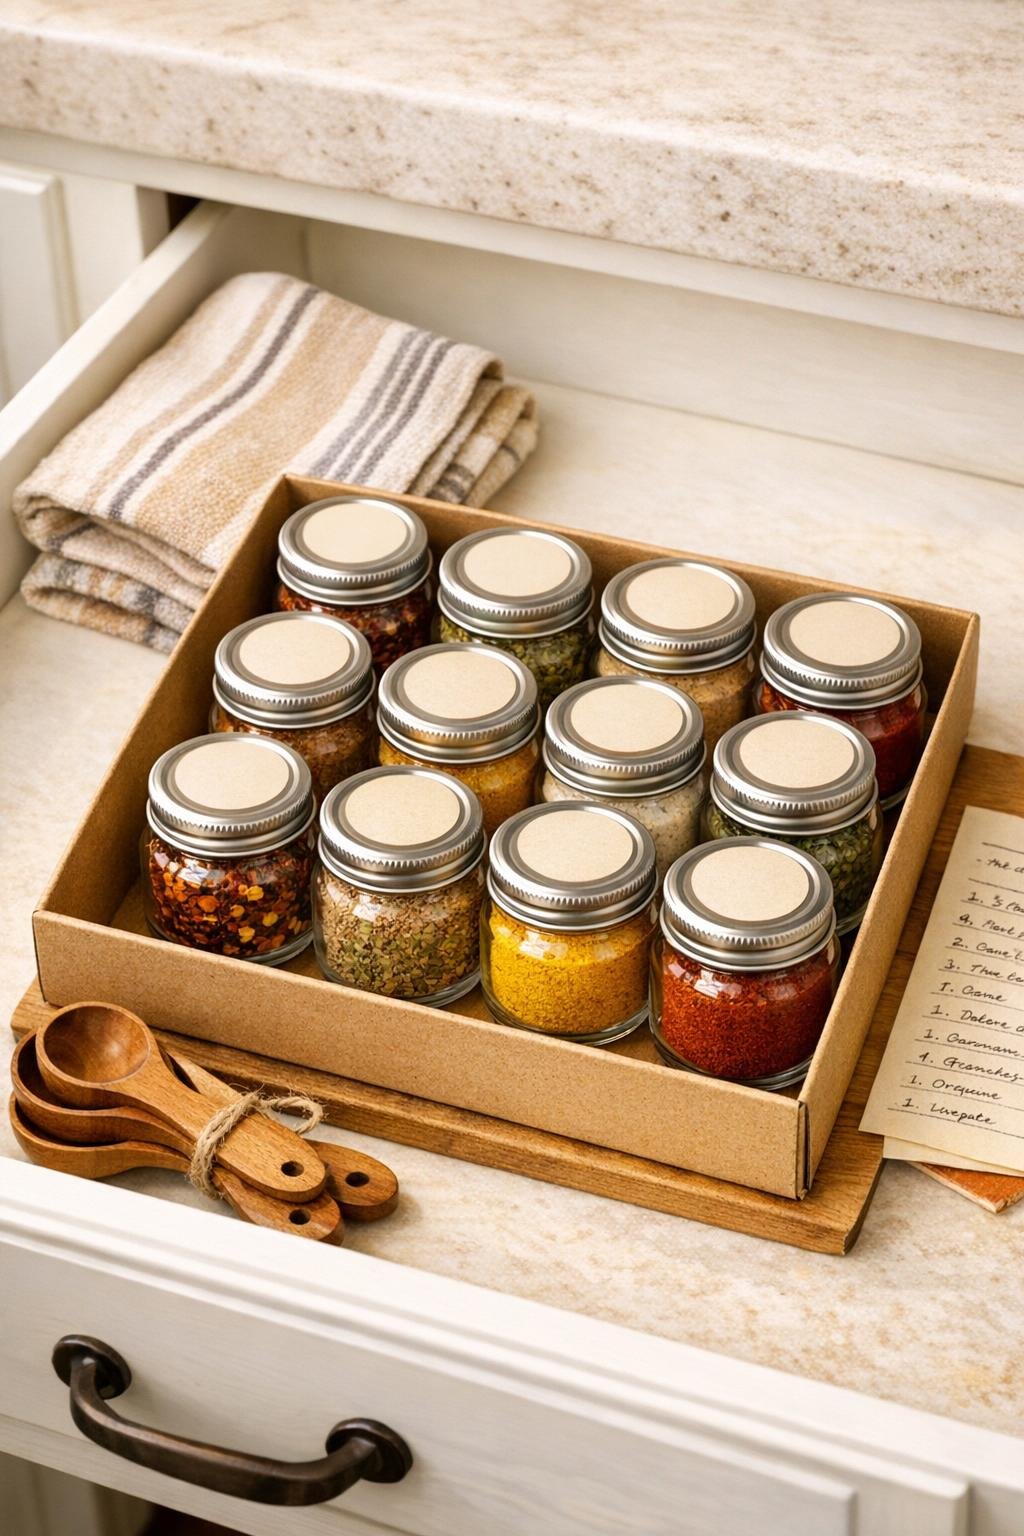
4. Arrange the empty jars inside the lid in even rows, fitting 3 rows of 6 jars, and leave a small finger space near one long edge so you can lift jars out easily.
5. If the fit feels loose, add short rolled tabs of double-sided tape under each jar position to help hold the jars in place while still allowing you to remove them.
6. Fill each jar with a spice or dried herb using the funnel, keeping the fill level just below the jar threads so the lids close cleanly.
7. Twist the lids on tightly, then glue or stick a cardstock circle to the top of each lid for a clean label surface.
8. Write the spice names clearly on the lid labels with the fine-tip marker so you can read them from above when the organizer sits in a drawer.
9. Test the organizer in your kitchen drawer and make sure the drawer clears the jar height before loading it fully; if needed, move the liner or remove extra tape bulk.
10. Place the finished organizer into the drawer, group the jars by baking spices, savory spices, and herbs if you like, and start cooking from a much calmer kitchen setup.
Variations & Tips
Make it drawer-safe: Before filling all the jars, set one jar in the box lid and slide the drawer shut to confirm the height works. I learned this the annoying way once, and now I always test first.
Add a non-slip upgrade: Cork liner gives the organizer a slightly sturdier feel, while shelf liner is quicker and easier to trim. Both help keep the jars from rattling every time the drawer opens.
Sort by cooking style: I like keeping everyday dinner spices in one row, baking spices in another, and dried herbs together in the last row. It makes weeknight cooking faster when I’m reaching for the same combinations over and over.
Use matching lids for a cleaner look: If your baby food jar lids are a mix of colors, paint them all with 1 small can of spray paint made for metal, then let them cure fully before labeling. A single lid color makes the whole organizer look much more intentional.
Protect the cardboard: For extra durability, brush on a thin coat of clear matte decoupage sealer over the outside and inside walls of the gift box lid, avoiding the liner. That little step helps the cardboard hold up better in a busy kitchen drawer.
Scale it to your drawer: If your drawer is wider, make two organizers side by side instead of one oversized tray. I love that approach because you can separate spicy blends from baking spices and still keep everything easy to lift out and refill.