
I love a thrift-store project that feels a little improbable at first and then turns out to be genuinely useful, and this one absolutely fits that category. We’re taking a silver vintage dish rack and crocheting chunky amber yarn straight through the wire slots to turn it into a sturdy decorative basket with a lot of warmth and texture. The wire frame does all the heavy lifting structurally, and the crochet softens it, fills it out, and gives it that handmade look that makes an old kitchen castoff feel intentional again.
This is a great project for anyone who likes crochet but doesn’t necessarily want to count a complicated pattern. If you can manage basic stitches and you don’t mind working a little freestyle, you can make this. I especially like projects like this because they remind me of cooking from the pantry: you start with something humble, build layers, and by the end it looks far richer than the sum of its parts.
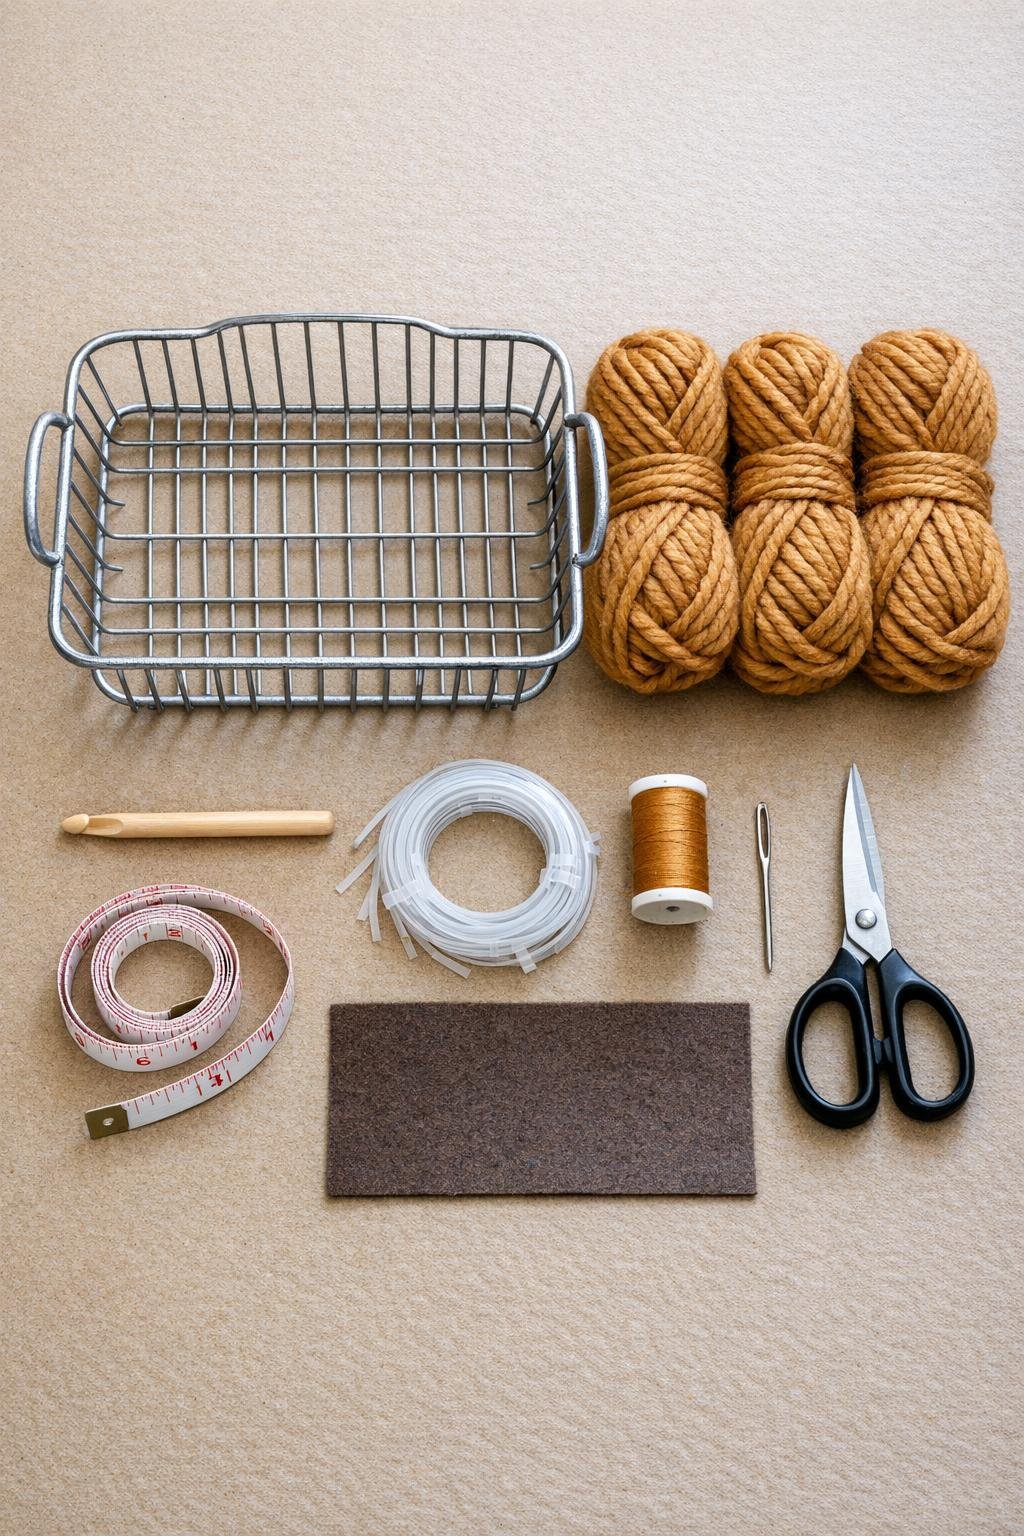
Materials
1 vintage silver wire dish rack, approximately 14 to 16 inches long, 11 to 12 inches wide, and 5 to 6 inches tall
Instructions
1. Wipe the dish rack thoroughly with a damp cloth and check for any bent wires or rough spots; straighten what you can so the basket shape is even and the yarn won’t snag.
2. Decide which side will be the basket opening and turn the rack so the broadest, most stable side becomes the base; if needed, gently press the feet or edges so it sits flat without wobbling.
3. Tie the yarn securely to a lower corner wire with a double knot, leaving a 4-inch tail, and begin with single crochet stitches worked around the bottom perimeter wires to anchor the first row.
4. Work across the long sides by pulling the hook through each wire slot and making one single crochet or slip stitch in every opening; keep the stitches snug so the yarn starts to bridge the gaps without drooping.
5. Continue around the entire rack, crocheting through every slot in the side walls, and add an extra stitch at corners and wide gaps so the coverage stays dense and the wire frame doesn’t show too starkly.
6. Build a second pass over sparse areas by crocheting back through the neighboring slots and stacking stitches where the rack is most open; this fuller layering is what makes the piece read as a basket rather than just a wrapped rack.
7. On the base, weave the yarn back and forth through the lower grid, then crochet over those strands to create a thicker floor that can actually hold lightweight items like napkins, yarn, mail, or rolled towels.
8. If the dish rack has plate-divider arches, crochet around and between them rather than flattening them completely; those raised wires give the basket a sculptural ribbed look and help the vintage rack stay recognizable.
9. Finish the top rim by working a continuous edging of single crochet around the uppermost wire, covering as much exposed metal as possible and smoothing the silhouette.
10. Fold any awkward yarn paths to the inside, then use the yarn needle and matching thread to tack them down discreetly so nothing shifts when the basket is handled.
11. Add zip ties only where the yarn needs hidden support, especially at corners or on springy sections of the rack; trim the tails closely and tuck them under the crochet so they disappear.
12. Cut the felt to fit the inside base if you want a tidier interior, set it in place, and then fluff and adjust the crocheted sections with your fingers until the coverage looks even and generously padded all around.
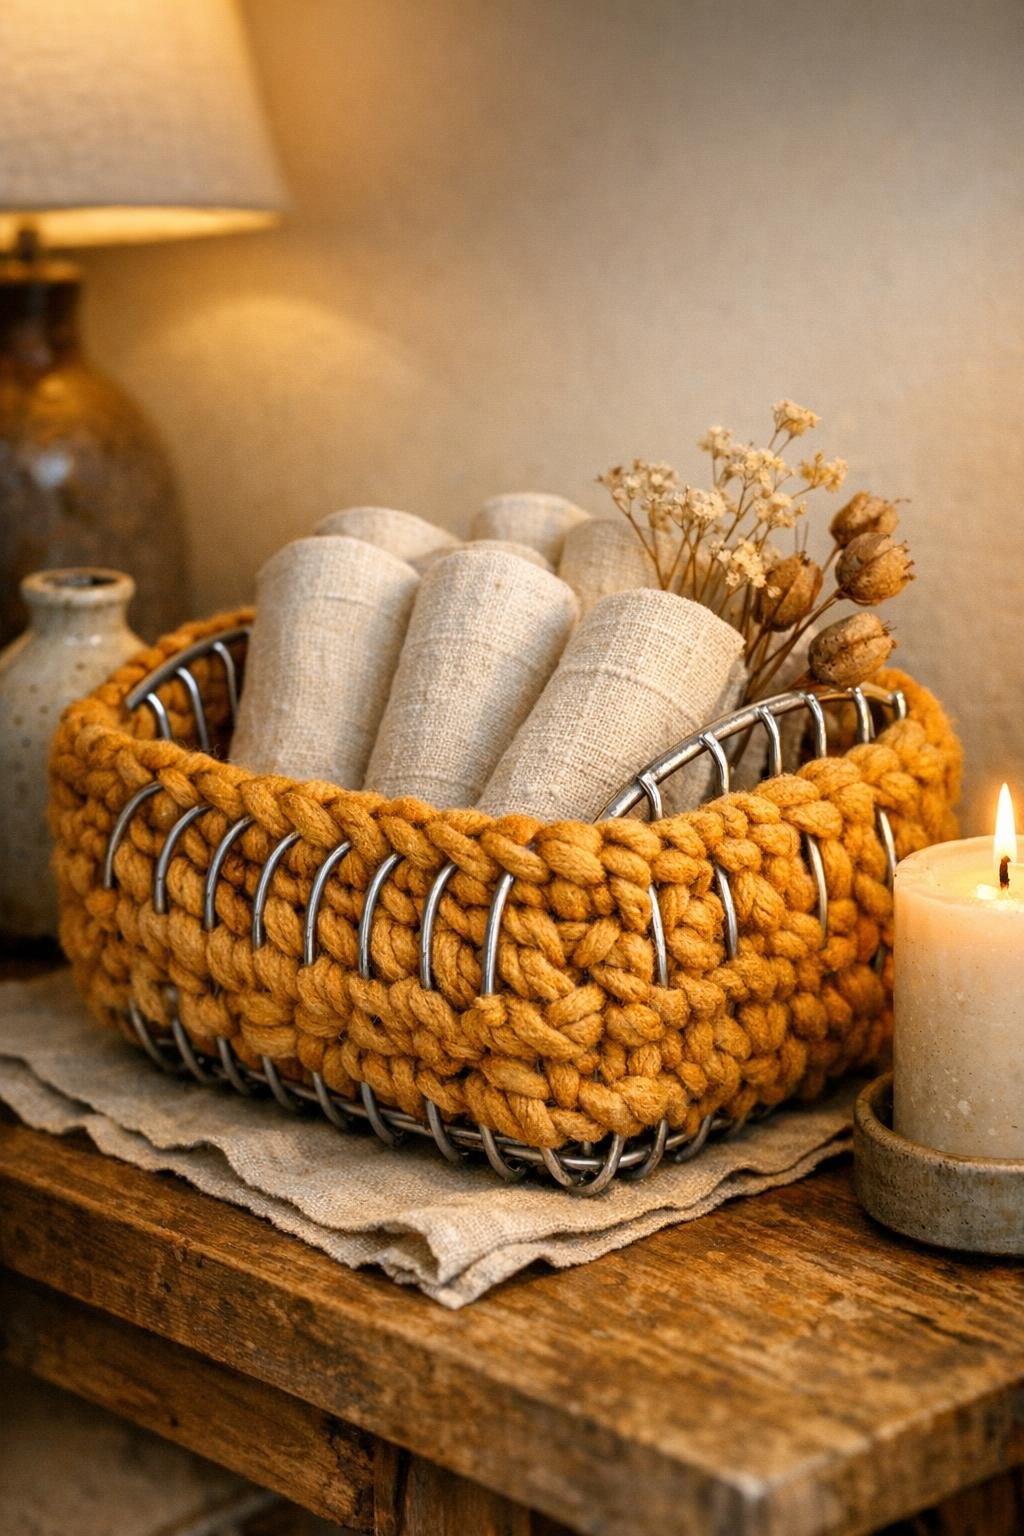
Variations & Tips
Color choice: Amber yarn gives this basket a warm, vintage-friendly look, but rust, olive, oat, or deep cream also work beautifully if you want something that leans more farmhouse or modern.
Best rack shape: A dish rack with open side slots and a sturdy rectangular form is easiest to crochet through. If the wire spacing is extremely tight, switch some sections to simple wrapping instead of full stitches.
Yarn substitution: T-shirt yarn or bulky cotton cord can work in place of chunky acrylic or wool-blend yarn, but choose something with enough body to fill the gaps and enough flexibility to pass through the wire slots.
Use ideas: I like this kind of basket for rolled hand towels, extra cloth napkins, mail, recipe cards, or even onions and garlic in a dry pantry corner, as long as the base is covered well.
Coverage tip: If your first pass looks skimpy, keep going. Much like reducing a sauce, the richness comes from layering, and this project looks best when the yarn coverage is dense and intentional rather than sparse.
Finish neatly: The difference between “clever thrift flip” and “actually polished” is usually in the last ten minutes. Tuck the tails, even out the rim, and add that felt base insert if the inside needs a cleaner finish.