
Fall is when I get especially protective of my garden beds. The soil is still warm enough for roots to keep growing, but the air turns crisp, the wind picks up, and a quick surface watering often does almost nothing for deeper roots. This simple deep-root watering spike made from a white 5-gallon bucket and two basic shed items is one of those old-school garden tricks that looks humble but performs beautifully.
I like this project for anyone who wants slower, deeper watering without fussing with specialty irrigation parts. Once it’s buried in the bed, you can fill it from the top and let water seep down where plants actually need it, which is especially helpful for shrubs, tomatoes finishing the season, new perennials, and thirsty fall plantings like mums, kale, and pansies.
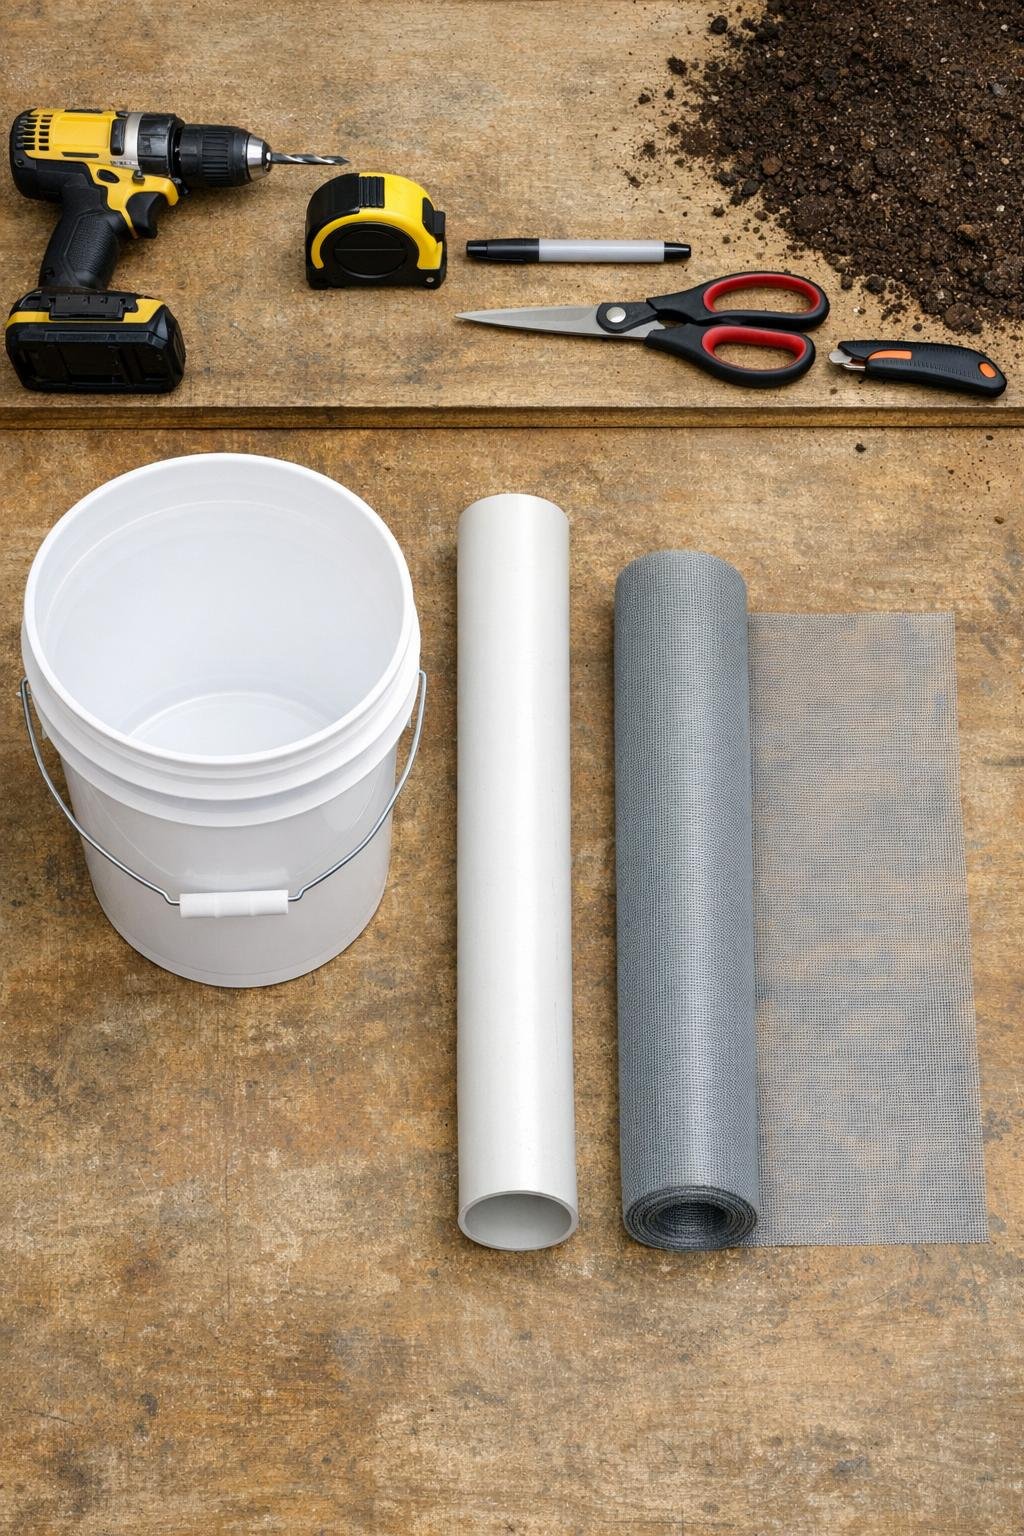
Materials
Instructions
1. Wash out the white 5-gallon bucket and mark a band of drill holes around the lower half, keeping the bottom 2 inches solid so it stays sturdy in the soil.
2. Drill 1/4-inch holes all the way around the bucket sides, spacing them about 2 inches apart in staggered rows for generous seepage without weakening the bucket.
3. Drill 8 to 10 more 1/4-inch holes in the bucket bottom so water can move downward as well as outward into the root zone.
4. Cut the 3-inch PVC pipe to 18 inches if needed, then drill a series of 1/4-inch holes along the lower 12 inches of the pipe, rotating it as you go so the water can disperse evenly underground.
5. Roll the window screen into a loose tube around the perforated section of pipe and secure it with the zip tie; this keeps soil from clogging the pipe holes while still letting water pass through.
6. Choose a spot in the garden bed 6 to 10 inches away from the plant crown, then dig a hole wide enough for the bucket and deep enough that the bucket rim will sit about 1 inch above soil level.
7. In the center of that hole, dig a narrower channel another 10 to 12 inches deeper for the PVC pipe so the pipe reaches well below the bucket into the deeper root zone.
8. Set the perforated PVC pipe upright in the center channel with the screened section below grade, then lower the drilled bucket over it so the pipe rises through the bucket opening.
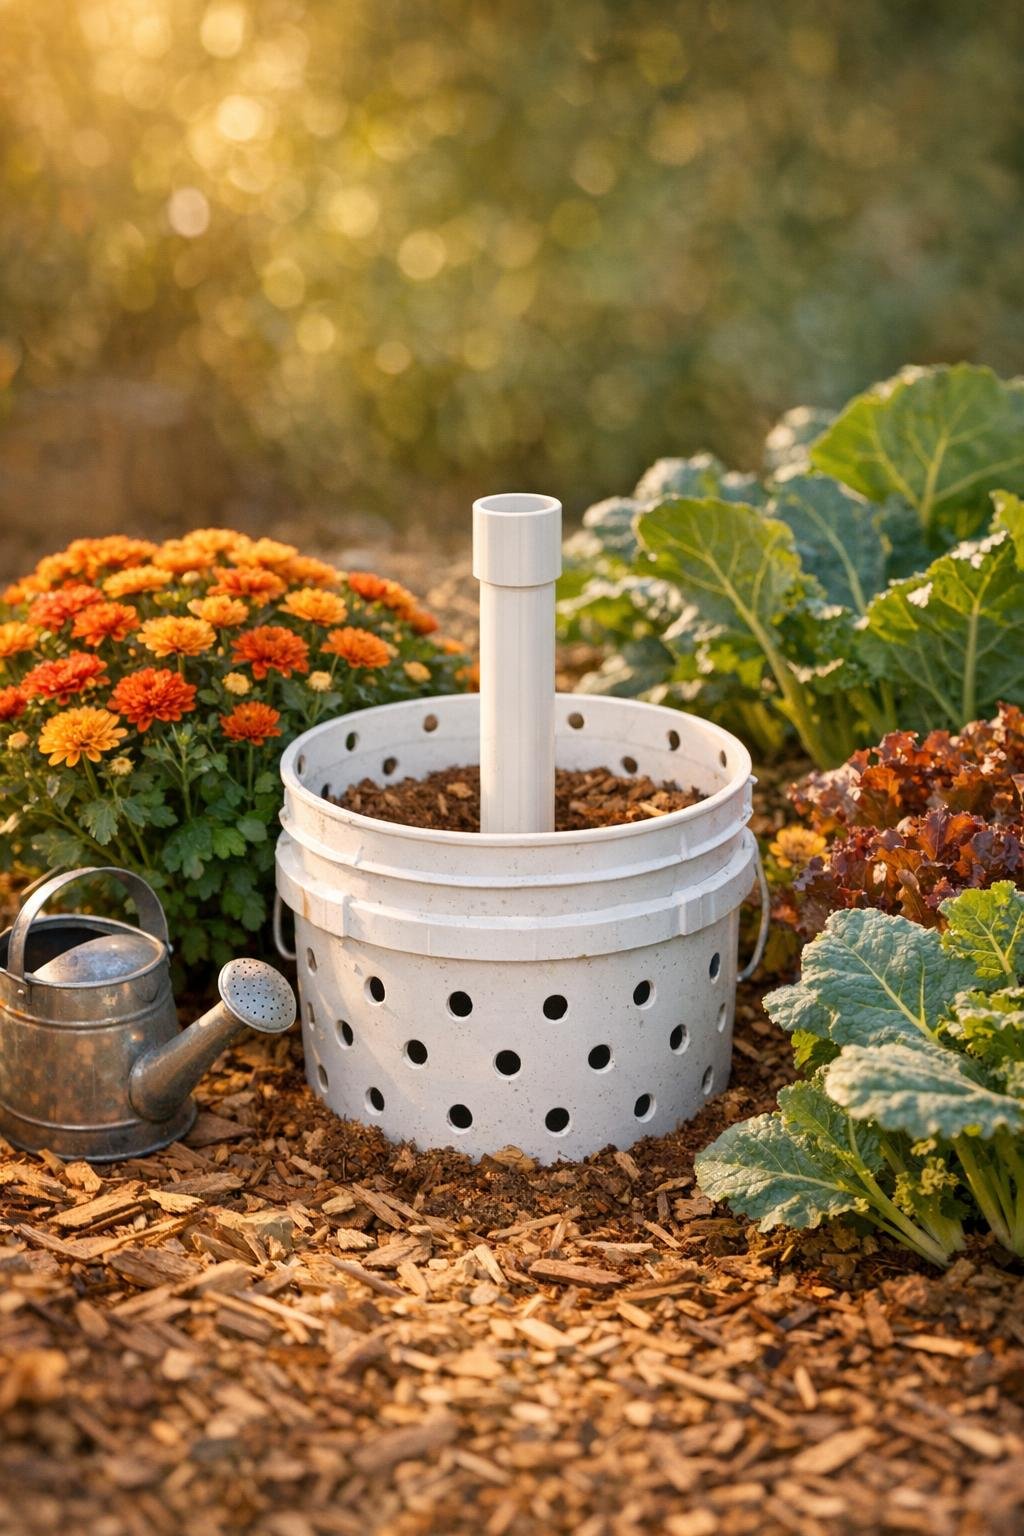
9. Backfill firmly around the bucket and pipe, pressing the soil in layers so there are no big air pockets but leaving the drilled holes unobstructed on the buried sides.
10. If the fit around the top opening is loose, add a small strip of waterproof tape to steady the pipe, but keep the top of the pipe open so you can pour water directly into it.
11. Fill the bucket halfway with water and pour 1 to 2 quarts directly down the PVC pipe; watch for slow draining, which tells you the water is moving into the surrounding soil instead of running off the surface.
12. Finish by mulching lightly around the installation, keeping mulch away from the pipe opening and bucket rim so you can find it easily and refill it through the fall.
Variations & Tips
For larger shrubs: Use a 24-inch length of 3-inch PVC pipe and bury the screened section deeper so water reaches farther down for hydrangeas, roses, or young evergreens.
For vegetable beds: Place one unit between two large plants, such as tomatoes or zucchini, instead of right against one stem; I’ve found that shared deep watering encourages roots to spread rather than hover near the surface.
To reduce clogging: Rinse the screen wrap once or twice during the season and clear out leaf bits from the bucket opening after storms or heavy mulch top-ups.
If your soil is heavy clay: Drill a few extra holes in the bucket sides but keep the spacing even; clay drains slowly, so wider distribution helps prevent one soggy pocket.
If your soil is sandy: Water in smaller, more frequent fills so moisture has time to soak in rather than dropping too fast below the active root zone.
Easy fill-up habit: I like to water these in the morning with 2 to 3 gallons at a time, then let the bed rest; it feels a little like steeping tea instead of splashing the top and hoping for the best.
Cold-weather tip: Before a hard freeze, empty any standing water from the bucket and pipe so nothing cracks, then keep the unit in place for spring use.