
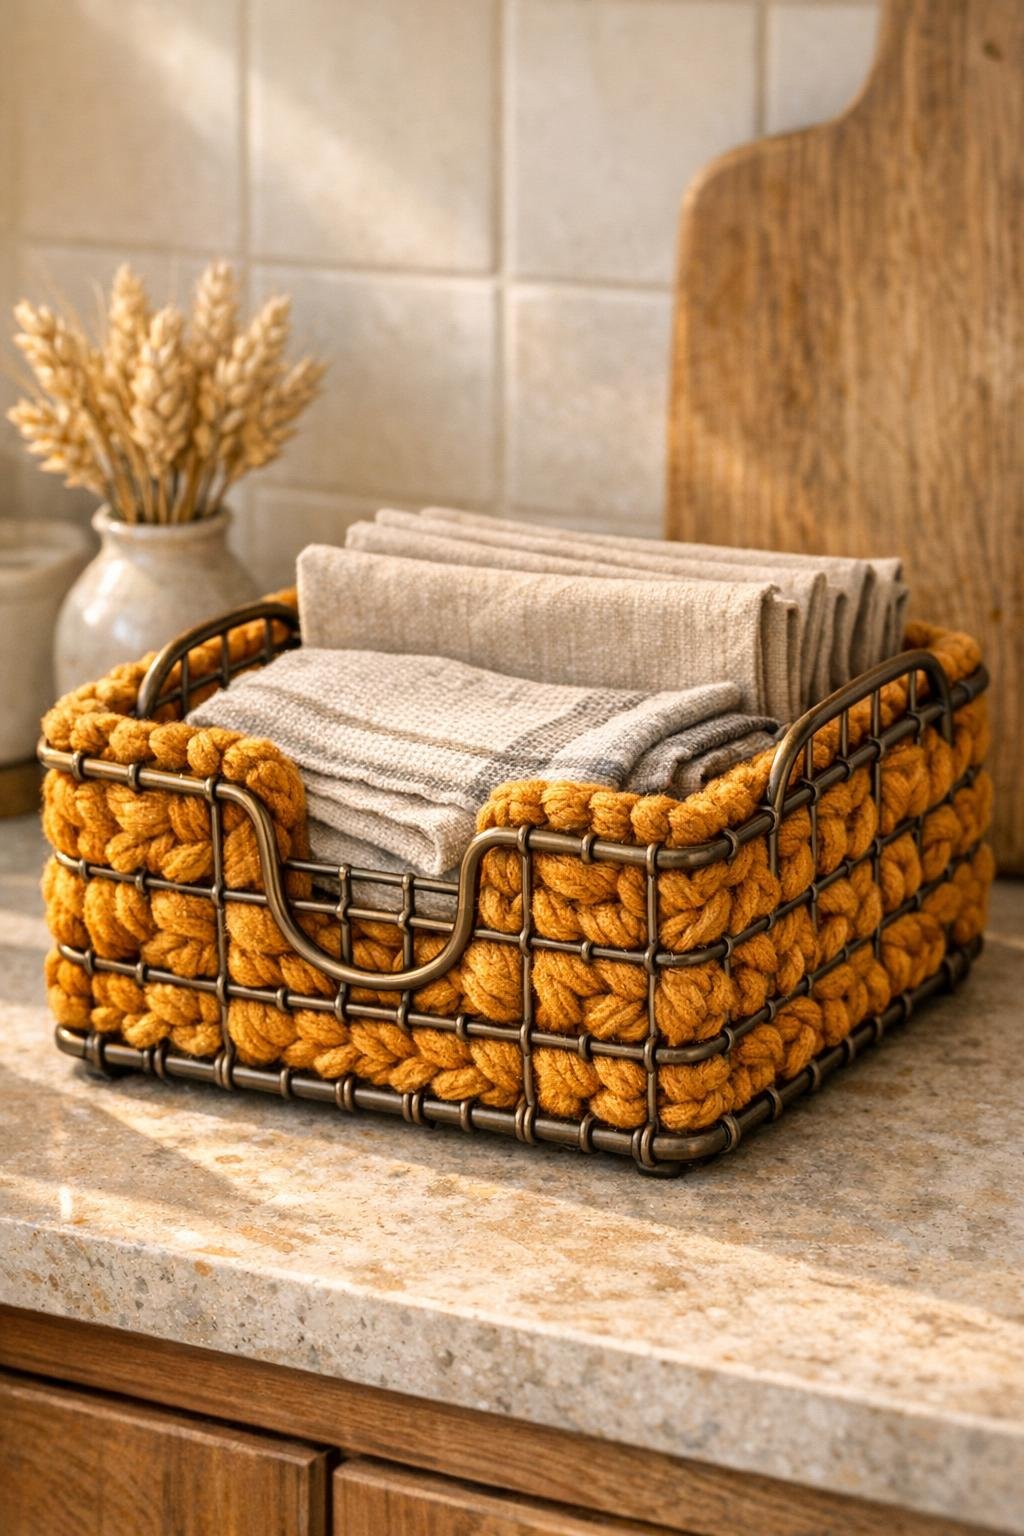
I love a thrift-store craft that looks a little odd at first and then turns out surprisingly polished, and this one absolutely fits that category. We’re taking a simple wire napkin holder and crocheting straight through the grid with chunky amber yarn to turn it into a warm, textured decorative basket. It’s quick, beginner-friendly, and gives you that cozy handmade look without needing to crochet a whole basket from scratch.
This is a great project if you want a small catchall for napkins, mail, recipe cards, tea towels, or even fall décor on a kitchen counter. As someone who is always trying to make everyday spaces feel a little prettier without adding a giant weekend project to my schedule, I love how fast this comes together—and the metal frame does all the hard work of holding the shape for you.
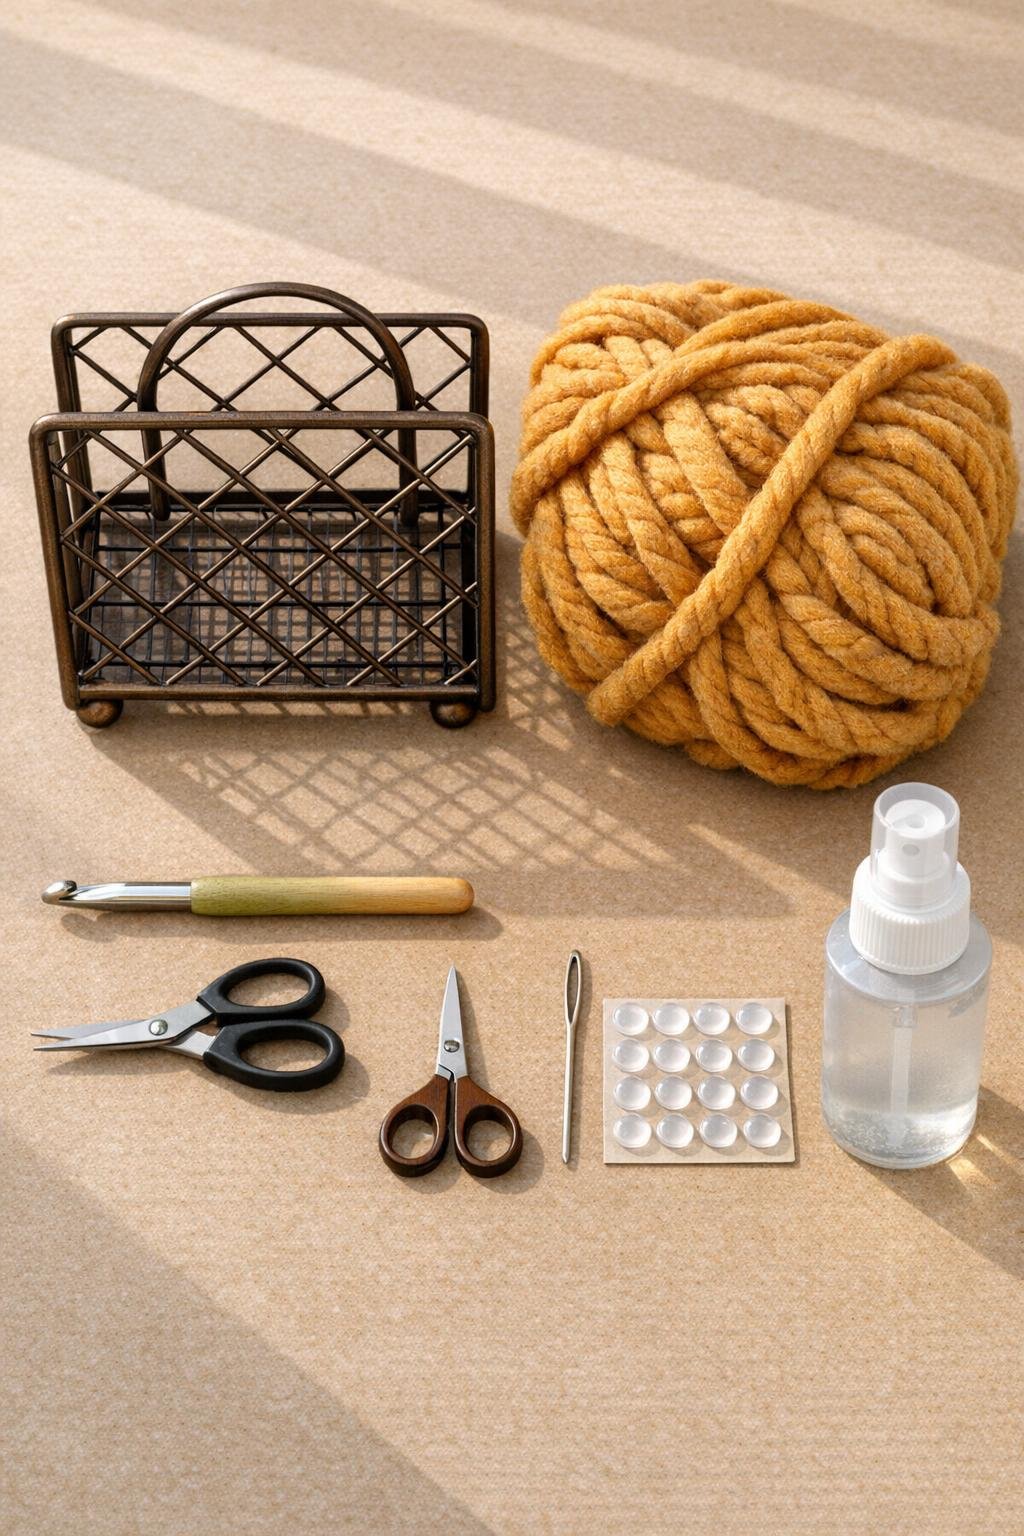
Materials
1 bronze metal wire grid napkin holder, approximately 6 inches wide x 5 inches deep x 6 inches tall
Instructions
1. Wipe down the thrifted napkin holder and make sure the wire is clean, dry, and not flaking; if needed, trim off any old tags or sticky residue so the yarn glides easily through the grid.
2. If the metal finish is worn, spray on a very light coat of clear matte sealer and let it dry fully; this keeps the bronze finish from rubbing off on your yarn while you work.
3. Tie the yarn securely around one lower back corner of the napkin holder frame, then thread the tail through a few nearby wraps so the knot stays hidden inside the basket.
4. Work single crochet stitches directly through each wire opening along the bottom edge of one side panel, using the vertical wires like anchor points so the stitches stack snugly and start covering the grid.
5. At the end of the row, turn your work direction and crochet back across the next row of openings, packing the stitches closely so the yarn fills the panel with dense texture instead of looking open or skimpy.
6. Keep crocheting row by row until the first side panel is fully covered from bottom to top, then work an extra row of slip stitches around the outer edge wires to soften the outline and give that side a finished border.
7. Reattach the yarn at the bottom of the second side panel and repeat the same row-by-row crochet process, matching the stitch density so both sides look even and balanced.
8. Crochet across the front curved or open panel area by wrapping stitches around the front wires and lower bar, filling in enough coverage to visually connect the two sides while still keeping the basket opening easy to use.
9. If you want a fuller look, add a second pass of slip stitches around any wire edges that still show too strongly, especially along the top rim and front corners where the basket is most visible.
10. Cut the yarn with an 8-inch tail, thread it onto the yarn needle, and weave the end through several stitches on the inside of the basket so it disappears without adding bulk.
11. Tuck in the starting tail the same way, then gently shape the crocheted panels with your hands so they sit smoothly against the metal frame and don’t pull or sag between the wires.
12. Stick a clear rubber bumper on each bottom corner to protect shelves and help the basket sit neatly, then fill it with folded napkins, mail, or a small stack of kitchen linens to give it a styled, finished look.
Variations & Tips
Use a different yarn texture: Velvet, boucle, or wool-blend yarn can work too, but chunky smooth yarn is the easiest to pull through a wire grid and gives the cleanest stitch definition.
Try color blocking: Use one color on the first side and another on the second for a more playful look. I think amber paired with cream or rust would be especially pretty in the fall.
Don’t overfill every opening: You want dense coverage, but not so much tension that the metal frame bends inward. If the sides start pulling, loosen your stitches slightly on the next row.
Make it useful in the kitchen: I like this size for cloth napkins or unopened mail on the counter, but it also works well for recipe cards, snack packets, or rolled dishcloths near the sink.
Check the frame before buying: At the thrift store, look for a napkin holder with a sturdy welded frame and an open wire grid. If the metal is badly bent or the spacing is extremely tight, it’ll be much harder to crochet through.
Finish the edges for a polished look: That extra round of slip stitches around the top and front edges makes a big difference. It takes only a few minutes, but it gives the project that intentional, boutique-style finish instead of looking like a quick experiment.