
If you garden even a little, you know the end of the season always leaves you with a funny mix of things: a pile of dried stems, a few tired herbs, and a strong urge to tidy everything up before the weather turns. This little compost tumbler is one of my favorite low-effort projects because it turns a plain metal coffee can and two dollar store basics into something genuinely useful for the patio, porch, or potting bench. It’s compact, easy to spin, and perfect for small-batch compost like deadheading scraps, tea leaves, coffee grounds, and softened garden trimmings.
I love projects like this because they fit real life. I’m usually squeezing in garden chores between work emails and figuring out dinner, so I need something simple that still feels clever when it’s done. If you want an easy compost setup for a small space, a starter garden, or just a tidy way to break down end-of-season scraps without committing to a full bin, this is a great one to make.
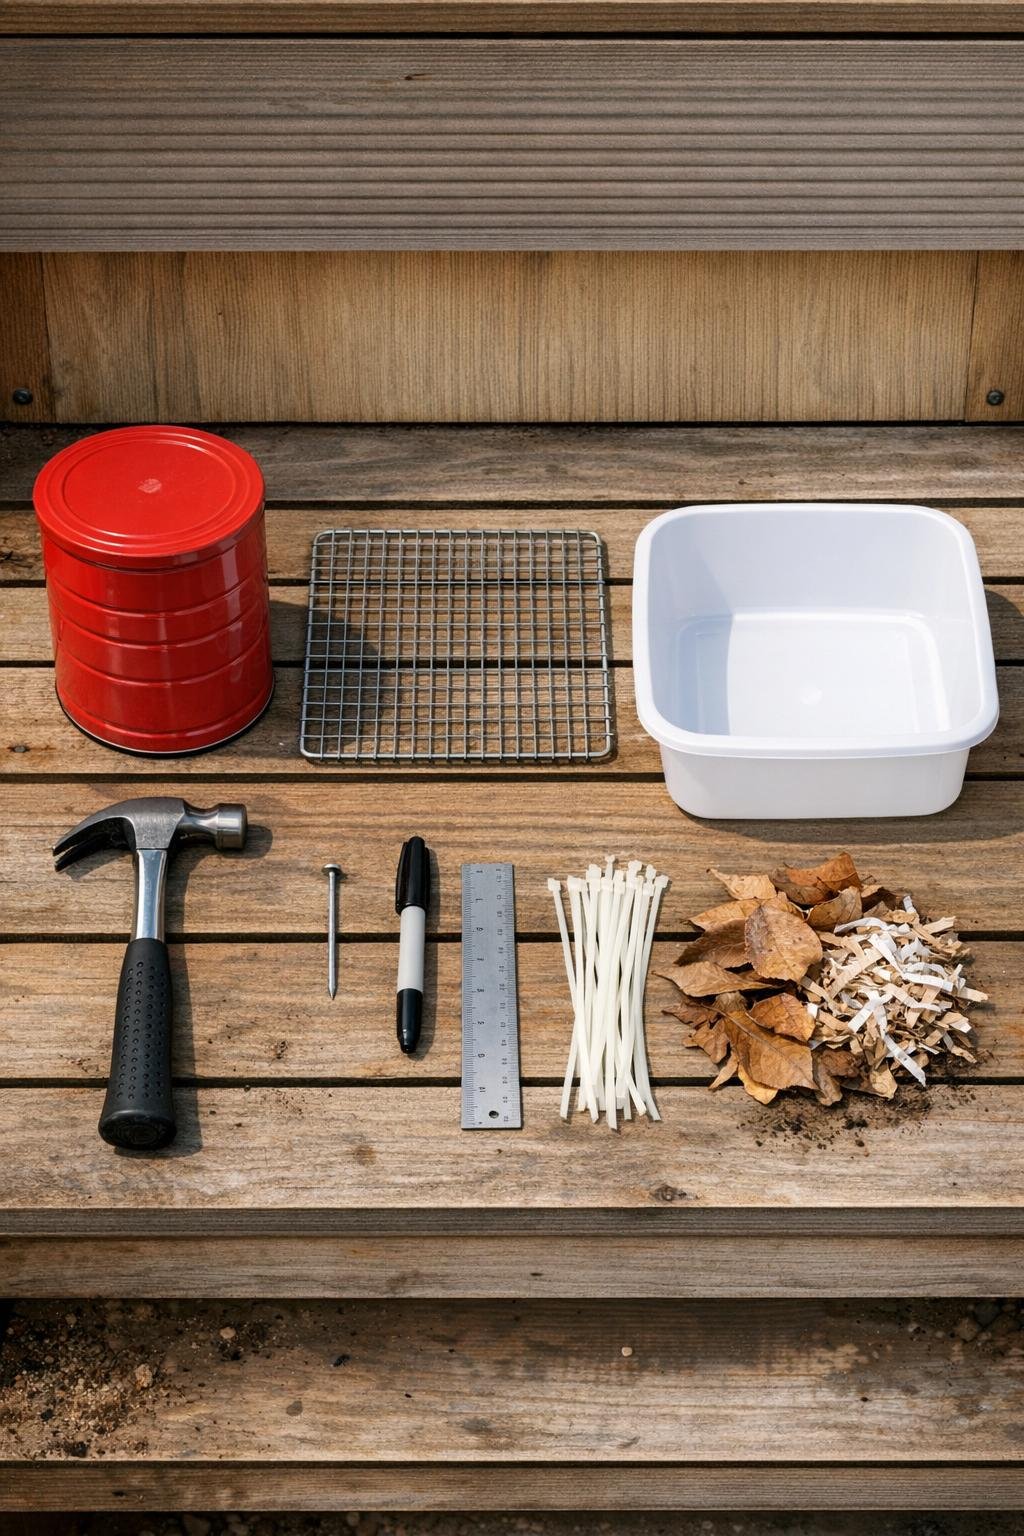
Materials
1 red metal coffee can with fitted lid, 10 to 12 inches tall and about 7 inches wide
Instructions
1. Wash and dry the metal coffee can and lid, then remove any paper label or sticky residue so the surface is clean and easy to mark.
2. Mark hole rows around the can, spacing the holes about 1 1/2 inches apart and keeping them 2 inches away from the top and bottom rims so the can stays sturdy.
3. Set the can on its side over a scrap block of wood or a folded towel, then use the nail and hammer to punch each marked hole all the way through the metal.
4. Punch 8 to 10 holes in the lid and 6 holes in the bottom of the can for airflow and drainage, then lightly sand any sharp edges around all openings.
5. Brush or spray a thin coat of rust-resistant clear sealer over the punched areas, inside and out, and let it dry fully before assembly.
6. Cut the wire cooling rack into two matching panels about 4 x 10 inches, then bend each panel into a gentle curved paddle shape.
7. Slide the curved wire panels into the can in an X-like arrangement so they cross the center and will catch and tumble the compost when the can rotates.
8. Punch four small paired holes near the upper and lower sides of the can, thread zip ties through the wire panels and can wall, and tighten them firmly to hold the paddles in place.
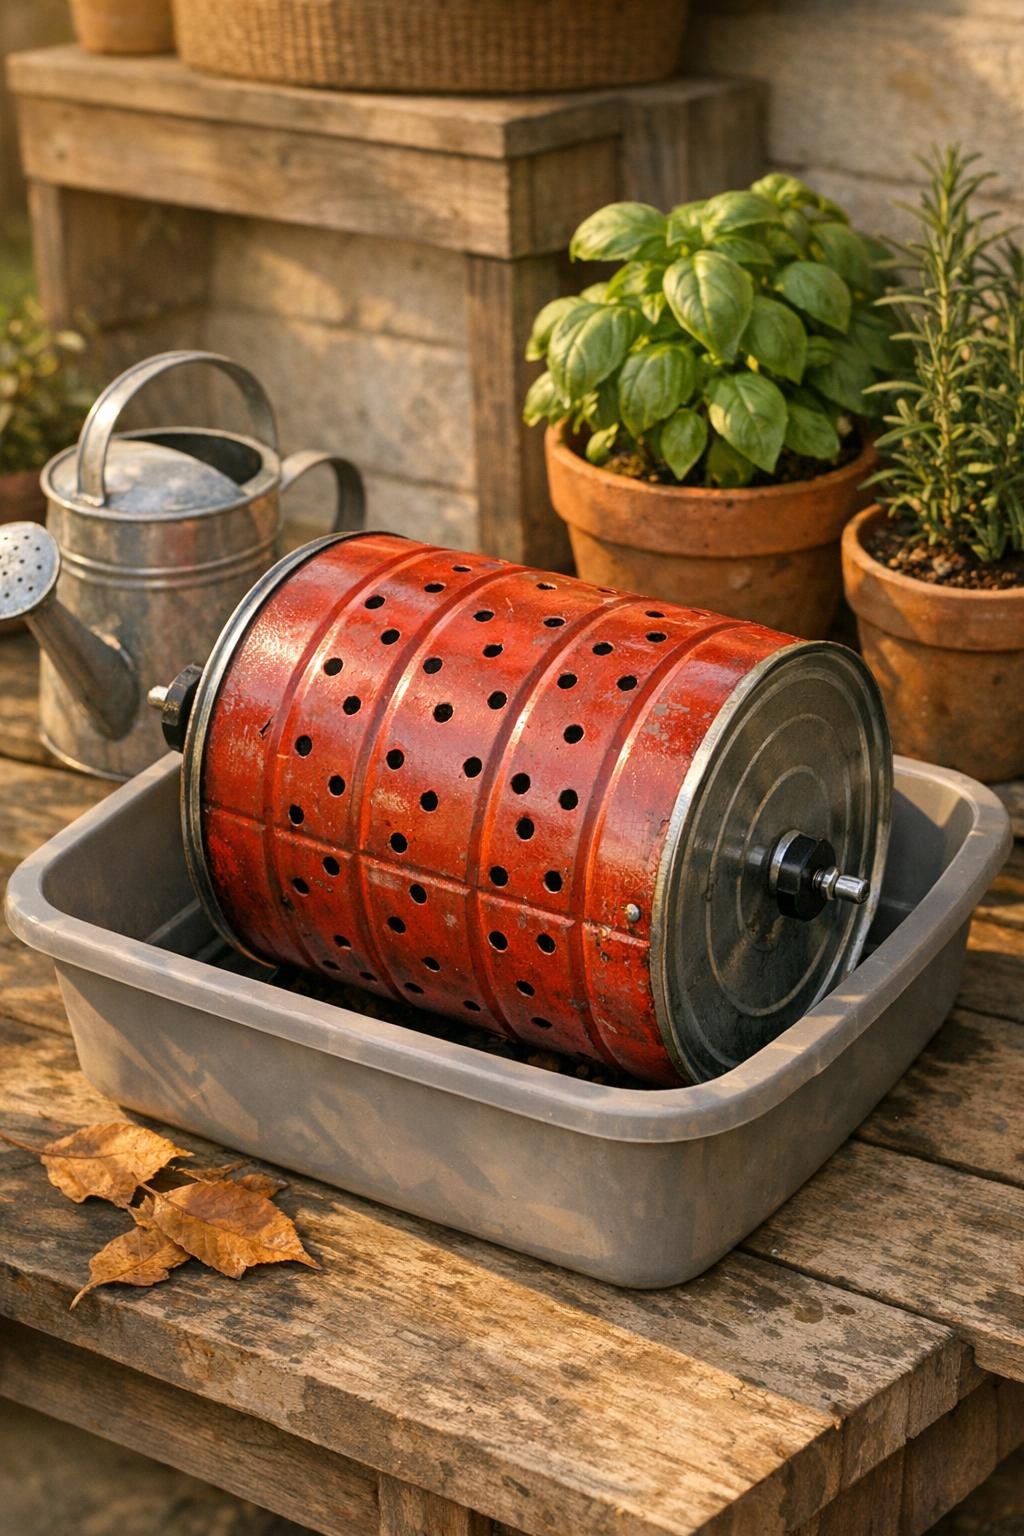
9. Place the plastic dish tub where you want to use the tumbler, then set the can on its side inside the tub so the tub catches any drips and keeps the rolling contained.
10. Add 2 cups dry brown material, 1 cup chopped green material, and the optional compost or soil starter, filling the can no more than two-thirds full so everything has room to tumble.
11. Snap the lid on tightly and roll the can back and forth in the tub for 30 to 60 seconds; the internal wire paddles will lift and drop the contents as the can turns.
12. Keep the tumbler in a sheltered outdoor spot, open it every few days to check moisture, and add a splash of water if it looks dry or a handful of shredded paper if it looks soggy.
Variations & Tips
For faster breakdown: Chop your green scraps small before adding them. I do this with soft stems and spent herbs, and it speeds things up a lot in a container this size.
For a cleaner patio setup: Add a thin layer of shredded cardboard in the bottom of the plastic tub to absorb drips. This is especially helpful if you’re keeping the tumbler near the back door or on a balcony.
For easier turning: Don’t overfill the can. It’s tempting, but keeping it under two-thirds full gives the wire paddles room to do the actual mixing, which is what makes this little setup work so well.
For wet fall material: If you’re composting lots of faded annuals or damp trimmings at the end of the season, double the brown material. A handful of dry leaves or torn paper usually fixes that slimy, compacted texture right away.
For durability: Check the zip ties every couple of weeks and replace them if they get brittle. If you want a longer-lasting version, you can swap them for short machine screws with washers and nuts.
Best use: This is ideal for small-batch compost, not full-yard cleanup. I use mine for coffee grounds, tea leaves, eggshells, deadheaded blooms, and the little bits of garden waste that don’t feel worth walking out to a big compost pile.